
When it comes to culinary delights that evoke a sense of warmth and nostalgia, few desserts can rival the charm of cream puffs. These airy pastries, known for their delicate texture and rich fillings, have graced countless family gatherings, celebrations, and intimate dinners. Among the many variations of this beloved treat, Mom’s Famous Cream Puffs stand out not only for their delightful taste but also for the memories they create. This article will guide you through the process of crafting these delectable pastries, from understanding the ingredients to mastering the technique, ensuring that you can replicate this cherished recipe with confidence.
The Magic Behind Cream Puffs
To appreciate the allure of cream puffs, it’s essential to explore their origins and characteristics. Cream puffs, also referred to as “choux pastry,” have a storied history that dates back to the 16th century. Created in France, this unique pastry was initially developed by a pastry chef named Pantarelli. The dough, known as pâte à choux, is distinctive because it puffs up during baking, resulting in a hollow center that is perfect for filling with a variety of creams, custards, or whipped toppings.
The versatility of cream puffs has contributed to their widespread popularity across different cultures. In Italy, they are known as “profiteroles,” often filled with gelato or pastry cream and drizzled with chocolate. In Asian cuisine, you might find variations filled with sweetened red bean paste or matcha cream, showcasing the adaptability of this classic pastry. Regardless of the filling or presentation, cream puffs remain a symbol of indulgence and celebration, making them a staple at birthdays, holidays, and special occasions.
The significance of cream puffs extends beyond their taste; they often serve as a reminder of family traditions and culinary heritage. For many, the act of preparing these pastries is a cherished ritual passed down through generations, embodying the love and care that goes into home cooking. Mom’s Famous Cream Puffs, in particular, capture this sentiment, with each bite transporting you back to a time spent in the kitchen with loved ones.
Ingredients Breakdown for Mom’s Famous Cream Puffs
Understanding the ingredients that go into Mom’s Famous Cream Puffs is crucial for mastering this recipe. Each component plays a vital role in achieving the perfect texture and flavor.
– Water and Butter: The base of the choux pastry begins with water and butter. The butter adds richness and flavor, while the water creates steam during baking, causing the pastry to puff up. It’s essential to use unsalted butter to control the salt content in the dough.
– All-Purpose Flour: Flour is the backbone of the pastry, providing structure to the cream puffs. When combined with the liquids, it forms a dough that can hold its shape while still being light and airy. Using all-purpose flour is ideal, as it has the right protein content to achieve the desired texture.
– Salt: A pinch of salt may seem minor, but it plays a crucial role in enhancing the overall flavor of the cream puffs. It balances the sweetness of the filling and brings out the richness of the butter.
– Eggs: Eggs are essential for adding moisture and richness to the dough. They also contribute to the leavening process; as they cook, the proteins in the eggs help create a structure that holds the air bubbles, resulting in a beautifully puffed pastry.
– Heavy Cream: The filling of Mom’s Famous Cream Puffs is where the magic happens. Heavy cream is whipped to create a light and fluffy filling that melts in your mouth. Its high-fat content ensures a rich and luxurious texture that elevates the experience of eating cream puffs.
– Powdered Sugar and Vanilla Extract: To enhance the flavor of the whipped cream, powdered sugar is added for sweetness, while vanilla extract provides a warm, aromatic note. This combination transforms the filling into a delectable treat that complements the pastry perfectly.
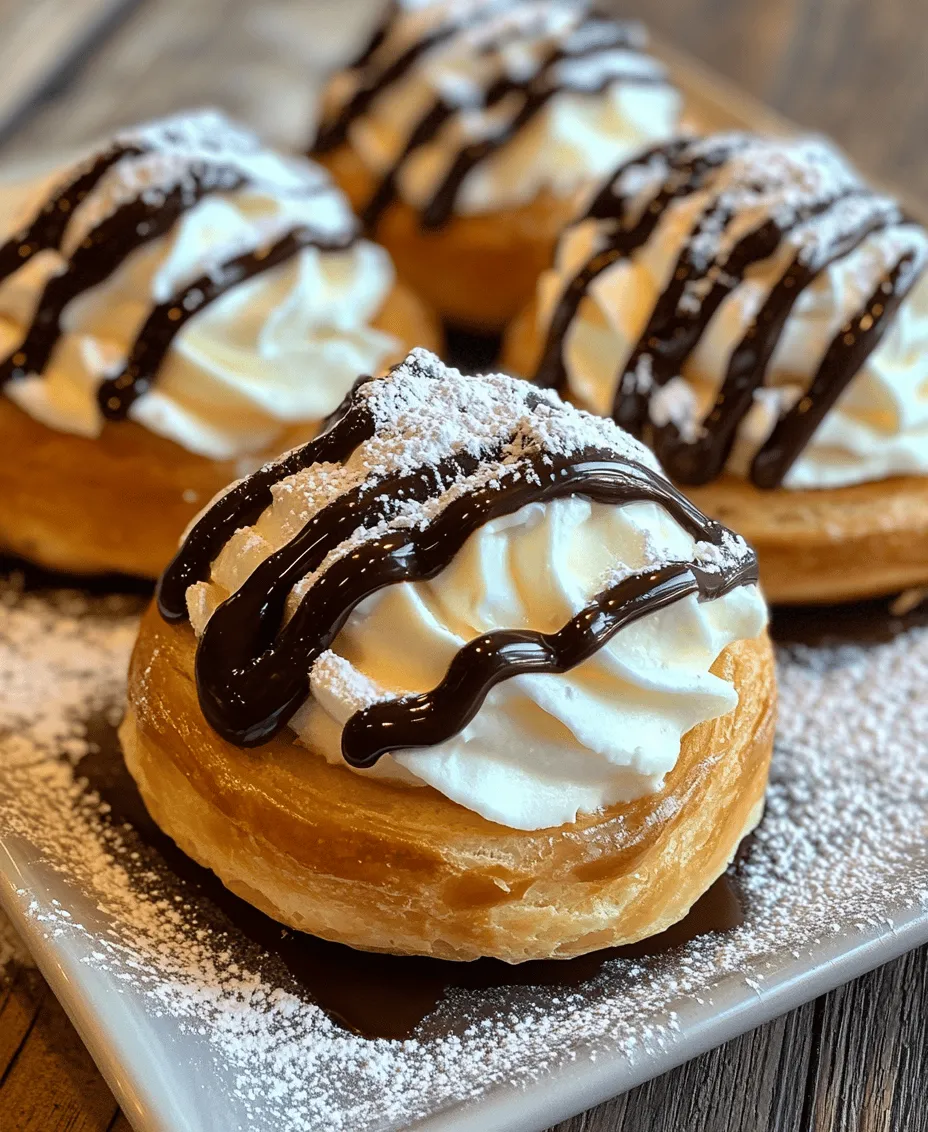
– Chocolate Glaze: While optional, a chocolate glaze adds a decadent touch to the cream puffs. It creates a glossy finish and a rich chocolate flavor that pairs wonderfully with the creamy filling. If you’re feeling indulgent, this addition is well worth it.
Step-by-Step Instructions
Now that you have a solid understanding of the ingredients, it’s time to dive into the step-by-step instructions for preparing Mom’s Famous Cream Puffs. This guide will ensure that even novice bakers can achieve success while following this classic recipe.
Preheating the Oven
The first step in preparing your cream puffs is to preheat your oven. This is crucial because the right temperature ensures that the choux pastry puffs up properly. Set your oven to 425°F (220°C) and allow it to preheat for at least 15 minutes. This gives the oven enough time to reach the desired temperature, providing a hot environment that helps the pastry expand quickly during baking.
When the oven is ready, you can begin preparing the choux pastry, laying the groundwork for these delightful cream puffs that will soon fill your kitchen with a heavenly aroma and create lasting memories.
As you embark on this culinary journey, remember that patience and practice are key. With each step, you’ll be one step closer to mastering Mom’s Famous Cream Puffs, bringing a taste of home and tradition to your table.
Preparing the Dough: Tips for Achieving the Ideal Consistency
To create the perfect cream puff, the dough preparation—known as pâte à choux—is crucial. The consistency of your dough directly influences the rise and texture of the puffs. Here are some essential tips to ensure your dough is just right:
1. Use Fresh Ingredients: Always use fresh eggs and high-quality flour. Fresh eggs contribute to better structure and moisture, while quality flour provides the necessary protein for a good rise.
2. Proper Hydration: Measure your water accurately. The right amount is essential for achieving the desired dough consistency. The dough should be smooth, glossy, and slightly sticky. If it’s too dry, your puffs won’t rise properly.
3. Cook the Dough: When heating the flour and water mixture, ensure you bring it to a boil and cook it for a minute or two. This step helps to gelatinize the flour, which is crucial for the structure of your cream puffs.
4. Incorporate Eggs Gradually: After cooking, let the dough cool slightly before adding eggs. Beat in the eggs one at a time, ensuring each is fully incorporated before adding the next. The dough should be thick yet pipeable—a good test is the “V” shape that forms when you lift the dough with a spatula.
By following these tips, you can achieve the ideal dough consistency that will rise beautifully in the oven, resulting in light and airy cream puffs.
Baking the Puffs: Critical Points During Baking
Baking your cream puffs is a delicate process that requires careful attention. Here are some critical points to keep in mind:
1. Temperature Matters: Preheat your oven thoroughly to ensure an even baking environment. A hot oven (around 400°F or 200°C) is essential for the initial rise of the cream puffs.
2. Do Not Open the Oven Door: One of the most common mistakes is opening the oven door during baking. This can cause a sudden drop in temperature, which may lead to collapsed puffs. Trust the process and resist the urge to peek until the baking time is nearly complete.
3. Baking Time: Cream puffs generally take about 25-30 minutes to bake. They should be golden brown and puffed up. If you notice the tops are browning too quickly, you can lower the temperature slightly, but avoid opening the door.
4. Cooling: Once baked, turn off the oven and leave the puffs inside for an additional 5-10 minutes with the door slightly ajar. This method helps to prevent them from collapsing due to a sudden temperature change.
Following these baking tips will help you achieve the perfect cream puffs that are golden, crisp, and ready to be filled.
Cooling and Filling: Techniques for Cutting and Filling the Puffs
Once your cream puffs are baked to perfection, the next step is cooling and filling them. This process is vital for maintaining their structural integrity. Here’s how to do it effectively:
1. Cooling: Transfer the baked puffs to a wire rack to cool completely. This allows moisture to escape, ensuring they remain crisp. Avoid covering them as this can trap steam and lead to soggy puffs.
2. Cutting for Filling: To fill your cream puffs, use a sharp knife to cut a small slit in the side or the bottom. If you prefer, you can slice the puff in half horizontally. Be gentle to avoid crushing them; a serrated knife works best for this task.
3. Filling Techniques: Use a piping bag fitted with a round tip to fill the cream puffs with your desired filling—whether it’s whipped cream, pastry cream, or custard. Fill gently, ensuring you don’t overstuff them, which could cause the puffs to burst.
4. Smoothing the Filling: If using a spoon to fill, be sure to smooth the filling flush with the edges of the puff. This creates a clean look and minimizes spillage.
These techniques will help you fill your cream puffs perfectly, creating a delightful contrast between the crisp shell and the creamy filling.
Optional Chocolate Glaze: How to Prepare and Apply It for an Elegant Finish
For those looking to add a touch of elegance, a chocolate glaze can elevate your cream puffs. Here’s how to prepare and apply it:
1. Ingredients for Glaze: To make the glaze, you’ll need:
– 1 cup semi-sweet chocolate chips
– 1 tablespoon vegetable oil or shortening
2. Melting the Chocolate: In a microwave-safe bowl, combine the chocolate chips and oil. Microwave in 30-second intervals, stirring in between until smooth and glossy. Be careful not to overheat, as chocolate can seize up quickly.
3. Applying the Glaze: Once your cream puffs are filled and cooled, dip the tops directly into the chocolate glaze or use a spoon to drizzle it over. Allow the excess to drip off before placing them back on the wire rack.
4. Setting the Glaze: Let the chocolate glaze set at room temperature or in the refrigerator for about 15 minutes before serving. This will ensure a beautiful finish.
The chocolate glaze adds not only a stunning visual appeal but also a rich flavor that complements the cream puffs beautifully.
Tips for Perfecting Your Cream Puffs
Even with the best intentions, home bakers can face challenges when making cream puffs. Here are common issues and how to troubleshoot them:
1. Achieving the Right Puff:
– Undercooked: If your cream puffs are undercooked, they will be pale and soggy. Make sure they are fully baked and golden brown. If they collapse after baking, they likely didn’t set properly due to insufficient baking time or temperature.
– Overcooked: If they are too dark or dry, reduce the baking time slightly on your next attempt. Always check for doneness visually.
2. Ensuring the Filling is Just Right:
– Balancing Sweetness: When preparing your filling, taste as you go. If it’s too sweet, consider adding a pinch of salt or a splash of vanilla to balance the flavors.
– Creaminess: If your filling is too runny, add a bit more whipped cream or cornstarch to thicken it up. Conversely, if it’s too stiff, gently fold in more whipped cream for a lighter texture.
3. Storing Cream Puffs:
– To keep cream puffs fresh, store them in an airtight container in the refrigerator. They are best enjoyed within 1-2 days of filling. If you need to store them longer, consider freezing the unfilled puffs and filling them just before serving.
By being aware of these common challenges and their solutions, you can ensure your cream puffs turn out perfectly every time.
Serving Suggestions for Cream Puffs
Cream puffs are incredibly versatile and can be dressed up for various occasions. Here are some delightful serving suggestions:
1. Pairing with Fresh Fruits or Sauces: Serve your cream puffs alongside fresh berries or fruits like strawberries, raspberries, or mango slices for a refreshing contrast. Drizzling them with fruit coulis or chocolate sauce can also enhance the dessert.
2. Creating a Dessert Platter: Arrange your cream puffs on a platter alongside other desserts such as éclairs, tartlets, or mini cheesecakes. This creates an elegant dessert spread perfect for gatherings.
3. Serving at Special Occasions: Cream puffs are ideal for celebrations such as birthdays, weddings, or holiday gatherings. Their bite-sized nature makes them perfect for sharing, and they can be customized to match any theme or flavor profile.
With these serving suggestions, you can showcase your cream puffs in ways that impress and delight your guests.
Nutritional Information
While cream puffs are a delightful treat, it’s always helpful to understand their nutritional content. Here’s a basic overview for one standard cream puff filled with pastry cream:
– Calories: Approximately 150-200 calories (depending on the filling)
– Carbohydrates: 15-20g
– Protein: 3-4g
– Fat: 9-10g
– Fiber: 0-1g
– Sugar: 4-6g
Keep in mind that these values can vary based on the specific ingredients and fillings used. If you’re concerned about dietary restrictions, consider using lighter fillings or alternative sweeteners.
Conclusion: The Joy of Making Mom’s Famous Cream Puffs
Creating Mom’s Famous Cream Puffs is not just about the final product; it’s an experience filled with joy, creativity, and nostalgia. The process of mixing the dough, watching the puffs rise in the oven, and filling them with luscious cream brings back warm memories of family gatherings and shared laughter.
Baking is a beautiful way to bond with loved ones, and these cream puffs are sure to become a cherished recipe in your home, just as they have been in ours. With the right techniques and a sprinkle of love, you can master this delightful dessert and share it with those you hold dear.
Embrace the joy of baking, savor the delicious results, and indulge in the satisfaction of crafting a beloved family recipe. Whether you’re serving them at a special occasion or enjoying them at home, your homemade cream puffs will surely bring smiles and sweet moments to everyone who has the pleasure of tasting them.