Introduction
If you’re on the hunt for a dessert that tantalizes the taste buds with a perfect blend of creaminess and crunch, look no further than the Honeycomb Cheesecake Cake. This delightful treat marries the rich, velvety texture of cheesecake with the sweet, airy crunch of honeycomb, creating an unforgettable dessert experience. The layers of flavor and texture come together seamlessly, making each bite a harmonious delight.
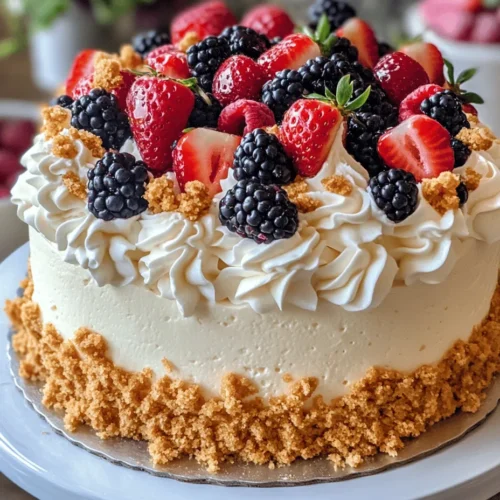
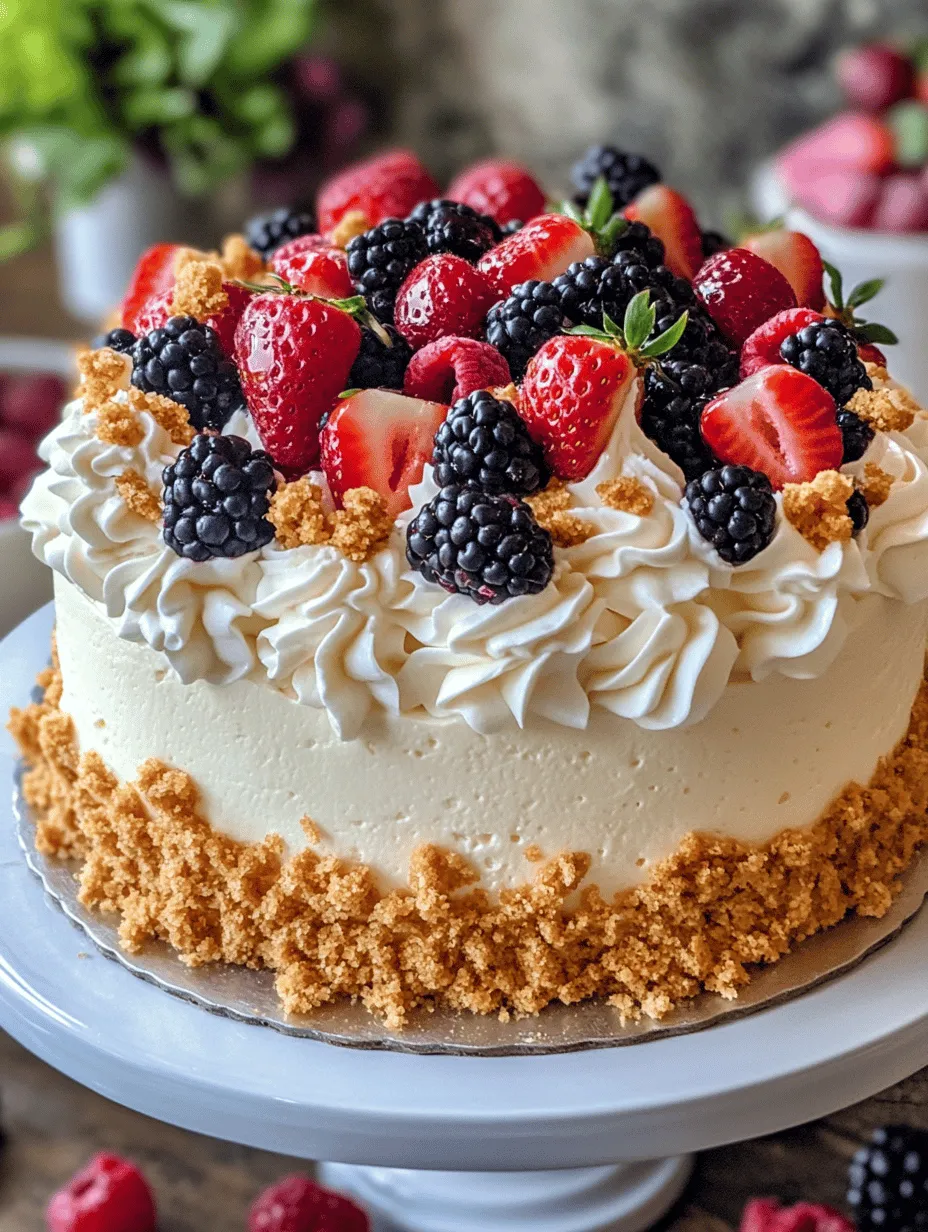
The appeal of this cheesecake cake lies not only in its unique flavor profile but also in its visual allure. Featuring a golden-hued honeycomb atop a luscious cream cheese filling, it’s a dish that doesn’t just taste good; it looks stunning as well. Whether you’re celebrating a special occasion, hosting a dinner party, or simply indulging in a personal treat, this cake is versatile enough to shine in any setting. Plus, the recipe itself is straightforward, making it accessible for both novice bakers and seasoned chefs alike.
As we embark on this culinary journey, you can expect to create a dessert that impresses not only with its taste but also with its elegance. Let’s delve deeper into the ingredients that make this Honeycomb Cheesecake Cake such a standout and outline the steps needed to prepare it.
Understanding the Ingredients
To create the perfect Honeycomb Cheesecake Cake, it’s essential to understand the key ingredients that contribute to its flavor and texture. Each component plays a vital role in the overall outcome of the dessert.
Graham Cracker Crust
The foundation of any great cheesecake is a sturdy and flavorful crust, and in this recipe, the graham cracker crust serves just that purpose. It provides a delightful crunch that contrasts beautifully with the creamy filling. The buttery flavor of the graham crackers enhances the overall taste and adds a hint of sweetness.
While traditional graham crackers are a popular choice, feel free to explore variations. Digestive biscuits or even Oreo cookies can be used for a more chocolatey experience. The key is to find a cookie that complements the flavors of the cheesecake while maintaining that essential crunch.
Cream Cheese
At the heart of this cheesecake cake is cream cheese, which gives it its signature rich and creamy texture. When selecting cream cheese, look for a high-quality brand, as this will significantly affect the taste. Full-fat cream cheese is recommended for optimal creaminess, while low-fat options can lead to a less satisfying texture.
To ensure a smooth and lump-free batter, allow your cream cheese to come to room temperature before mixing. This simple step can elevate your cheesecake from good to great, providing a silk-like consistency that will make the cake irresistible.
Honeycomb
The star ingredient that sets this cheesecake apart is, of course, honeycomb. This sweet treat, made from sugar and honey, offers a unique flavor profile that enhances the overall dessert. Its airy texture adds a delightful crunch that perfectly contrasts with the creaminess of the cheesecake.
When sourcing honeycomb, you have a couple of options. Many grocery stores carry pre-packaged honeycomb, which is a convenient choice. Alternatively, if you’re feeling adventurous, you can make your own honeycomb candy at home using sugar, honey, and baking soda. The homemade version can provide a more intense flavor and a personal touch to your dessert.
Sour Cream and Eggs
Sour cream plays a crucial role in enriching the cheesecake’s flavor and stability. It adds a subtle tanginess that elevates the overall taste, balancing the sweetness of the honeycomb. In addition, it contributes a creamy texture that makes the cheesecake even more indulgent.
Eggs are vital for binding the ingredients and providing structure to the cake. They help to stabilize the creamy filling during baking, ensuring that your cheesecake maintains its shape once cooled. When mixing, be careful not to overbeat the eggs, as this can incorporate excess air and result in cracks during baking.
Whipped Cream and Fresh Berries
To finish off your Honeycomb Cheesecake Cake, a dollop of whipped cream and a scattering of fresh berries make for a stunning presentation. The lightness of the whipped cream contrasts beautifully with the dense cheesecake, while the berries add a pop of color and a burst of freshness. Whether you choose strawberries, blueberries, or raspberries, these additions enhance the overall flavor and visual appeal of your dessert.
Step-by-Step Instructions
Now that we’ve covered the essential ingredients, it’s time to dive into the step-by-step instructions for creating your Honeycomb Cheesecake Cake. This guide will walk you through each stage of the preparation process, ensuring that you achieve a delicious and visually stunning dessert.
Preparing the Crust
1. Gather Your Ingredients: Start by assembling your ingredients for the graham cracker crust. You will need graham crackers (or your cookie of choice), melted butter, and sugar.
2. Preheat the Oven: Preheat your oven to 350°F (175°C). This ensures that your crust bakes evenly and achieves the perfect level of crispness.
3. Crush the Graham Crackers: In a food processor or a plastic bag with a rolling pin, crush the graham crackers into fine crumbs. You should have about 1.5 cups of crumbs for the crust.
4. Mix the Crust Ingredients: In a medium bowl, combine the graham cracker crumbs, sugar, and melted butter. Mix well until the crumbs are fully coated and the mixture resembles wet sand.
5. Press the Mixture into a Pan: Transfer the crumb mixture into a 9-inch springform pan. Using the back of a measuring cup or your fingers, press the mixture firmly into the bottom and slightly up the sides of the pan. Make sure it’s evenly distributed to create a solid base for your cheesecake.
6. Bake the Crust: Place the pan in the preheated oven and bake for about 10 minutes or until golden brown. Allow the crust to cool completely while you prepare the cheesecake filling.
The crust sets the stage for your Honeycomb Cheesecake Cake, providing a crunchy base that will hold up against the creamy filling and sweet honeycomb topping. In the next steps, we will create the cheesecake filling that will make this dessert truly special.
Stay tuned as we continue our journey into the heart of this scrumptious recipe!

Detailed Instructions for Mixing and Pressing the Crust into the Pan
To create a solid foundation for your Honeycomb Cheesecake Cake, the crust is a crucial element. Begin by preheating your oven to 350°F (175°C). While the oven is heating, gather your ingredients for the crust, which typically include crushed digestive biscuits (or graham crackers), melted butter, and a pinch of salt.
1. Combine the Ingredients: In a large mixing bowl, combine the crushed biscuits with melted butter. Ensure that the butter is evenly distributed throughout the biscuit crumbs. You can use a fork or your hands for this step, but be careful not to overwork the mixture, as this can lead to a dense crust.
2. Pressing into the Pan: Once combined, transfer the mixture into a 9-inch springform pan. Use the back of a measuring cup or your fingers to firmly press the mixture down into the bottom of the pan, creating an even layer. Aim for a thickness of about 1/4 inch. Make sure the crust is tightly packed to hold its shape during baking.
3. Baking the Crust: Place the crust in the preheated oven and bake for about 10 minutes. This will help to set the crust and give it a nice golden color. After 10 minutes, remove it from the oven and allow it to cool slightly while you prepare the cheesecake filling.
Tips on Achieving the Perfect Crust Consistency
– Use Fresh Ingredients: Ensure that your butter is fresh and that the biscuits or graham crackers are finely crushed. This will contribute to a smoother and more cohesive crust.
– Experiment with Flavors: Consider adding a tablespoon of cocoa powder to your crust for a chocolate twist or using flavored biscuits to enhance the taste.
– Avoid Overmixing: Mix until just combined to prevent the crust from becoming too dense. The goal is to achieve a crumbly texture that holds together but isn’t tough.
Making the Cheesecake Filling
Creating the cheesecake filling is where the magic truly begins. This filling is rich and creamy, and the addition of honeycomb pieces adds a delightful crunch.
1. Prepare the Mixing Bowl: In a large mixing bowl, add 16 ounces of softened cream cheese. Using an electric mixer, beat the cream cheese on medium speed until smooth and creamy, about 2-3 minutes.
2. Add the Sugars: Gradually add 3/4 cup granulated sugar and 1/4 cup brown sugar. Continue to beat the mixture until fully incorporated and fluffy, approximately another 2 minutes. The sugars should be well blended into the cream cheese.
3. Incorporate the Eggs: Add 3 large eggs, one at a time, mixing on low speed after each addition just until combined. Be careful not to overmix the batter, as this can introduce excess air, leading to cracks during baking.
4. Folding in the Honeycomb: Finally, gently fold in 1 cup of chopped honeycomb using a spatula. This step is crucial; folding prevents the honeycomb from breaking apart and ensures that it retains its crunchy texture throughout the cheesecake.
Baking the Cheesecake
Baking your cheesecake correctly is essential to achieving that perfect, creamy texture.
1. Prepare for Baking: Pour the cheesecake filling over the cooled crust in the springform pan. Smooth the top with a spatula to create an even surface.
2. Baking Process: Place the cheesecake in the oven and bake for 50-60 minutes. The edges should appear set, while the center may still be slightly jiggly. This is normal, as the cheesecake will continue to set as it cools.
3. Cooling and Chilling: Once baked, turn off the oven and crack the door, allowing the cheesecake to cool for about an hour. This gradual cooling process helps prevent cracks. Afterward, refrigerate the cheesecake for at least 4 hours, but overnight is recommended for the best texture.
Serving Suggestions
The Honeycomb Cheesecake Cake is versatile and can be served in various ways, making it perfect for different occasions.
– Accompaniments: Serve your cheesecake with a drizzle of honey or a dollop of whipped cream for added richness. Fresh berries such as strawberries or raspberries can add a tart contrast to the sweetness of the cheesecake.
– For Special Occasions: This cheesecake is ideal for birthdays, anniversaries, or holiday celebrations. Pair it with a light dessert wine or champagne for a touch of elegance.
– Casual Gatherings: For a casual setting, consider serving slices with a scoop of vanilla ice cream or a side of coffee to complement the flavors.
Storing and Preserving Your Cheesecake
If you have leftovers (though it’s unlikely!), proper storage will help maintain the cheesecake’s quality.
– Refrigeration: Store your cheesecake in the refrigerator, covered with plastic wrap or in an airtight container. It will stay fresh for up to 5 days.
– Freezing: To freeze, wrap the cheesecake tightly in plastic wrap and then in aluminum foil. It can be frozen for up to 3 months. When you’re ready to enjoy it, allow it to thaw in the refrigerator overnight for the best results.
Nutritional Information
Understanding the nutritional content of your Honeycomb Cheesecake Cake can help you enjoy it mindfully.
– Nutritional Breakdown (per slice, based on 12 servings):
– Calories: 350
– Total Fat: 20g
– Saturated Fat: 10g
– Cholesterol: 80mg
– Sodium: 220mg
– Total Carbohydrates: 35g
– Dietary Fiber: 1g
– Sugars: 25g
– Protein: 5g
– Ingredient Substitutions: For a gluten-free option, substitute regular biscuits with gluten-free alternatives. You can also use low-fat cream cheese to reduce calories, though this may alter the texture slightly.
Conclusion
In summary, the Honeycomb Cheesecake Cake is a delightful dessert that beautifully combines creamy cheesecake with the sweet, crunchy goodness of honeycomb. Its rich flavor and texture make it an exceptional choice for any gathering, whether a festive celebration or a casual weekend get-together.
As you embark on making this cheesecake, remember the steps for creating a perfect crust, the delicate process of mixing the filling, and the importance of cooling for achieving that creamy texture. With its stunning presentation and irresistible taste, this cheesecake is sure to become a favorite among friends and family. Don’t hesitate to try this recipe for your next occasion, and experience the delightful sweetness and crunch for yourself!