Introduction
Exploring the world of homemade bread can be an incredibly rewarding experience, particularly when it comes to crafting a classic like French bread. The aroma of fresh, crusty loaves wafting through your kitchen is not just a sensory delight; it’s an invitation to savor the art of baking. This article provides a detailed guide on how to create your very own homemade French bread, complete with step-by-step instructions and insights into the ingredients and techniques involved. Whether you’re a seasoned baker or a novice in the kitchen, this French bread recipe will elevate your culinary skills and fill your home with the irresistible aroma of freshly baked bread.
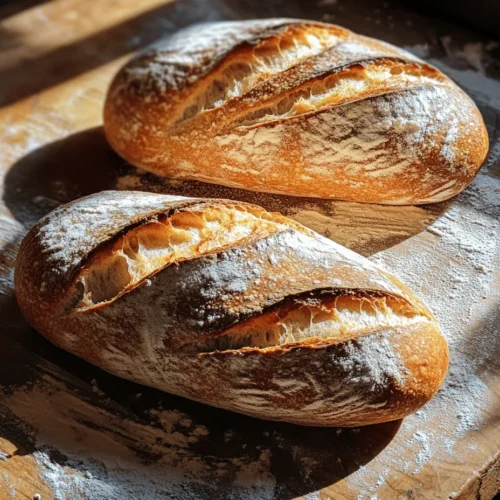
French bread, characterized by its crispy crust and soft, airy interior, has a long-standing tradition that dates back centuries. Originating in France, this beloved bread has become a staple in households around the globe, often accompanying meals or served on its own with a pat of butter or a drizzle of olive oil. The allure of homemade French bread lies not only in its taste but also in the satisfaction of creating something from scratch.
In this article, we will delve into the essential ingredients that form the backbone of French bread, as well as provide you with a clear and concise method to achieve that perfect loaf. So, roll up your sleeves and get ready to embark on this delightful baking journey!
Understanding the Ingredients
To create a truly authentic French bread, it is essential to understand the ingredients that make it so special. Each component plays a vital role in contributing to the flavor, texture, and overall success of the bread. Let’s explore the key ingredients in detail.
The Foundation of French Bread: Flour
Flour is the most critical ingredient in any bread recipe, serving as the foundation of your dough. For French bread, all-purpose flour is commonly used due to its balanced protein content, which helps develop gluten—a network of proteins that gives bread its structure.
Importance of All-Purpose Flour in Bread Making
All-purpose flour contains a moderate amount of protein, typically around 10-12%. This protein content is ideal for creating a chewy yet soft texture, which is characteristic of traditional French bread. The gluten formed during kneading traps the gases produced by yeast, allowing the bread to rise effectively.
Alternatives to All-Purpose Flour
If you’re looking to experiment, there are alternatives to all-purpose flour that can still yield delicious results. Bread flour, which has a higher protein content (about 12-14%), is an excellent choice for a chewier texture. Whole wheat flour can also be used, but it may require adjustments in hydration and kneading time due to its denser nature.
The Role of Yeast in Bread Baking
Yeast is a living organism that plays a crucial role in the fermentation process of bread. It consumes sugars present in the dough, producing carbon dioxide gas and alcohol, which contribute to the rise and flavor of the bread.
Explanation of Active Dry Yeast and Its Function
Active dry yeast is one of the most common forms of yeast used in bread making. It consists of dehydrated granules that need to be activated before use. When mixed with warm water and sugar, the yeast becomes rehydrated and begins to multiply, producing carbon dioxide gas that causes the dough to rise.
How Yeast Contributes to the Rise and Texture of the Bread
The fermentation process not only adds volume to the bread but also enhances its flavor profile. As yeast ferments, it produces organic acids that contribute to the bread’s aroma and taste. A well-risen dough will have a light, airy structure, which is a hallmark of perfect French bread.
Water: The Essential Element
Water is another critical ingredient in bread making. It serves multiple purposes, from hydrating the flour to activating the yeast.
The Significance of Warm Water in Activating Yeast
Using warm water (around 100°F or 37°C) is essential for activating yeast effectively. At this temperature, yeast becomes active and begins to ferment, leading to the production of carbon dioxide that helps the dough rise. If the water is too hot, it can kill the yeast, while cold water may not activate it sufficiently.
Water Quality and Its Impact on Bread Texture
The quality of water used can also affect the final product. Ideally, use filtered or bottled water to avoid any contaminants or chlorine that might interfere with yeast activity. The right water contributes to the dough’s elasticity and overall texture, resulting in a more enjoyable bread.
Salt and Sugar: Balancing Flavor and Fermentation
Salt and sugar are often overlooked in their importance, but they play significant roles in flavor enhancement and fermentation control.
The Role of Salt in Flavor Enhancement and Dough Strength
Salt is essential for enhancing the flavor of bread. It not only brings out the natural flavors of the ingredients but also strengthens the gluten structure. Including salt in your dough mixture helps regulate yeast activity, preventing it from fermenting too quickly and resulting in a well-balanced loaf.
How Sugar Aids in Yeast Activation and Browning
Sugar serves as food for yeast, aiding in its activation and contributing to the fermentation process. Additionally, sugar promotes browning during baking through the Maillard reaction, which adds a delightful golden color to the crust. While sugar is not always necessary in French bread recipes, a small amount can enhance the flavor and crust.
Olive Oil: Adding Richness
Olive oil is a common addition to many bread recipes, including French bread. It adds richness and moisture, contributing to a tender crumb.
Benefits of Using Olive Oil in Bread Recipes
Incorporating olive oil into your dough not only enhances the flavor but also improves the bread’s shelf life. The fat in olive oil coats the flour proteins, resulting in a softer texture and preventing the bread from becoming stale too quickly.
Alternative Fats That Can Be Used
If you prefer not to use olive oil, other fats such as melted butter or vegetable oil can be substituted. Each type of fat will impart its unique taste, so feel free to experiment and find your favorite.
Step-by-Step Instructions for Homemade French Bread
Now that we have a comprehensive understanding of the ingredients, it’s time to dive into the step-by-step instructions for making your homemade French bread. Each step is crucial for achieving that perfect loaf, so follow along carefully.
Preparing the Yeast Mixture
The first step in making French bread is to prepare the yeast mixture. Proper activation is vital for a successful rise.
Importance of Activating Yeast Properly
To activate your yeast, combine warm water (about 1 ½ cups) with a tablespoon of sugar in a bowl. Sprinkle the active dry yeast over the top and let it sit for about 5-10 minutes. During this time, you’ll notice the yeast beginning to bubble and foam—a clear sign that it’s alive and ready to work its magic.
Tips for Recognizing When Yeast is Ready
Once your yeast mixture is foamy and bubbly, it’s time to incorporate it into your dough. If your yeast doesn’t foam, it may be expired or the water temperature may have been too hot or too cold. In such cases, it’s best to start over with fresh yeast.
Combining Ingredients for Dough Creation
With your yeast mixture ready, it’s time to combine it with the other ingredients to create the dough.
Techniques for Mixing Flour and Liquid
In a large mixing bowl, add about 4 cups of all-purpose flour, along with 2 teaspoons of salt. Create a well in the center of the flour and pour in the activated yeast mixture. Begin mixing with a wooden spoon or your hands, gradually incorporating the flour from the edges into the liquid.
The Significance of the Well in the Dough
Creating a well in the flour helps to ensure that all ingredients are combined evenly. This technique also minimizes the risk of flour clumping, allowing for a smoother dough that will rise beautifully during fermentation.
Kneading: Building the Dough’s Structure
Once the ingredients are combined, it’s time to knead the dough, which is a crucial step in developing gluten and building the structure of your bread.
Kneading involves pushing, folding, and stretching the dough to encourage gluten formation. Aim to knead the dough for about 8-10 minutes on a lightly floured surface until it becomes smooth and elastic. If the dough is too sticky, sprinkle a bit more flour as needed, but be careful not to add too much, as this can make the bread dense.
Kneading is a tactile experience that also allows you to connect with your dough. The dough will become smoother and more elastic as you work with it, indicating that the gluten is developing properly.
With these initial steps, you are well on your way to creating a delicious loaf of homemade French bread. Continue to follow the recipe for the subsequent steps, and soon you’ll be enjoying the fruits of your labor in the form of warm, crusty bread that’s perfect for any occasion.
Techniques for Effective Kneading
Kneading is a critical step in the bread-making process, as it develops gluten—the protein that gives bread its structure and chewiness. To knead effectively, start by dusting your work surface with a little flour to prevent sticking. Place the dough on the floured surface and begin by pressing down on it with the heels of your hands.
1. Push and Fold: Gently push the dough away from you with your palms, then fold it over itself towards you. Rotate the dough a quarter turn and repeat the process.
2. Knead for Time: Aim to knead for about 8 to 10 minutes. The dough should become smooth and elastic. If it feels sticky, sprinkle a little more flour as needed.
3. Windowpane Test: To check if your dough is ready, perform the windowpane test. Take a small piece of dough and stretch it between your fingers. If it can stretch thin enough to let light through without tearing, it’s ready.
Signs That the Dough is Ready
Knowing when your dough is ready is crucial. Here are the key indicators:
– Texture: The dough should feel smooth and elastic. It should spring back when you gently poke it with your finger.
– Size: After kneading, it should have approximately doubled in size during its first rise. This is a good sign that the yeast is active and fermentation is occurring.
– Aroma: The dough should emit a pleasant, slightly yeasty smell, indicating that fermentation is taking place.
The Rising Process: Creating Light and Airy Bread
The rising process, or fermentation, is essential for developing flavor and texture in your homemade French bread. During this time, the yeast consumes sugars and produces carbon dioxide, which causes the dough to rise.
Explanation of Fermentation and Its Importance
Fermentation is the process by which yeast converts sugars into alcohol and carbon dioxide. This not only helps the dough rise but also contributes to the flavor profile of the bread. A longer fermentation period can enhance the taste, resulting in a more complex and satisfying flavor.
Ideal Conditions for Dough Rising
For optimal rising, find a warm, draft-free area in your kitchen. Here are some tips to create the ideal environment:
1. Temperature: The ideal temperature for dough rising is between 75°F to 80°F (24°C to 27°C). If your kitchen is too cold, consider placing the dough in a slightly warmed oven (turned off) with a bowl of hot water to provide warmth.
2. Humidity: Cover the dough with a damp cloth or plastic wrap to maintain moisture, preventing the surface from drying out.
3. Time: Depending on the temperature, the first rise usually takes about 1 to 2 hours. Be patient and allow the dough to rise until it has doubled in size.
Shaping the Loaves
Once the dough has risen, it’s time to shape it into loaves, which is a crucial step in achieving the right texture.
Techniques for Dividing and Shaping Dough
1. Divide: Gently punch down the risen dough to release air. Divide it into two equal portions for two loaves.
2. Pre-shape: Lightly shape each portion into a round ball. Let them rest for about 10 to 15 minutes, covered with a cloth to relax the gluten.
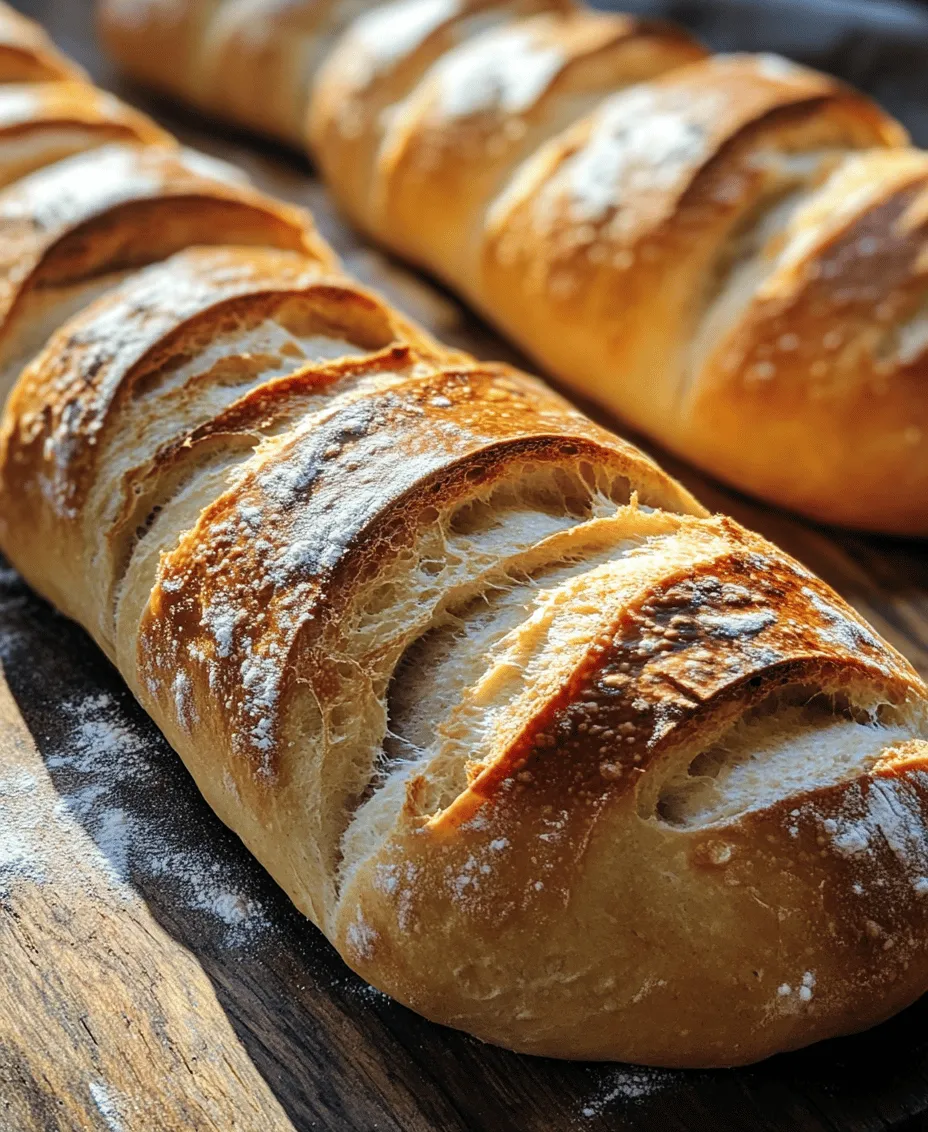
3. Final Shape: For the classic French baguette shape, flatten each ball into a rectangle, then roll it tightly from one end to the other, pinching the seams as you go. Tuck the ends under to create a smooth surface.
Importance of Shaping for Final Texture
Proper shaping helps create surface tension, which is important for achieving a good rise and crust during baking. A well-shaped loaf will hold its structure and develop a beautiful crust.
Final Rise and Preparing for Baking
After shaping, the dough requires a second rise, also known as proofing, before it goes into the oven.
What Happens During the Second Rise
During the second rise, the dough continues to ferment and develop flavor. It will puff up again, creating air pockets that will contribute to the bread’s light and airy texture. This rise usually takes about 30 to 45 minutes.
Optional Decorative Techniques for Loaves
Before baking, you can add a decorative touch to your loaves:
– Scoring: Use a sharp knife or a bread lame to make shallow slashes across the top of the loaves. This allows steam to escape during baking and gives the bread a beautiful appearance.
– Water Spritzing: Lightly spritz the dough with water just before placing it in the oven to enhance crust formation.
The Baking Process
Baking is where all your hard work pays off, transforming dough into delicious bread.
Understanding Oven Temperature and Baking Time
1. Preheat the Oven: Always preheat your oven to 450°F (232°C) at least 30 minutes before baking. A hot oven is essential for achieving a good rise and crust.
2. Baking Stone or Sheet: If you have a baking stone, place it in the oven while preheating. If not, a baking sheet will work just fine.
Signs to Look for to Determine Doneness
Your French bread is done when:
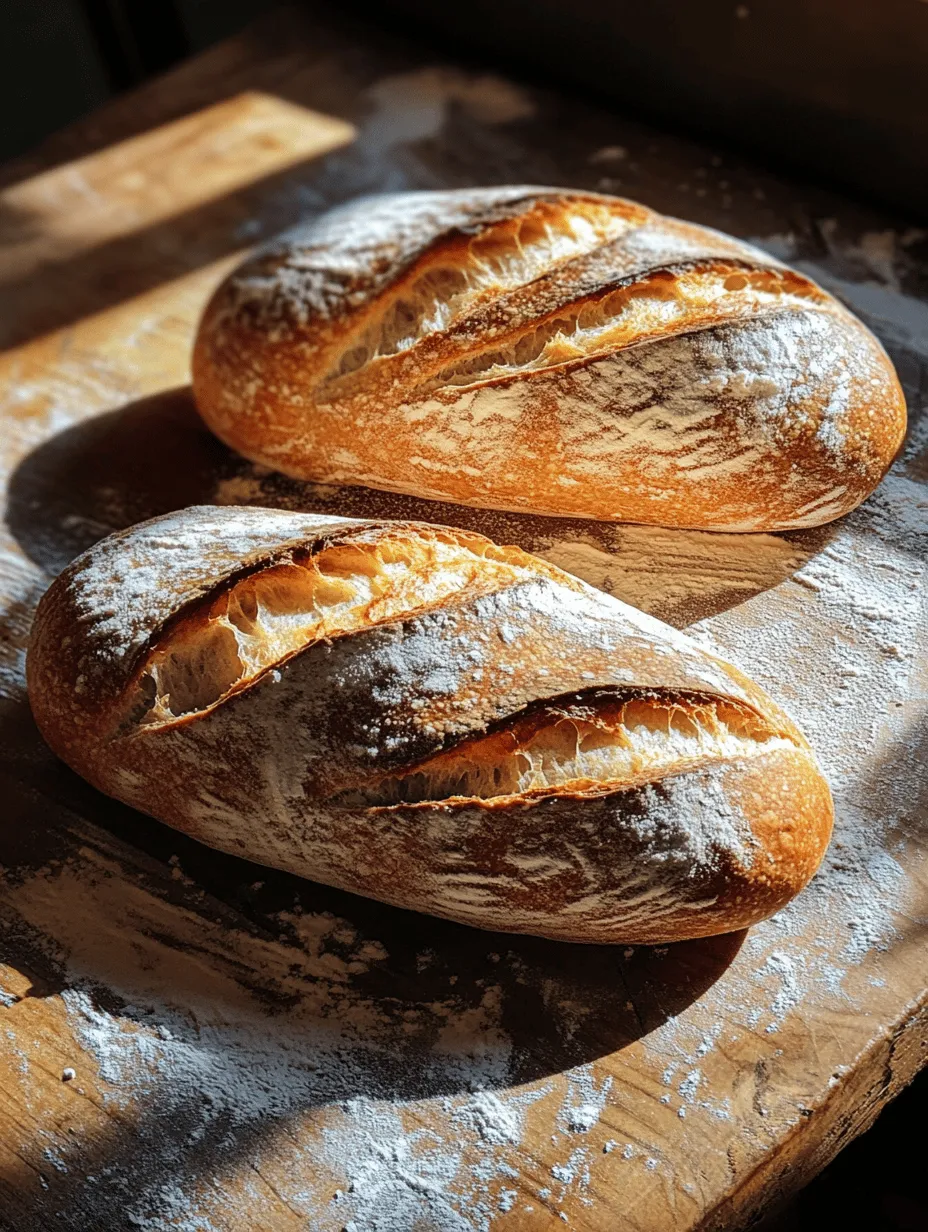
– Color: The loaves should be a deep golden brown.
– Sound: Tap the bottom of the loaf; it should sound hollow.
– Internal Temperature: If you have a kitchen thermometer, the internal temperature should reach around 190°F to 200°F (88°C to 93°C).
Cooling and Slicing: Enhancing Flavor
Once baked, cooling your bread properly is crucial to preserving its texture and flavor.
Why Cooling on a Wire Rack is Crucial
Place the loaves on a wire rack to cool for at least 30 minutes before slicing. This allows steam to escape and prevents the bread from becoming soggy. Cooling also enhances the flavor as it allows the crust to set properly.
Techniques for Slicing Bread Without Squishing It
To slice your bread without squashing it, use a serrated bread knife. Start at the end of the loaf and saw gently back and forth, applying minimal pressure. This will help you achieve even, clean slices.
The Versatility of Homemade French Bread
Homemade French bread is not only delicious on its own but also incredibly versatile in the kitchen.
Serving Suggestions
– Classic Pairings: Serve with butter, olive oil, or balsamic vinegar for dipping. French bread also complements soups and stews beautifully.
– Creative Uses for Leftovers: Transform stale bread into croutons, breadcrumbs, or use it for French toast or bread pudding. You can also make sandwiches or bruschetta, highlighting fresh ingredients.
Storing Your Homemade Bread
To keep your French bread fresh, proper storage is key.
Best Practices for Keeping Bread Fresh
– Room Temperature: Store your bread wrapped in a kitchen towel or in a paper bag at room temperature for up to three days.
– Avoid Plastic Bags: While they may seem convenient, plastic bags can trap moisture and lead to a soggy crust.
How to Freeze Bread for Later Enjoyment
If you want to save some for later, freezing is an excellent option:
1. Slice Before Freezing: Slice the bread before freezing for easy access.
2. Wrap Properly: Wrap the loaves tightly in plastic wrap and then in aluminum foil or place in a freezer-safe bag, squeezing out as much air as possible.
3. Thawing: To thaw, leave at room temperature for a few hours or place in a preheated oven for a few minutes to refresh the crust.
Conclusion
Homemade French bread is not just a recipe; it’s a journey into the heart of baking. By understanding the ingredients, mastering the techniques, and appreciating the nuances of the process, you can create a delicious product that nourishes and brings joy to those who share it. Embrace the art of baking and enjoy the fruits of your labor with every slice of this classic delight. Whether enjoyed fresh, transformed into delightful leftovers, or shared with loved ones, your homemade French bread is sure to become a cherished staple in your kitchen.