
Introduction
In the world of frozen desserts, few treats are as delightful and indulgent as pistachio ice cream. Renowned for its unique flavor and creamy texture, pistachio ice cream has become a beloved choice among ice cream enthusiasts. This easy Haagen Dazs-inspired pistachio ice cream recipe captures the rich, nutty flavor of pistachios while providing a creamy texture that is sure to satisfy your sweet tooth. Whether you’re hosting a summer gathering or simply looking to cool off after a long day, making your own pistachio ice cream at home is both gratifying and straightforward.
This article will guide you through each step of the process, explain the key ingredients, and offer insights into the art of ice cream making. By the end of this guide, you’ll have a delicious homemade pistachio ice cream that rivals the store-bought versions, allowing you to impress family and friends with your culinary skills.
Understanding the Ingredients
Creating the perfect pistachio ice cream begins with understanding the ingredients that contribute to its delightful flavor and texture. Each component plays a crucial role, ensuring that every scoop is a creamy and satisfying experience. Here’s a breakdown of the key ingredients you’ll need for this recipe.
The Foundation of Creaminess: Heavy Cream and Whole Milk
The base of any good ice cream is the combination of heavy cream and whole milk. Heavy cream contains a high fat content, which is essential for creating a rich and creamy texture. This fat not only contributes to the mouthfeel of the ice cream but also helps to prevent ice crystals from forming, resulting in a smoother finish.
Whole milk complements the richness of heavy cream, providing a balanced texture without being overly heavy. The ideal ratio of heavy cream to whole milk in this recipe enhances the overall creaminess, making each scoop indulgent. For the best results, use high-quality dairy products to ensure that your homemade ice cream has a rich flavor.
Sweetening the Deal: Granulated Sugar
Sugar is not just a sweetener; it plays a pivotal role in the overall texture and flavor of your pistachio ice cream. Granulated sugar helps to balance the flavors, enhancing the nuttiness of the pistachios while providing the necessary sweetness that makes ice cream a dessert favorite.
Moreover, sugar lowers the freezing point of the mixture, which prevents the ice cream from becoming too hard. This means you’ll be able to scoop your ice cream with ease, achieving that perfect creamy consistency. It’s important to dissolve the sugar completely in the mixture to avoid any graininess in the final product.
Flavor Enhancer: Pure Vanilla Extract
Vanilla extract is a magical ingredient in many desserts, and it’s no different in this pistachio ice cream recipe. Adding pure vanilla extract enhances the overall taste, bringing out the nutty flavors of the pistachios and adding depth to the creamy base.
When selecting vanilla extract, opt for pure extract rather than imitation vanilla for the best flavor. A small amount goes a long way in elevating your ice cream, making it taste more complex and delicious.
The Star Ingredient: Pistachios
Of course, the star of this recipe is the pistachios. These green nuts are not only delicious; they are also packed with health benefits. Rich in healthy fats, protein, and fiber, pistachios are a nutritious choice for a sweet treat. They provide a unique flavor that is both earthy and slightly sweet, making them perfect for ice cream.
When selecting pistachios for your recipe, consider using unsalted, shelled nuts to maintain control over the salt levels in your ice cream. Toasting the pistachios before grinding them can also enhance their flavor, bringing out their natural oils and adding a rich depth to the ice cream.
The Role of Salt in Flavor Balance
While it might seem counterintuitive, adding a pinch of salt to your ice cream mixture can significantly enhance the overall flavor. Salt acts as a flavor enhancer, bringing out the sweetness of the sugar and the nuttiness of the pistachios. It balances the flavors, preventing the ice cream from tasting overly sweet or one-dimensional.
Be careful not to overdo it; just a small pinch will suffice. You can always taste the mixture before freezing to adjust the saltiness to your preference.
Optional Ingredient: Vodka for Scoopability
For those who want to take their ice cream-making to the next level, there’s an optional ingredient to consider: vodka. Adding a splash of vodka can make a difference in the texture of your ice cream, helping it stay softer and more scoopable even after it’s been frozen.
The reason behind this is that alcohol doesn’t freeze, which can help lower the overall freezing point of the ice cream mixture. However, it’s essential to use vodka sparingly—too much can alter the flavor. A tablespoon or two is usually sufficient, but this step is entirely optional and can be adjusted based on your preferences.
Step-by-Step Recipe Guide
Now that we’ve covered the essential ingredients that make this pistachio ice cream special, let’s dive into the step-by-step process of creating your own batch at home.
Preparing the Pistachios: The First Step to Flavor
The first step in making your pistachio ice cream is preparing the pistachios. Start with about one cup of shelled pistachios. If you prefer a more intense flavor, consider toasting the pistachios lightly in a dry skillet over medium heat for about 5 minutes, stirring frequently. Toasting not only enhances their flavor but also releases their natural oils, making them even more delicious.
Once your pistachios are toasted and cooled, it’s time to grind them into a coarse powder. This can be done using a food processor or a high-speed blender. Pulse the pistachios until they reach a fine consistency, but be careful not to over-process them into a paste. You want them to have a little texture to provide a delightful crunch in your ice cream.
Mixing the Base: Creating a Creamy Foundation
With your pistachios prepared, the next step is to create the creamy base for your ice cream. In a medium saucepan, combine 2 cups of heavy cream, 1 cup of whole milk, and 3/4 cup of granulated sugar. Heat the mixture over medium heat, stirring occasionally until the sugar is completely dissolved. Avoid boiling; you just want to warm the mixture to help the sugar dissolve efficiently.
Once the sugar has dissolved, remove the saucepan from the heat. Allow the mixture to cool slightly before moving on to the next step. This cooling period is essential as it will help the flavors meld together beautifully.
Flavoring the Base: Infusing Pistachio Goodness
After the base has cooled down, it’s time to infuse it with that delicious pistachio flavor. Add the ground pistachios to the cream and milk mixture, followed by 1 teaspoon of pure vanilla extract and a small pinch of salt. Stir well to combine all the ingredients, ensuring that the ground pistachios are evenly distributed throughout the mixture.
At this stage, if you’d like to incorporate vodka for added scoopability, now is the time to add one to two tablespoons to the mixture, stirring well to ensure even distribution.
Once you’ve mixed everything together, taste the base to see if the flavors are balanced to your liking. If you feel it needs a touch more sweetness or salt, make those adjustments before proceeding.
This creamy pistachio base is now ready to be chilled before the freezing process begins.
Stay tuned for the next part of this guide, where we will explore the freezing process and how to achieve the perfect texture in your homemade pistachio ice cream.
Chilling the Mixture: Importance of Temperature
Before you embark on the exciting journey of churning your homemade pistachio ice cream, it’s crucial to chill the mixture thoroughly. Chilling serves multiple purposes that enhance the final product, ensuring a creamy texture and robust flavor.
First, chilling the mixture allows the flavors to meld beautifully. The resting period gives the pistachio essence time to infuse into the cream, resulting in a more pronounced nutty taste. Ideally, let your mixture chill in the refrigerator for at least 4 hours, or even overnight if time allows. This not only develops the flavor but also helps achieve the right temperature for the churning process.
When the mixture is too warm, it can lead to larger ice crystals during the freezing process, compromising the smooth texture you desire. To chill the mixture effectively, cover it with plastic wrap or transfer it to an airtight container to prevent it from absorbing any unwanted odors from your fridge.
Churning the Ice Cream: The Magic of Transformation
Once your mixture is properly chilled, it’s time to transform it into ice cream through the churning process. This step is where science meets culinary art, as the mixture changes from a liquid state to a creamy, frosty delight.
If you’re using an ice cream maker, pour the chilled mixture into the machine and follow the manufacturer’s instructions. As the machine churns, it incorporates air into the mixture, which is vital for achieving that light, fluffy texture characteristic of premium ice cream. This process can take anywhere from 20 to 40 minutes, depending on your ice cream maker.
You will notice the ice cream thickening and expanding in volume as the air is incorporated. This transformation is fascinating; the mixture changes from a watery consistency to a creamy, luscious texture. As a general rule, stop churning once the ice cream reaches a soft-serve consistency. This is when it’s ready to be transferred into a storage container for freezing.
Freezing to Perfection: Achieving the Right Consistency
The final freezing stage is crucial in determining the texture of your ice cream. After churning, transfer the soft ice cream into a pre-chilled airtight container, smoothing the top with a spatula. To achieve the perfect consistency, cover the surface of the ice cream with a piece of parchment paper, pressing it gently against the ice cream before sealing the container. This step prevents ice crystals from forming on the surface.
Place the container in the freezer for at least 4 hours, or until the ice cream is firm enough to scoop. For best results, avoid opening the freezer frequently during this time, as fluctuations in temperature can affect the ice cream’s texture.
Serving Suggestions: Presentation Matters
Presentation plays a significant role in enhancing the dining experience, so consider these ideas for serving your pistachio ice cream beautifully.
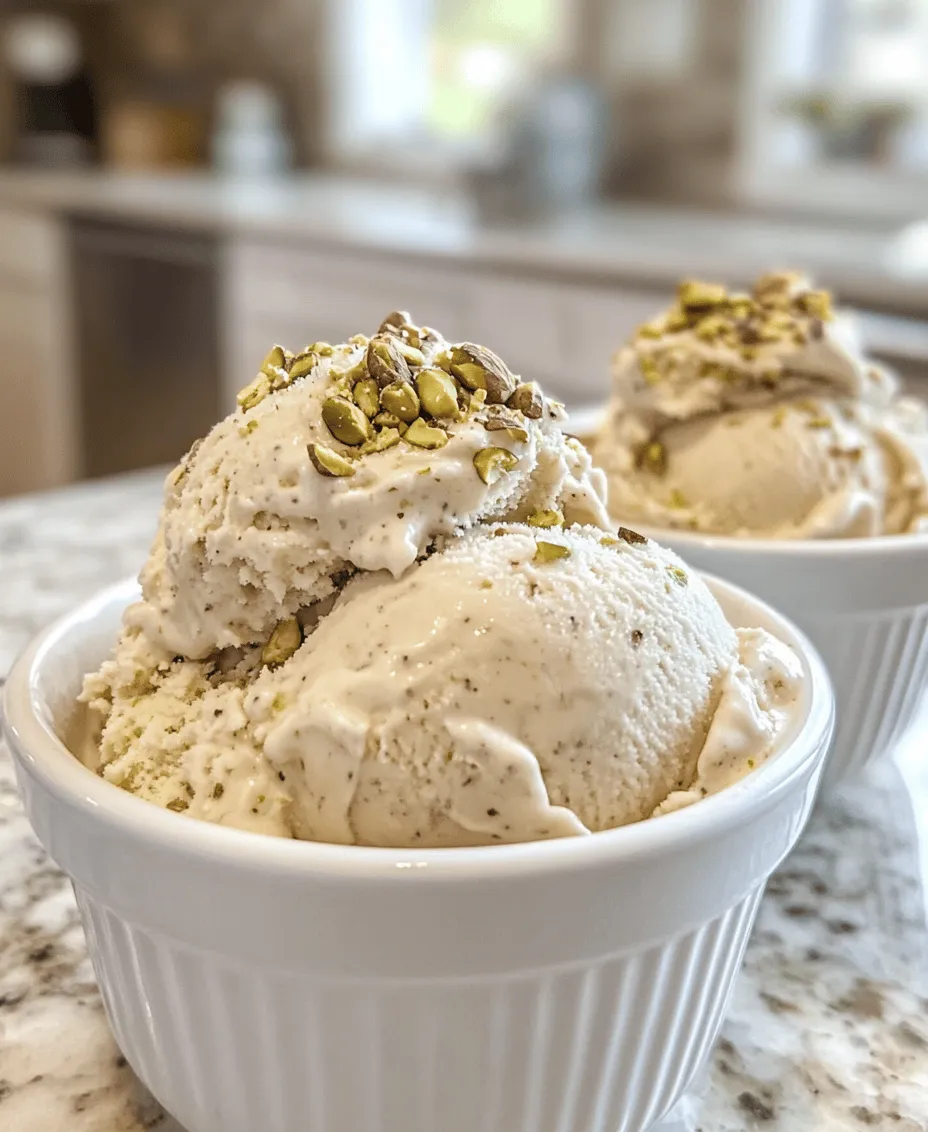
1. Garnishing: Top your scoops with crushed pistachios for an added crunch and a pop of color. You can also drizzle some warm chocolate sauce or honey over the ice cream for a delightful contrast in flavors.
2. Serving Bowls: Use elegant ice cream bowls or waffle cones for serving. A cone adds a fun texture and flavor contrast, while bowls allow you to showcase your garnishes beautifully.
3. Creating Sundaes: Elevate your pistachio ice cream to sundae status by adding layers of chocolate sauce, whipped cream, and a cherry on top. This classic combination is sure to impress.
4. Ice Cream Sandwiches: Scoop the pistachio ice cream between two cookies for a delicious ice cream sandwich. Consider using chocolate or almond cookies to complement the nutty flavor.
The Science Behind Ice Cream Making
Understanding Ice Cream Texture: Creaminess vs. Air Incorporation
The texture of ice cream is a delicate balance between creaminess and air incorporation. The fat content in the cream contributes to a smooth mouthfeel, while the air trapped during churning prevents the ice cream from becoming dense and heavy.
In general, a higher fat content results in a creamier texture. This is why heavy cream is often preferred in homemade ice cream recipes. Additionally, the amount of air incorporated during churning, known as overrun, affects the final product’s lightness. A higher overrun means a lighter ice cream, while a lower overrun results in a denser treat.
The Freezing Process: Crystals and Creaminess
The freezing process is also critical in determining the ice cream’s texture. When ice cream is frozen too quickly or at an improper temperature, larger ice crystals can form, leading to a grainy texture. Conversely, a slow freezing process allows for the formation of smaller ice crystals, resulting in a smoother product.
To achieve that creamy consistency, it’s essential to freeze your ice cream at a consistent temperature, ideally at or below 0°F (-18°C). Using an ice cream maker helps maintain this temperature during the churning process, which contributes to a better texture.
The Role of Churning: Incorporating Air
Churning is not just about mixing; it’s a vital step that incorporates air into the ice cream mixture, contributing to its lightness and smooth texture. As the ice cream maker churns, it introduces air pockets, which helps lift the mixture, creating a fluffy and airy final product.
The air content also affects the melting rate of the ice cream. Ice creams with higher air content will melt more slowly, making them more enjoyable to savor. This is why premium ice creams often have a higher overrun, giving them a luxurious, indulgent quality.
Common Challenges and Solutions
Troubleshooting Ice Cream Issues: What to Do When Things Go Wrong
Even with the best intentions, sometimes ice cream-making can lead to unexpected results. Here are some common problems and how to troubleshoot them:
– Icy Texture: If your ice cream turns out icy, it may be due to insufficient churning or inadequate chilling of the mixture before freezing. Make sure to chill the mixture thoroughly and churn it long enough to incorporate enough air.
– Graininess: Grainy ice cream can occur if sugar doesn’t dissolve completely in the mixture. Ensure that you mix the sugar well into the cream, allowing it to fully dissolve before chilling.
– Too Soft: If your ice cream is too soft after churning, it may not have been frozen long enough. Ensure you freeze it for at least 4 hours or until firm.
Understanding Scoopability: Why Ice Cream Can Be Hard
Homemade ice cream can sometimes be challenging to scoop, especially if it has been stored in the freezer for an extended period. This hardness is often due to the formation of ice crystals. To remedy this, let the ice cream sit at room temperature for about 5-10 minutes before serving.
Additionally, using an ice cream scoop that has been warmed slightly under hot water can help you achieve perfect scoops without excessive effort.
Conclusion
Homemade pistachio ice cream is not just a dessert; it’s an experience that brings flavors and textures together in a delightful way. By following this easy recipe, you can create a creamy and nutty treat that rivals store-bought options. With just a few simple ingredients and steps, you can enjoy the satisfaction of crafting your very own ice cream.
Dive into the world of homemade desserts and savor the rich, indulgent flavor of pistachio ice cream that you’ve created from scratch. Whether served in a bowl, a cone, or as part of an elaborate dessert, your homemade pistachio ice cream is sure to impress friends and family alike. Enjoy the process, and let each scoop remind you that the best flavors are often crafted with love and care.