Introduction
Banana split desserts have long held a special place in the hearts of dessert lovers. Their nostalgic appeal stems from the classic combination of flavors and textures that evokes childhood memories of summer days spent at ice cream parlors. The iconic trio of banana, ice cream, and colorful toppings creates a delightful treat that is both indulgent and satisfying.
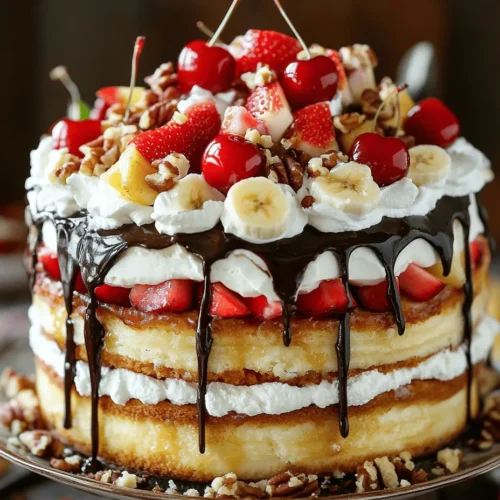
Enter the Delightful Banana Split Cake, a creative twist on this beloved classic. This cake not only captures the essence of a traditional banana split but also elevates it into a stunning dessert that is perfect for any occasion. Whether you’re celebrating a birthday, hosting a family gathering, or simply craving something sweet, this cake is sure to impress.
One of the standout features of the Delightful Banana Split Cake is its versatility and ease of preparation. With just a few simple steps, you can create a show-stopping dessert that combines the flavors of a banana split with the comforting texture of cake. It’s a fantastic way to bring the joy of a classic banana split to your table in a form that everyone can enjoy.
Understanding the Delightful Banana Split Cake
The Delightful Banana Split Cake draws inspiration from the traditional banana split sundae, a dessert that has been enjoyed for decades. The origins of this cake can be traced back to the desire to combine the beloved flavors of the sundae into a more portable and shareable form. It captures the essence of a banana split with layers of soft cake, fresh fruits, and creamy toppings, making it a delightful addition to any dessert table.
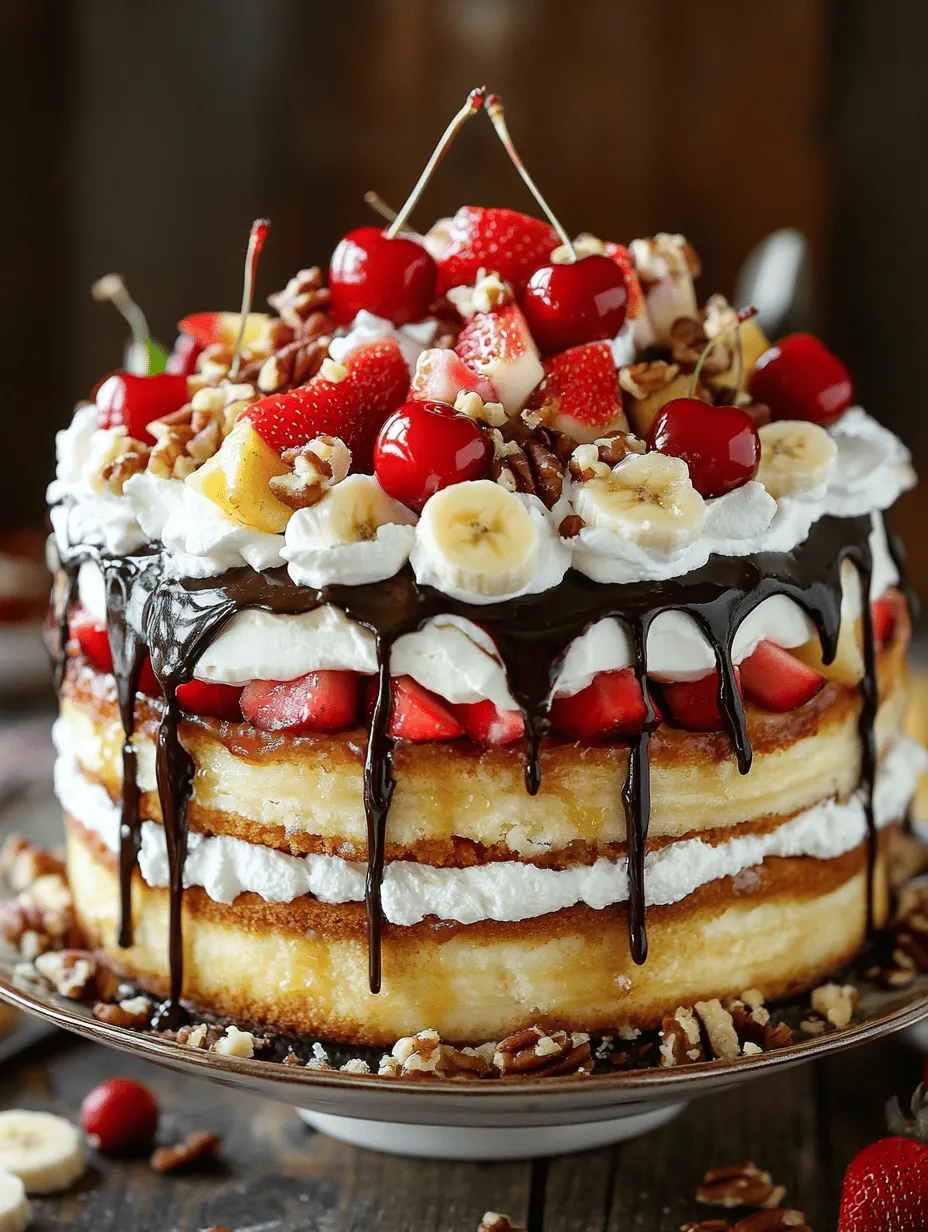
This cake is a perfect blend of flavors and textures: the moist and fluffy cake serves as a base, while the layers of fresh fruits—bananas, strawberries, and pineapples—add bursts of flavor and natural sweetness. The creamy whipped topping and rich chocolate syrup create an indulgent finish that ties all the elements together. As a result, the Delightful Banana Split Cake appeals to both children and adults, making it a family favorite that can be enjoyed by all ages.
Ingredients Breakdown
To create the Delightful Banana Split Cake, you’ll need a selection of key ingredients that work together to deliver the perfect balance of flavor and texture. Here’s an overview of what you’ll need:
– Yellow Cake Mix: This serves as the foundation of the cake. The convenience of using a pre-made cake mix allows you to save time without sacrificing flavor. The light and buttery flavor of yellow cake complements the fruity toppings perfectly.
– Fresh Fruits: The stars of the show are the fresh fruits used in this recipe. Ripe bananas add natural sweetness and creaminess, while strawberries bring a refreshing tartness. Pineapple chunks contribute a tropical twist that enhances the overall flavor profile of the cake. Not only do these fruits taste great, but they also add nutritional value, making the dessert a bit healthier.
– Whipped Cream: A generous layer of whipped cream adds a light and fluffy texture, creating a delightful contrast with the dense cake and fresh fruits. It also serves as a canvas for the other toppings, allowing the flavors to meld beautifully.
– Chocolate Syrup: Drizzled on top, chocolate syrup adds a rich and indulgent element that mirrors the classic toppings of a banana split. Its sweet and gooey consistency enhances the overall flavor of the cake, making each bite even more enjoyable.
– Optional Garnishes: To take your cake to the next level, consider adding chopped nuts for a satisfying crunch and maraschino cherries for a pop of color and sweetness. These garnishes not only enhance the presentation of the cake but also provide additional texture and flavor, making it even more reminiscent of a traditional banana split.
Step-by-Step Instructions for Preparation
Now that you have a clear understanding of the ingredients, let’s dive into the step-by-step instructions for preparing your Delightful Banana Split Cake. Follow these guidelines carefully to create a delicious dessert that everyone will love.
Step 1: Gather Your Ingredients
Before starting, make sure you have all your ingredients ready. This includes your yellow cake mix, eggs, water, fresh bananas, strawberries, pineapple chunks, whipped cream, and chocolate syrup. Having everything measured and within reach will make the preparation process smoother and more enjoyable.
Step 2: Prepare the Cake
1. Mix the Cake Batter: In a large mixing bowl, combine the yellow cake mix, eggs, and water as instructed on the cake mix package. Use an electric mixer on medium speed to blend the ingredients until smooth and well combined, usually about 2-3 minutes.
2. Bake the Cake: Preheat your oven to the temperature indicated on the cake mix box. Grease and flour two round cake pans to prevent sticking. Pour the cake batter evenly into the prepared pans. Bake in the preheated oven for about 25-30 minutes, or until a toothpick inserted into the center comes out clean.
3. Cool the Cakes: Once baked, remove the pans from the oven and allow them to cool in the pans for about 10 minutes. Then, gently turn the cakes out onto wire racks to cool completely.
Step 3: Prepare the Toppings
While the cakes are cooling, take this time to prepare your toppings:
1. Slice the Fruits: Peel the bananas and slice them into thin rounds. Wash the strawberries and cut off the green tops, then slice them into halves or quarters depending on their size. Drain the pineapple chunks if using canned pineapple.
2. Whip the Cream: If you’re using heavy cream, beat it with a mixer until it forms stiff peaks. For convenience, you can also use store-bought whipped cream.
Step 4: Assemble the Cake
1. Layer the Cakes: Once the cakes are completely cool, place one layer on a serving platter. Spread a generous layer of whipped cream over the top.
2. Add the Fruits: Layer the sliced bananas, strawberries, and pineapple chunks on top of the whipped cream.
3. Second Layer: Place the second cake layer on top of the fruits. Repeat the process by spreading another layer of whipped cream and adding more fruit.
4. Final Touches: Drizzle chocolate syrup over the top and sprinkle with chopped nuts and a few maraschino cherries for a festive finish.
With these detailed steps, you are well on your way to creating a stunning and delicious Delightful Banana Split Cake. The combination of soft cake, fresh fruits, and creamy layers makes for a dessert that is sure to be the highlight of any gathering. Stay tuned for more instructions and tips for serving this delightful treat!
Detailed Preparation Steps for the Delightful Banana Split Cake
Creating the Delightful Banana Split Cake is a journey filled with flavors and textures that will remind you of the classic ice cream treat. To ensure your cake comes out perfectly, follow these detailed preparation steps, emphasizing critical points for success.
Preheat the Oven and Prepare the Baking Dish
The first step in your baking adventure is to preheat your oven to 350°F (175°C). This temperature is crucial for achieving the ideal baking environment, allowing your cake to rise perfectly and develop a golden crust.
While the oven heats, prepare your baking dish. For this recipe, you can use a 9×13-inch rectangular cake pan. Grease the pan generously with butter or non-stick cooking spray, and then lightly dust it with flour. This step prevents the cake from sticking, ensuring a smooth release when it’s time to serve your masterpiece.
Preparing the Cake Mix: Tips for Achieving a Fluffy Texture
Now, it’s time to prepare the cake mix. In a large mixing bowl, combine the dry ingredients: 2 cups of all-purpose flour, 1 cup of granulated sugar, 1 tablespoon of baking powder, and a pinch of salt. Whisk them together to ensure they are well combined and free of lumps.
In a separate bowl, mash 3 ripe bananas until smooth. The ripeness of the bananas is key; they should be speckled with brown spots, indicating they are sweet and flavorful. To the mashed bananas, add ½ cup of melted butter, 2 large eggs, and 1 teaspoon of vanilla extract. Mix these wet ingredients thoroughly until they are well combined.
Gradually add the dry ingredients to the wet mixture, folding them gently with a spatula. Be careful not to overmix; this can lead to a dense cake. Stop mixing when you no longer see dry flour—small lumps are perfectly fine. The goal here is to incorporate air into the batter, which will result in a light and fluffy texture.
Importance of Cooling the Cake Before Layering
Once the batter is ready, pour it into the prepared baking pan and spread it evenly. Bake in the preheated oven for approximately 30-35 minutes, or until a toothpick inserted into the center comes out clean. This step is crucial—baking times may vary slightly based on your oven, so keep an eye on the cake as it nears the end of the baking time.
After baking, remove the cake from the oven and let it cool in the pan for about 10 minutes. Then, carefully transfer it to a wire rack to cool completely. This cooling period is essential, as it prevents the whipped cream from melting when you layer the cake. If you attempt to layer while the cake is still warm, the cream will slide off, ruining your presentation.
Layering Process: Assembling the Cake
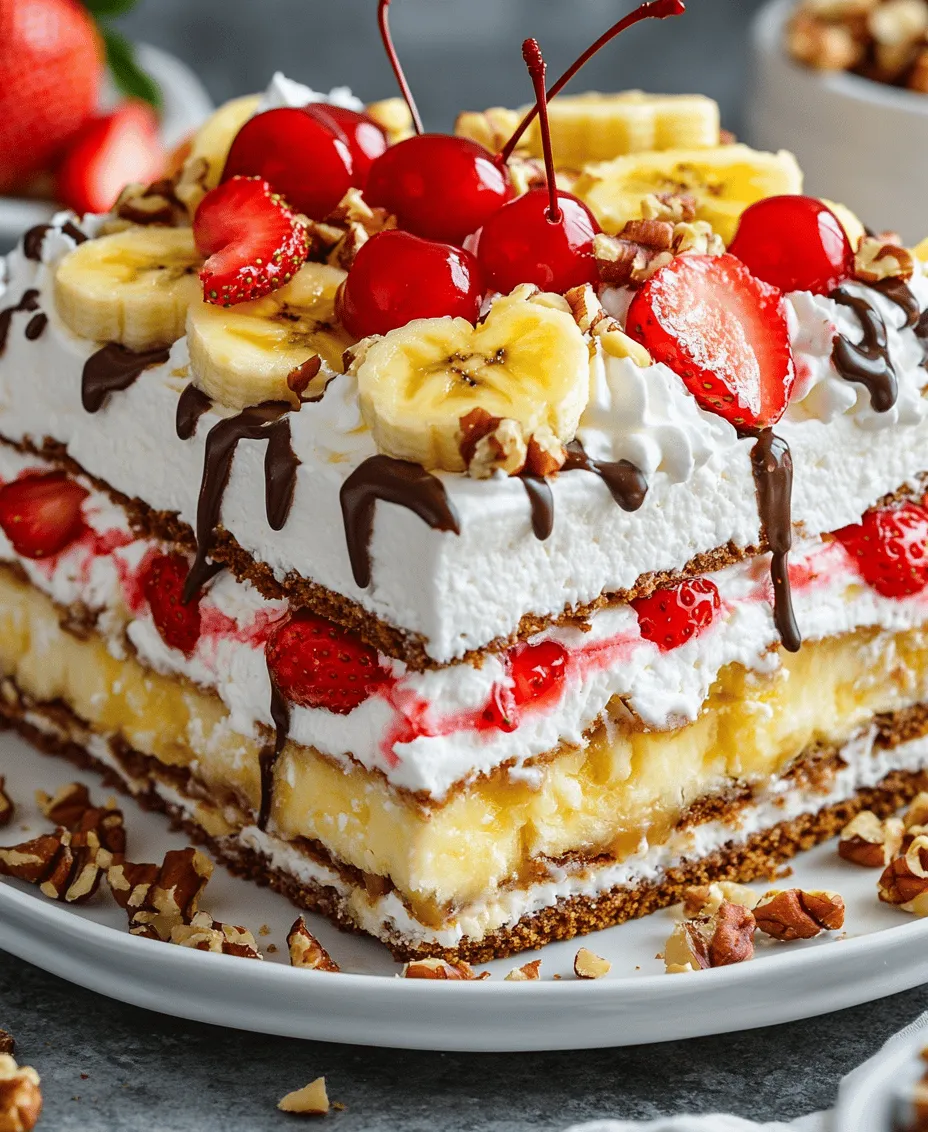
Once the cake has cooled completely, it’s time to assemble the layers. Start by slicing the cake horizontally into two even layers. Place the bottom layer on a serving platter. Spread a generous layer of whipped cream over the cake, followed by a layer of sliced bananas. Use about 2-3 bananas, depending on their size, and arrange them evenly to ensure every slice has a taste of banana.
Next, place the second layer of the cake on top of the bananas. Repeat the layering process with another layer of whipped cream and bananas. The key here is to balance the flavors; the sweetness of the cake, the creaminess of the whipped cream, and the freshness of the bananas should all shine through.
Final Touches: Decorating the Cake
For the final decoration, drizzle chocolate syrup generously over the top layer of whipped cream. You can either use store-bought chocolate syrup or make your own for a gourmet touch. To elevate the visual appeal, sprinkle chopped nuts—such as walnuts or pecans—around the edges and in the center. Finish off with maraschino cherries, placing them on top of the cake and in between the nuts for a classic banana split vibe.
Serving Suggestions and Presentation Tips
When it comes to presenting your Delightful Banana Split Cake, consider the occasion. For birthday parties, you might want to add colorful sprinkles on top to enhance the festive atmosphere. For more formal gatherings, a simple presentation with fresh mint leaves can add a touch of elegance.
Slice the cake into squares for serving, ensuring that each piece has a bit of every layer. This technique not only enhances the visual appeal but also ensures each bite contains a delightful combination of flavors and textures.
In terms of beverage pairings, the cake pairs wonderfully with coffee, tea, or even a refreshing milkshake. A classic vanilla or chocolate milkshake complements the cake’s banana flavor perfectly, making it an ideal treat for both children and adults alike.
Storage and Shelf Life
To maintain the freshness of your Delightful Banana Split Cake, proper storage is essential. If you have leftovers, cover the cake with plastic wrap or store it in an airtight container. The cake can be kept in the refrigerator for up to 3-4 days without losing its delightful taste and texture.
If you want to preserve the cake for a longer period, consider freezing portions. To freeze, slice the cake into individual pieces and wrap each slice tightly in plastic wrap, followed by aluminum foil. This double-layer protection helps prevent freezer burn. The cake can be frozen for up to three months. When you’re ready to enjoy a slice, simply thaw it in the refrigerator overnight, and it will taste as fresh as the day it was made.
Conclusion
The Delightful Banana Split Cake is more than just a dessert; it’s a nostalgic treat that combines the beloved flavors of a classic banana split in cake form. This recipe invites you to indulge in a delightful combination of fluffy banana cake, rich whipped cream, and vibrant toppings, creating a memorable experience for anyone who shares it with you.
As you embark on this baking adventure, we encourage you to share this recipe with friends and family. Gather around the table, slice into the cake, and enjoy the joyful moments that come from sharing delicious creations. Each bite of this cake radiates warmth and happiness, reminding us of the joy that baking can bring. Whether it’s a birthday celebration, a summer gathering, or a simple family dinner, the Delightful Banana Split Cake is sure to impress and satisfy. Happy baking!