Introduction to Crunchy Tortilla Chip Adventure
Tortilla chips have become a beloved snack for many, gracing tables at parties, game nights, and casual gatherings. Their satisfying crunch and versatility make them a favorite for both young and old. Whether enjoyed solo or paired with a salsa, guacamole, or cheese dip, these golden triangles bring joy to every occasion. But have you ever considered making your own tortilla chips?
Homemade tortilla chips not only promise freshness and flavor but also allow for customization, making them a delightful addition to any dish. You can control the ingredients, adjust seasonings to your taste, and even choose the cooking method that best suits your dietary preferences. With this ‘Crunchy Tortilla Chip Adventure’ recipe, you’ll discover how easy it is to whip up a batch of these crunchy delights in your own kitchen.
In this article, we will guide you through the history and significance of tortilla chips, the nutritional benefits of making your own, and a detailed list of ingredients needed for this recipe. For those ready to embark on this culinary journey, we will also provide a step-by-step guide to creating your own crunchy tortilla chips that are not only delicious but also healthier than their store-bought counterparts.
Understanding Tortilla Chips: A Culinary Staple
The story of tortilla chips dates back to the 1940s when they were first created in Los Angeles, California, as a way to utilize leftover tortillas. The original creator, Rebecca Webb Carranza, began frying the tortillas into triangles, giving birth to the iconic snack we know today. Over the decades, tortilla chips have evolved into an essential component of Mexican cuisine and are now enjoyed globally. Their cultural significance is evident in dishes like nachos, where chips serve as the base for a variety of toppings, showcasing their versatility.
When it comes to choosing between store-bought and homemade tortilla chips, the difference is palpable. While commercial options often come with preservatives and artificial flavors, homemade tortilla chips offer a freshness that is hard to replicate. By making your chips at home, you can ensure that only high-quality ingredients are used. Additionally, homemade chips can be baked or fried according to your preference, allowing you to enjoy a healthier version of this popular snack.
Nutritionally, homemade tortilla chips can be a better choice. By using fresh corn tortillas, you can avoid the excess sodium and unhealthy fats often found in pre-packaged versions. Furthermore, you can control the amount of oil and salt used in your recipe, tailoring it to your dietary needs. This not only enhances the flavor but also improves the overall healthiness of the snack, making it a guilt-free indulgence.
Ingredients Breakdown for Crunchy Tortilla Chips
Now that you understand the appeal of homemade tortilla chips, let’s dive into the ingredients that make this recipe a success. The star of this dish is, of course, the corn tortillas. There are various types of corn tortillas available in stores, including white, yellow, and blue corn options, each offering a unique flavor and texture. Fresh tortillas are often the best choice, delivering a superior crunch and taste compared to packaged varieties.
Using fresh tortillas not only elevates the flavor but also ensures that you are consuming a product without unnecessary additives. If you’re short on time, packaged tortillas can still yield delicious results, but opting for fresh ones, whether homemade or from a local market, is ideal for achieving that perfect crunch.
Olive oil plays a crucial role in enhancing both the flavor and texture of your chips. A light coating of olive oil adds richness and helps the seasonings adhere to the chips, giving them an irresistible taste. Beyond flavor, olive oil is also a healthier fat option compared to other oils, providing beneficial monounsaturated fats.
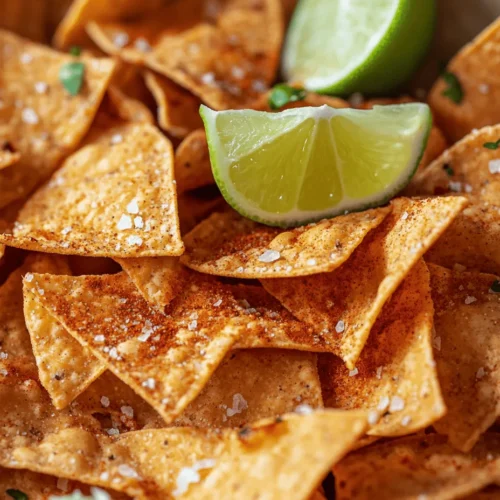
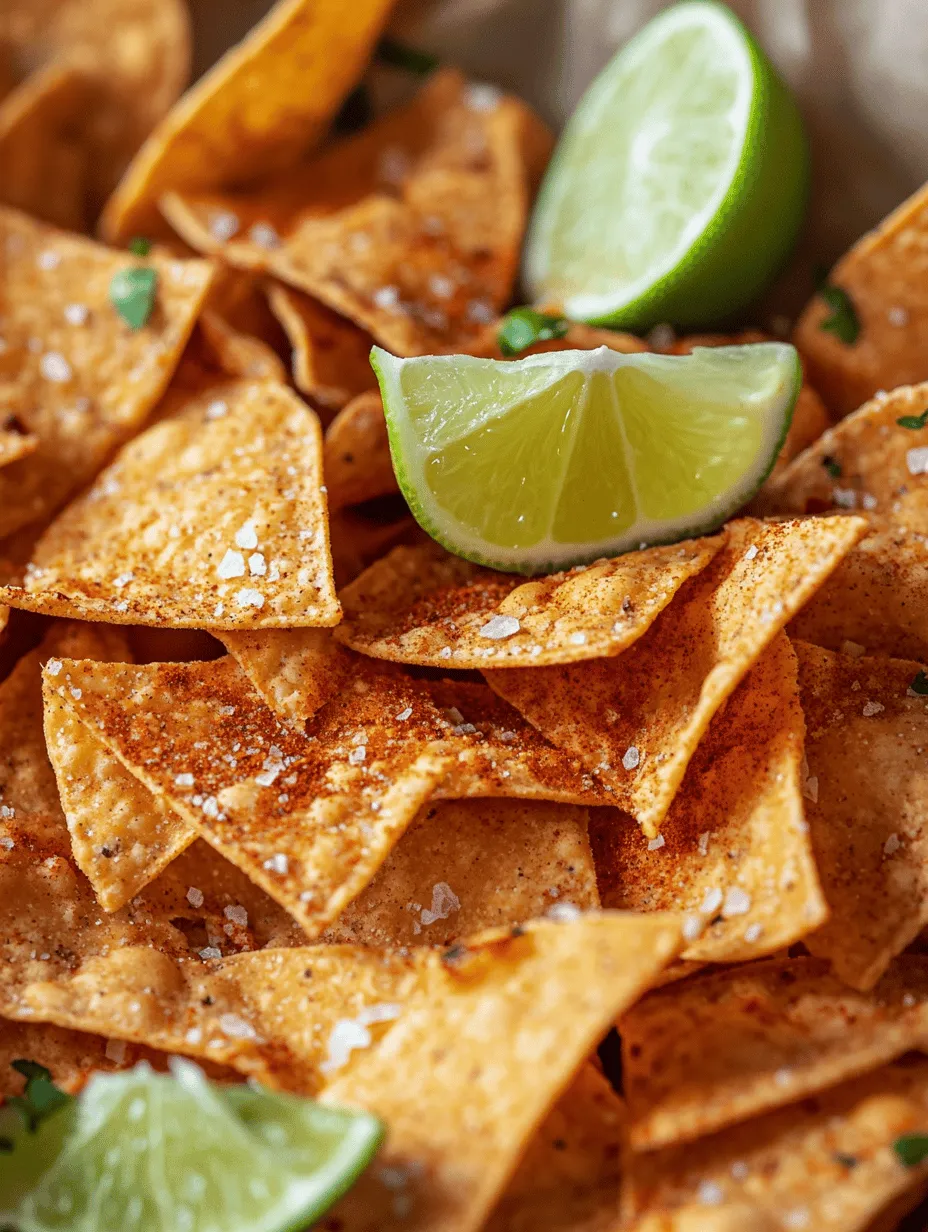
When it comes to seasonings, simplicity is key. Sea salt is a must-have for balancing flavors, while spices like chili powder and garlic powder can elevate your chips with an extra kick. Not only do these spices add depth to the taste, but they also come with their own health benefits. Chili powder is known for its antioxidant properties, and garlic powder can boost the immune system, making your snack not just enjoyable but also nutritious.
Customization is one of the greatest advantages of making your own tortilla chips. Feel free to experiment with different seasoning blends based on your preferences. Want something spicier? Add more chili powder or even cayenne pepper. Prefer a herby flavor? Consider adding dried oregano or thyme to the mix.
Finally, the finishing touch that takes your tortilla chips to the next level is a squeeze of fresh lime juice. This adds a zesty brightness that complements the saltiness of the chips beautifully. Lime juice also offers health benefits, including a boost of vitamin C and antioxidants, making your snack not only tasty but also nourishing.
Step-by-Step Guide to Making Crunchy Tortilla Chips
With your ingredients ready, it’s time to dive into the fun part: making your crunchy tortilla chips! The first step is to preheat your oven to 350°F (175°C). Proper oven preparation is essential for achieving that perfect crunch. While the oven heats, gather your tools: a baking sheet, parchment paper (optional), and a sharp knife or pizza cutter for cutting your tortillas.
Next, it’s time to cut the corn tortillas. Depending on your desired chip size, you can cut them into classic triangles, strips, or even fun shapes like stars or hearts for a creative presentation. If you prefer uniform chips, a pizza cutter can help you achieve clean, straight lines. The key is to ensure that the chips are cut evenly to promote even cooking.
Once your tortillas are cut, it’s time to coat them with olive oil. Place the tortilla pieces in a large mixing bowl and drizzle with olive oil. Use your hands or a spatula to toss the tortillas gently, ensuring each piece is evenly coated. This step is crucial for achieving that delightful crunch and flavor infusion.
Next, it’s time to add your seasonings. Sprinkle sea salt, chili powder, and garlic powder over the oiled tortillas, tossing them again to ensure even distribution. This is where the fun of customization comes in—feel free to add more or less of each seasoning according to your taste preferences.
After seasoning your tortilla pieces, lay them out on a baking sheet in a single layer. Make sure not to overcrowd the chips, as this can lead to uneven cooking. If you have multiple baking sheets, you can bake them in batches to ensure every chip gets the attention it deserves.
Finally, place your baking sheet in the preheated oven and bake for about 10-15 minutes, or until the chips are golden brown and crispy. Be sure to keep an eye on them, as cooking times may vary based on your oven and the thickness of the tortillas. Once they’re done, remove them from the oven and let them cool briefly before diving in.
As you can see, making your own crunchy tortilla chips is an easy and rewarding process that brings a fresh twist to this beloved snack. With a few simple ingredients and steps, you can create a delicious treat that’s perfect for any occasion. Stay tuned for the next part of this adventure, where we will explore more tips and tricks to elevate your tortilla chip experience!

Ensuring Even Coverage for Optimal Crunch
When making your Crunchy Tortilla Chips, achieving that perfect crunch starts with ensuring an even coating of oil and seasoning. After cutting your tortillas into triangles, the next step is to lay them out in a single layer on your prepared baking sheets. This is crucial for allowing hot air to circulate evenly around each chip, which is essential for a consistent texture.
To ensure even coverage, use a spray bottle or brush to lightly coat the tortilla triangles with oil. Olive oil is a great choice for flavor, but you can also experiment with avocado oil or coconut oil for different nuances. After applying the oil, sprinkle your chosen seasonings evenly across the chips. A gentle toss can help distribute the oil and seasonings evenly, ensuring that every bite is as flavorful and crunchy as the next.
Baking Process Details
Once your chips are perfectly coated and arranged, it’s time to bake them to crispy perfection. Preheat your oven to 350°F (175°C), which is the ideal temperature for achieving that golden-brown color without burning. Place your baking sheets in the oven and set your timer for 10 minutes.
At this point, it’s essential to keep an eye on your chips. After the initial 10 minutes, take a moment to check their progress. Depending on your oven’s specifics, they might need a few more minutes. If they appear pale or soft, give them another 2 to 3 minutes, but be cautious not to overcook them. The goal is to achieve a light, crispy texture without any burnt edges.
Importance of Oven Temperature and Baking Time
Oven temperature and baking time are critical factors in the baking process of your Crunchy Tortilla Chips. An oven that is too hot can lead to burnt chips that are crispy on the outside but chewy inside, while one that is too cool may result in chips that lack that satisfying crunch.
It’s recommended to bake your chips in batches rather than overcrowding your baking sheets. This practice allows for better airflow and more even cooking. If you find that your first batch is a bit overdone, adjust the time for subsequent batches until you nail down the perfect timing for your specific oven.
Tips for Flipping the Chips for Even Crispiness
To achieve optimal crispiness, flipping your chips halfway through the baking process is a must. This ensures that both sides receive equal exposure to the heat, leading to a uniformly crunchy texture. About halfway through the baking time, carefully remove the baking sheets from the oven and use a spatula to turn each chip over.
Be gentle during this process to avoid breaking the chips. After flipping, return them to the oven for the remaining time. This technique is especially useful for chips that are thinner, as they tend to crisp up faster and can benefit from the additional heat exposure on both sides.
Cooling Process and Serving Suggestions
Once your chips are perfectly baked and golden, remove them from the oven and let them cool on the baking sheets for a few minutes. This cooling time is crucial as it allows the chips to harden further, enhancing their crunchiness.
When ready to serve, transfer them to a serving bowl or platter. These crunchy tortilla chips are incredibly versatile and can be paired with a variety of delicious dips.
Serving Suggestions for Crunchy Tortilla Chips
– Pairing with Dips: Serve your crunchy tortilla chips with classic dips like guacamole, fresh salsa, or creamy queso. The combination of textures and flavors will elevate your snacking experience. For a twist, try them with a spicy hummus or a zesty bean dip.
– Incorporating into Meals: Don’t just limit the use of your tortilla chips to snacking! Incorporate them into meals by crumbling them over salads for added crunch, layering them with cheese and toppings for nachos, or even using them as a base for a tortilla chip casserole.
– Creative Serving Ideas for Parties and Gatherings: For gatherings, consider serving your crunchy tortilla chips in a decorative bowl alongside a charcuterie board filled with assorted cheeses, olives, and sliced meats. You can also create a DIY nacho bar, where guests can assemble their own nachos with toppings of their choice.
Variations and Customizations of the Crunchy Tortilla Chips
The beauty of homemade tortilla chips lies in their adaptability. Here are some variations and customizations to elevate your crunchy chip experience:
– Exploring Alternative Seasonings and Spices: While classic salt is always a winner, consider trying a variety of seasonings. A sprinkle of chili powder, garlic powder, or even a hint of lime zest can add a refreshing twist to your chips.
– Sweet Options: For a dessert twist, create cinnamon sugar tortilla chips. After baking, brush the chips with melted butter and sprinkle a mixture of sugar and cinnamon over them for a sweet treat that pairs perfectly with fruit salsas or vanilla ice cream.
– Savory Blends: Savory blends can take your chips to the next level. Experiment with ranch seasoning for a tangy flavor or smoked paprika for a hint of smokiness that will elevate your snack game.
– Adapting the Recipe for Dietary Restrictions: If you or your guests have dietary restrictions, don’t worry! You can easily adapt the recipe by using gluten-free tortillas or oils that suit specific dietary needs.
– Experimenting with Different Types of Tortillas: Don’t hesitate to try different types of tortillas such as flavored varieties or blue corn tortillas. Each type brings a unique taste and color, enhancing both the visual appeal and flavor of your chips.
The Joy of Homemade Snacks: Benefits Beyond Taste
Making your own tortilla chips offers numerous benefits that go beyond just taste.
– Cost Efficiency: Store-bought chips can be costly and often come in large bags that you may not finish. By making your own, you save money while enjoying a fresh product at home.
– Healthier Options: You have complete control over the ingredients, allowing you to avoid preservatives and other additives often found in commercial snacks. You can choose high-quality oils and season them to your liking, ensuring a healthier snack option.
– The Satisfaction of Cooking and Sharing: There’s a unique joy in preparing food from scratch and sharing it with friends and family. Homemade snacks can foster connections and create memorable moments in the kitchen.
Conclusion: Embracing the Crunchy Tortilla Chip Adventure
Homemade Crunchy Tortilla Chips are not only a delight to the taste buds but also a versatile addition to any meal or gathering. From pairing them with your favorite dips to integrating them into your dishes, the possibilities are endless.
We encourage you to explore and experiment with the recipe, customizing it to suit your preferences and dietary needs. The experience of cooking together can bring loved ones closer, creating memories that last a lifetime. So gather your ingredients, invite your friends or family to join in, and embark on your own crunchy tortilla chip adventure. Enjoy the journey of flavor, creativity, and fun in the kitchen!