Introduction
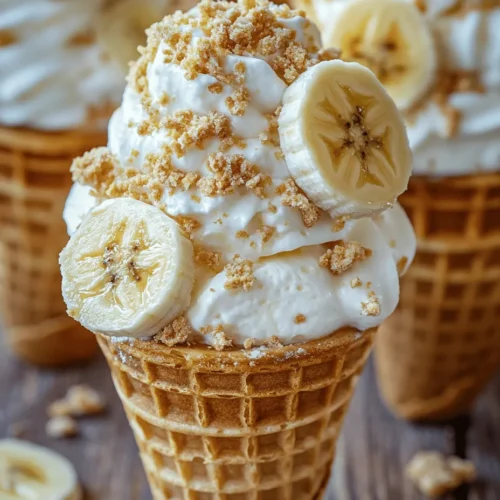
If you’re a fan of desserts that combine nostalgia with innovation, then Banana Pudding Cheesecake Cones are bound to capture your heart. This delightful treat merges two beloved desserts—banana pudding and cheesecake—into a fun, portable format. Imagine the creamy richness of cheesecake layered with the classic flavors of banana pudding, all nestled within a crispy waffle cone. It’s an enticing combination that not only tantalizes the taste buds but also evokes fond memories of family gatherings and summer picnics.
Banana pudding has long been a staple in American dessert culture, often associated with childhood memories and family traditions. Similarly, cheesecake boasts a luxurious, indulgent reputation that makes it a favorite for celebrations and special occasions. By merging these two classic desserts into a single cone, you create a unique treat that can elevate any gathering, whether it’s a casual get-together, a birthday party, or even a festive holiday celebration. The appeal of Banana Pudding Cheesecake Cones lies not just in their delightful flavors, but also in their convenience—easy to serve, easy to eat, and visually stunning, they are sure to impress guests of all ages.
The Allure of Banana Pudding Cheesecake Cones
The nostalgia of banana pudding brings a wave of comfort, reminiscent of warm afternoons spent digging into a bowl of creamy, chilled dessert. The layers of vanilla wafers, sweet bananas, and silky pudding create a symphony of textures and flavors that is hard to resist. Cheesecake, on the other hand, offers a rich, decadent experience that can elevate any dessert table. By combining these two beloved desserts, Banana Pudding Cheesecake Cones offer a taste of both worlds.
These cones are not just visually appealing; they are also incredibly easy to serve and enjoy. Each cone is individually portioned, making them perfect for both children and adults who want to indulge without the need for plates or utensils. The crunchy waffle cone serves as a delightful vessel, providing a satisfying contrast to the creamy and smooth filling. Whether you’re hosting a backyard barbecue, a birthday party, or simply seeking a fun dessert to enjoy at home, these cones are versatile enough for any occasion.
Ingredients Breakdown
Creating the perfect Banana Pudding Cheesecake Cones requires a selection of key ingredients, each playing a vital role in achieving the ideal flavor and texture. Here’s a detailed breakdown of what you’ll need:
Ripe Bananas
The cornerstone of this recipe is the bananas. Choosing ripe bananas is essential, as they contribute natural sweetness and a rich banana flavor to the filling. Look for bananas that are speckled with brown spots; these are typically sweeter and more flavorful. Avoid overly green bananas, as they may not deliver the desired taste and texture.
Cream Cheese
Softened cream cheese is crucial for achieving that signature cheesecake texture. It provides a rich, creamy base that forms the foundation of the filling. When selecting cream cheese, opt for full-fat varieties for the best taste and texture. Make sure to let the cream cheese soften at room temperature before mixing, as this will ensure a smooth and lump-free filling.
Heavy Whipping Cream
Heavy whipping cream is the secret ingredient that adds lightness and airiness to the cheesecake filling. When whipped, it creates a fluffy texture that balances the richness of the cream cheese. This ingredient is what elevates the dessert from a standard cheesecake to a delightful, airy treat. Be sure to whip it until soft peaks form, as this will provide the right consistency for your filling.
Powdered Sugar
Using powdered sugar instead of granulated sugar is a key tip for desserts like these. Powdered sugar dissolves more easily and contributes to a smoother filling without the graininess that can sometimes occur with granulated sugar. It also adds a touch of sweetness without overpowering the other flavors.
Vanilla Extract
Vanilla extract is a flavor enhancer that elevates the overall taste profile of the Banana Pudding Cheesecake Cones. A splash of pure vanilla extract adds depth and warmth, complementing the creamy cheesecake and sweet bananas flawlessly. Always choose pure vanilla extract for the best flavor.
Instant Vanilla Pudding Mix
The convenience of instant vanilla pudding mix makes it a popular choice for quick dessert recipes. In this recipe, it acts as a thickening agent and adds creaminess to the filling. The flavor of the pudding mix also enhances the banana pudding taste, making it a perfect addition to this dessert.
Milk
Milk is used to achieve the desired consistency of the pudding and the filling. It helps to blend all the ingredients smoothly and ensures that the mixture isn’t too thick or too runny. Whole milk is recommended for a creamier texture, but you can also use low-fat milk if preferred.
Waffle Cones
Waffle cones are not just a fun serving vessel; they also provide a delightful crunch that contrasts beautifully with the creamy filling. The sweetness of the waffle cones complements the banana and cheesecake flavors, making every bite a delightful experience. Look for high-quality waffle cones that are sturdy enough to hold the filling without breaking.
Crushed Vanilla Wafers
Vanilla wafers are a classic component of banana pudding, and in this recipe, they serve a dual purpose. Crushed vanilla wafers can be used as a layer within the cones, adding an additional texture and flavor dimension. They also enhance the nostalgic feel of the dessert, connecting it to traditional banana pudding.
Sliced Bananas
Lastly, sliced bananas are not only a garnish but also an essential part of the flavor profile. They add freshness and a burst of natural sweetness, enhancing the banana flavor throughout the dessert. For the best results, use bananas that are similarly ripe to those used in the filling to maintain a consistent taste.
—
With this rich palette of ingredients, you’re well on your way to creating a dessert that will delight everyone. The combination of creamy cheesecake, sweet bananas, crunchy waffle cones, and hints of vanilla creates a treat that is both familiar and exciting. In the next section, we will dive into the step-by-step instructions on how to bring these Banana Pudding Cheesecake Cones to life, ensuring that every bite is as delightful as the last. Stay tuned for the delicious journey ahead!
Step-by-Step Instructions for Making Banana Pudding Cheesecake Cones
Creating the perfect Banana Pudding Cheesecake Cones starts with careful attention to detail in each step. This dessert combines the creamy richness of cheesecake with the nostalgic flavor of banana pudding, all served in a delightful waffle cone. Follow these detailed instructions to attain the ideal balance of flavors and textures.
Preparing the Cream Cheese Mixture
To begin, you’ll need to prepare the cream cheese mixture, which serves as the base for your cheesecake filling. Start by taking 8 ounces of softened cream cheese and placing it in a large mixing bowl. Using an electric mixer on medium speed, beat the cream cheese until it becomes smooth and free of lumps, which typically takes about 2-3 minutes. This is essential for achieving a velvety texture in your finished dessert.
Next, gradually add 1 cup of powdered sugar to the bowl. Continue to mix until the sugar is thoroughly incorporated, and the mixture is creamy. Now, add in 1 teaspoon of vanilla extract. The extract not only enhances the flavor but also adds a delightful aroma to your cheesecake filling. Mix until well combined, ensuring your mixture is both creamy and smooth.
Making the Pudding
While your cream cheese mixture is coming together, turn your attention to the pudding component. In a separate bowl, whisk together 2 cups of cold milk and a 3.4-ounce package of instant vanilla pudding mix. Use a whisk or an electric mixer to combine the ingredients until the mixture thickens, which should take about 2 minutes. The pudding should achieve a smooth, creamy consistency. Once thickened, set it aside for a few minutes to ensure it stabilizes.
Combining Mixtures
Now that both components are ready, it’s time to combine them. Gently fold the prepared pudding mixture into the cream cheese mixture using a spatula. Be careful not to overmix; the goal is to create a uniform mixture without deflating the cream cheese. Fold until you can no longer see streaks of pudding, ensuring everything is well-blended while maintaining a light and airy texture.
Whipping the Cream
For that signature lightness, you’ll need to whip some cream. In a clean bowl, pour in 1 cup of heavy whipping cream. Using an electric mixer, whip the cream on medium-high speed until medium peaks form. This means that when you lift the beaters, the cream should hold its shape but still have a slight softness. Gently fold the whipped cream into the cheesecake mixture in two additions. This will help lighten the filling, making it fluffy and indulgent.
Adding Bananas
Next, it’s time to incorporate the bananas, which provide both flavor and texture. Slice 2 ripe bananas into thin rounds. With a gentle hand, fold the banana slices into your cheesecake mixture, being careful not to break them apart. This way, you’ll have delicious chunks of banana in each bite of your cones.
Scooping into Waffle Cones
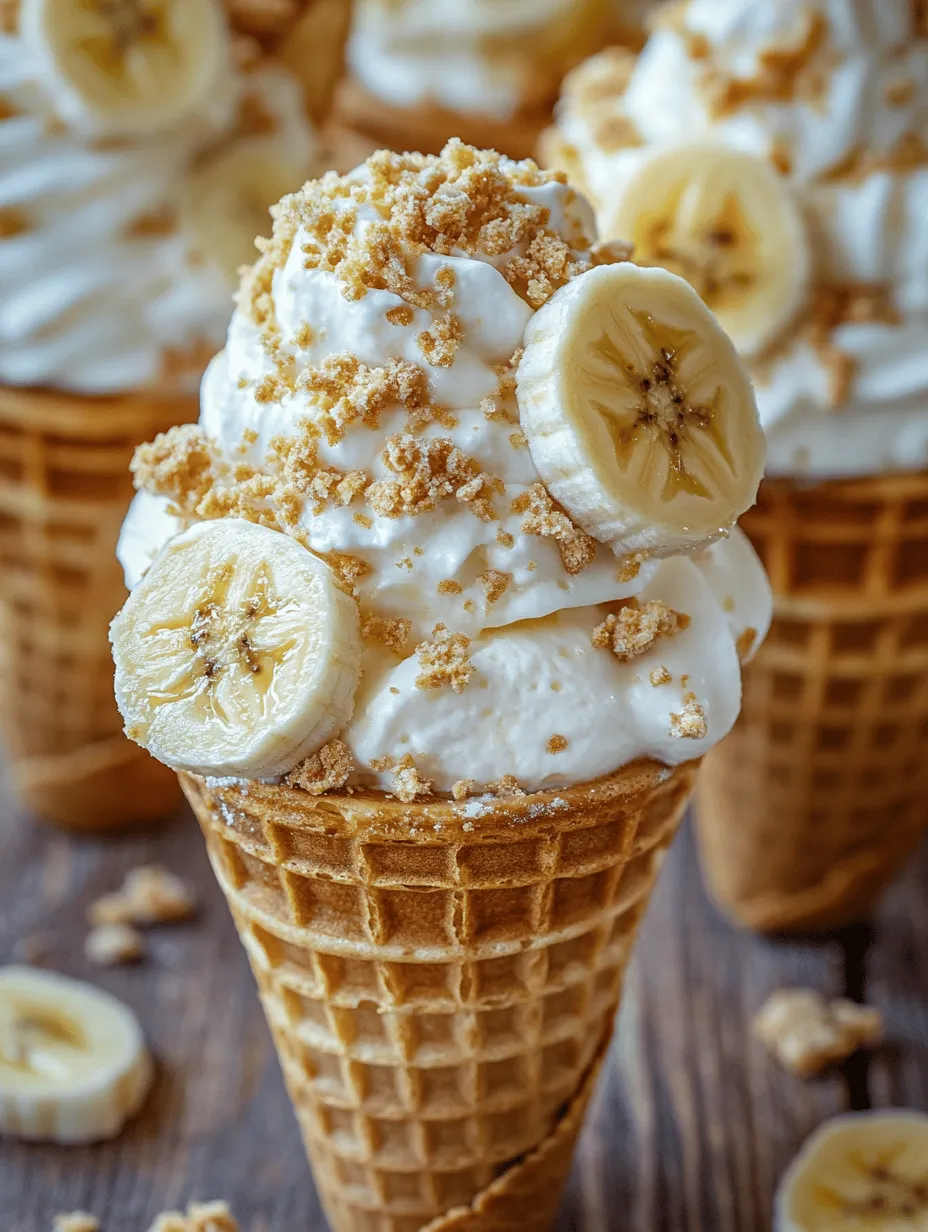
Now you’re ready to fill the waffle cones! Take 8 waffle cones and place them upright in a sturdy container or cone holder to prevent them from tipping over. Using a spoon or a piping bag fitted with a large round tip, scoop the cheesecake mixture into each cone. Fill them generously but avoid overfilling to prevent spillage. Aim to create a slight mound on top of each cone for an appealing presentation.
Topping and Refrigeration
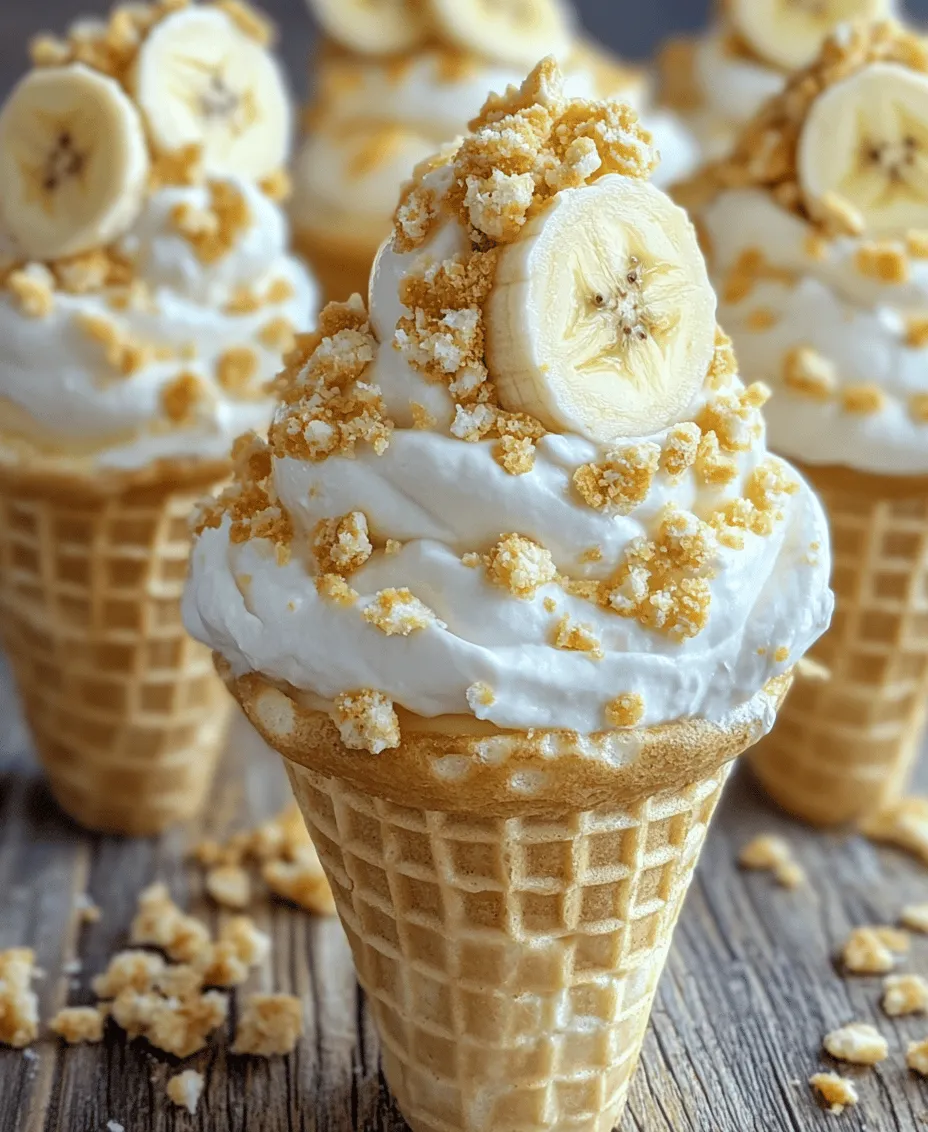
For the finishing touch, sprinkle crushed vanilla wafers on top of each filled cone and add a few extra banana slices for decoration. This not only enhances the visual appeal but also adds a delightful crunch. Once topped, place the cones in the refrigerator for at least 2 hours (or up to overnight) to allow the flavors to meld and the filling to set. Chilling helps the cones maintain their structural integrity, making them easier to serve.
Serving Suggestions and Presentation Ideas
Banana Pudding Cheesecake Cones are not just delicious; they are also visually appealing. To elevate their presentation for parties or gatherings, consider the following ideas:
1. Cone Stand: Use a decorative cone stand or arrange the cones in a mason jar filled with decorative beads or rice. This keeps them upright and adds a rustic touch to your table setting.
2. Garnishing: Drizzle some caramel sauce or chocolate syrup over the tops of the cones for an extra layer of flavor. You can also add a dollop of whipped cream on top for an indulgent finish.
3. Colorful Accents: Add a sprig of mint or edible flowers for an eye-catching garnish. This not only enhances the visual appeal but also adds a fresh aroma.
4. Themed Serving: For a picnic or casual gathering, place the cones in a basket lined with a checkered cloth. This rustic presentation will enhance the dessert’s homemade charm.
5. Pairing: Serve the cones alongside mini cups of extra banana pudding or slices of fresh fruit to create a delightful dessert spread.
Storage and Shelf Life
If you have any leftover Banana Pudding Cheesecake Cones, proper storage is essential to maintaining their freshness. Store any uneaten cones in an airtight container in the refrigerator. It’s best to keep the cones separate from the filling if possible, as the moisture from the filling can make the cones soggy over time.
When stored correctly, the cheesecake filling can last for about 3-4 days in the fridge. However, the cones are best enjoyed within 1-2 days of assembly to maintain their crunch. If you anticipate having leftovers, consider preparing the filling in advance and filling the cones just before serving.
Nutritional Information
A single Banana Pudding Cheesecake Cone is a delightful treat that provides a unique blend of flavors and textures. Here’s a brief overview of the nutritional content based on standard ingredients:
– Calories: Approximately 250-300 calories per cone
– Protein: 4-5 grams
– Carbohydrates: 35-40 grams
– Fat: 12-15 grams
– Sugars: 15-20 grams
While these cones are undeniably indulgent, they can fit into a balanced diet when enjoyed in moderation. The nutritional components predominantly come from the cream cheese, heavy cream, and bananas, offering a good source of calcium and potassium. For those mindful of their caloric intake, consider enjoying these cones as an occasional treat rather than a daily indulgence.
Conclusion
Banana Pudding Cheesecake Cones are a delightful fusion of two beloved desserts, providing a fun and interactive way to enjoy classic flavors. The combination of creamy cheesecake, smooth pudding, and fresh bananas all nestled in a crunchy waffle cone creates a unique dessert experience that is sure to impress your family and friends.
Whether you’re hosting a gathering, celebrating a special occasion, or simply treating yourself, these cones are a perfect choice. Their easy preparation and beautiful presentation make them a standout dessert that everyone will love. So gather your ingredients, follow the steps outlined, and indulge in the joy of sharing these homemade treats with your loved ones. The combination of flavors and textures will undoubtedly create lasting memories and smiles.