Introduction
Banana bread has long been a beloved comfort food, cherished for its moist texture and delightful flavor. This classic treat evokes memories of warm kitchens, tantalizing aromas, and the joy of sharing homemade goodness with family and friends. However, as health-conscious eating becomes a priority for many, the need for a healthier version of this indulgent snack has emerged. Enter “Banana Bliss,” a healthy banana bread recipe that combines the traditional charm of banana bread with wholesome ingredients designed to nourish your body while satisfying your sweet tooth.
What makes Banana Bliss stand out is its versatility and appeal to various dietary preferences. Whether you’re vegan, gluten-free, or simply seeking a nutritious snack, this recipe can be easily adapted to fit your needs without sacrificing flavor. It’s an ideal choice for breakfast, a midday snack, or a wholesome dessert. In this article, we will delve into the key ingredients that make Banana Bliss a healthy option and guide you through the first steps of preparing this delightful bread.
Understanding the Ingredients
To create the perfect Banana Bliss, it’s essential to understand the role and benefits of each ingredient. This knowledge not only helps you appreciate the flavors but also empowers you to make informed choices based on your dietary preferences. Let’s explore the key components of this healthy banana bread.
Ripe Bananas
Ripe bananas are the star of this recipe, contributing both natural sweetness and moisture. As bananas ripen, their starches convert into sugars, making them taste sweeter. This natural sweetness means you can reduce the amount of added sugar or sweeteners in your recipe. Additionally, bananas are packed with essential nutrients, including potassium, vitamin C, and dietary fiber, making them a heart-healthy choice that can help regulate blood pressure and support digestive health.
Coconut Oil
Coconut oil is another key ingredient in Banana Bliss, known for its unique health properties and flavor profile. This oil is rich in medium-chain triglycerides (MCTs), which can provide a quick source of energy and may even support weight loss efforts. Coconut oil has a subtle sweetness and a tropical aroma that complements the bananas beautifully. It also helps to keep the bread moist while offering a healthier alternative to butter, which can be high in saturated fats.
Honey vs. Maple Syrup
When it comes to sweetening Banana Bliss, you have the option of using honey or maple syrup. Both are natural sweeteners, but they come with different flavors and health benefits. Honey is known for its antimicrobial properties and can help soothe sore throats, while maple syrup is rich in antioxidants and contains essential minerals like manganese and zinc. Depending on your taste preference or dietary restrictions, you can choose one over the other, or even use a combination of both to enhance the flavor profile of your banana bread.
Eggs
Eggs play a crucial role in baking, acting as a binding agent and providing moisture to the batter. In Banana Bliss, eggs help to create a light and fluffy texture while also enriching the bread with protein and healthy fats. If you follow a vegan diet or have egg allergies, you can substitute eggs with flaxseed meal or chia seeds mixed with water, which will mimic their binding properties without compromising the overall flavor.
Whole Wheat Flour
Unlike all-purpose flour, which is often stripped of its nutrients, whole wheat flour retains the bran and germ of the wheat kernel, making it a more nutritious option. Whole wheat flour is high in fiber, which can aid digestion and keep you feeling fuller for longer. It also provides essential nutrients such as B vitamins, iron, and magnesium. By using whole wheat flour in Banana Bliss, you can create a heartier loaf that supports your health goals while still delivering that comforting banana bread experience.
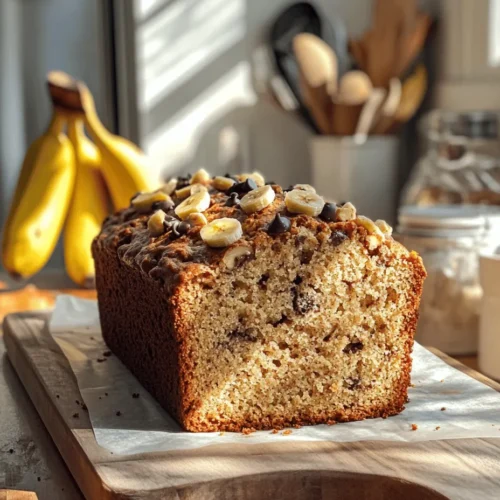
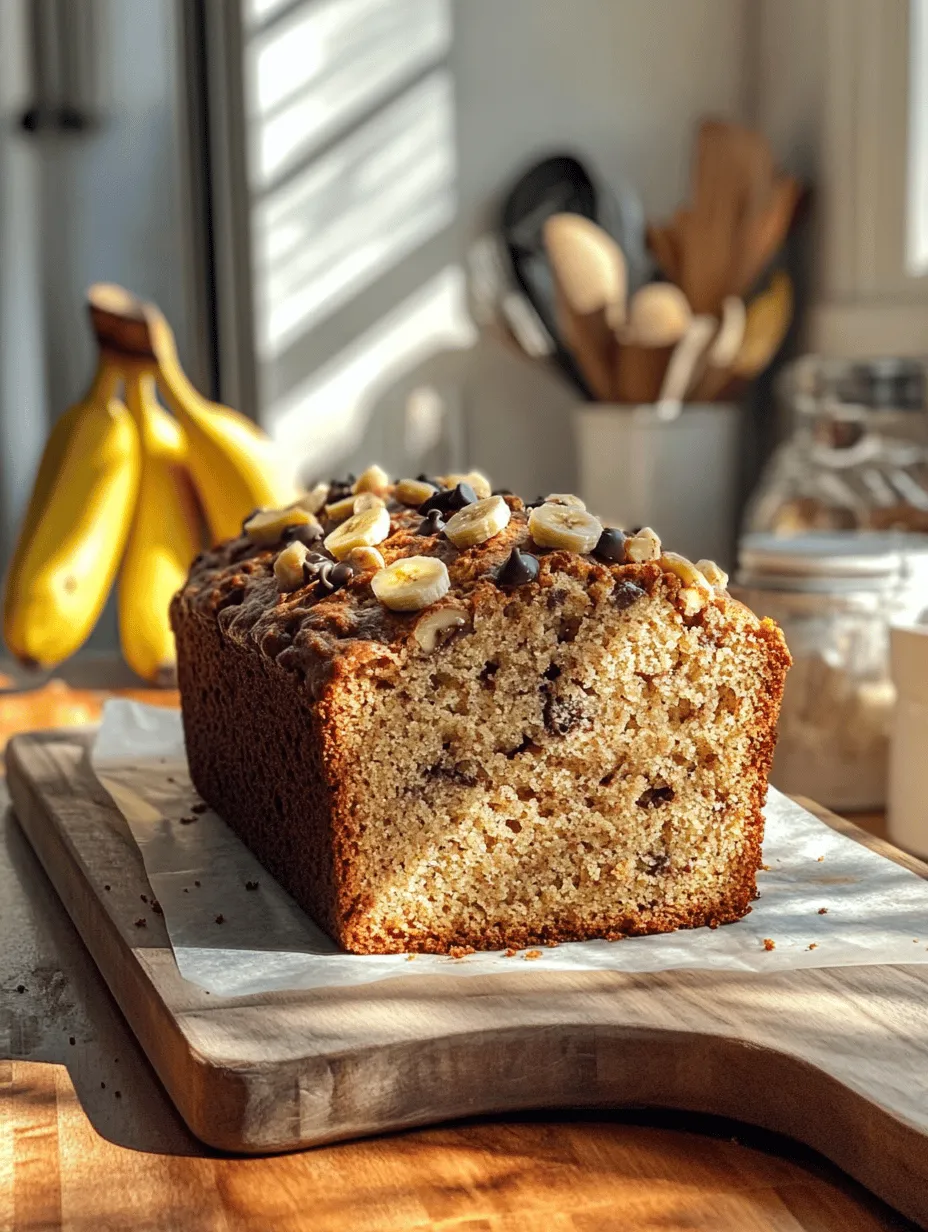
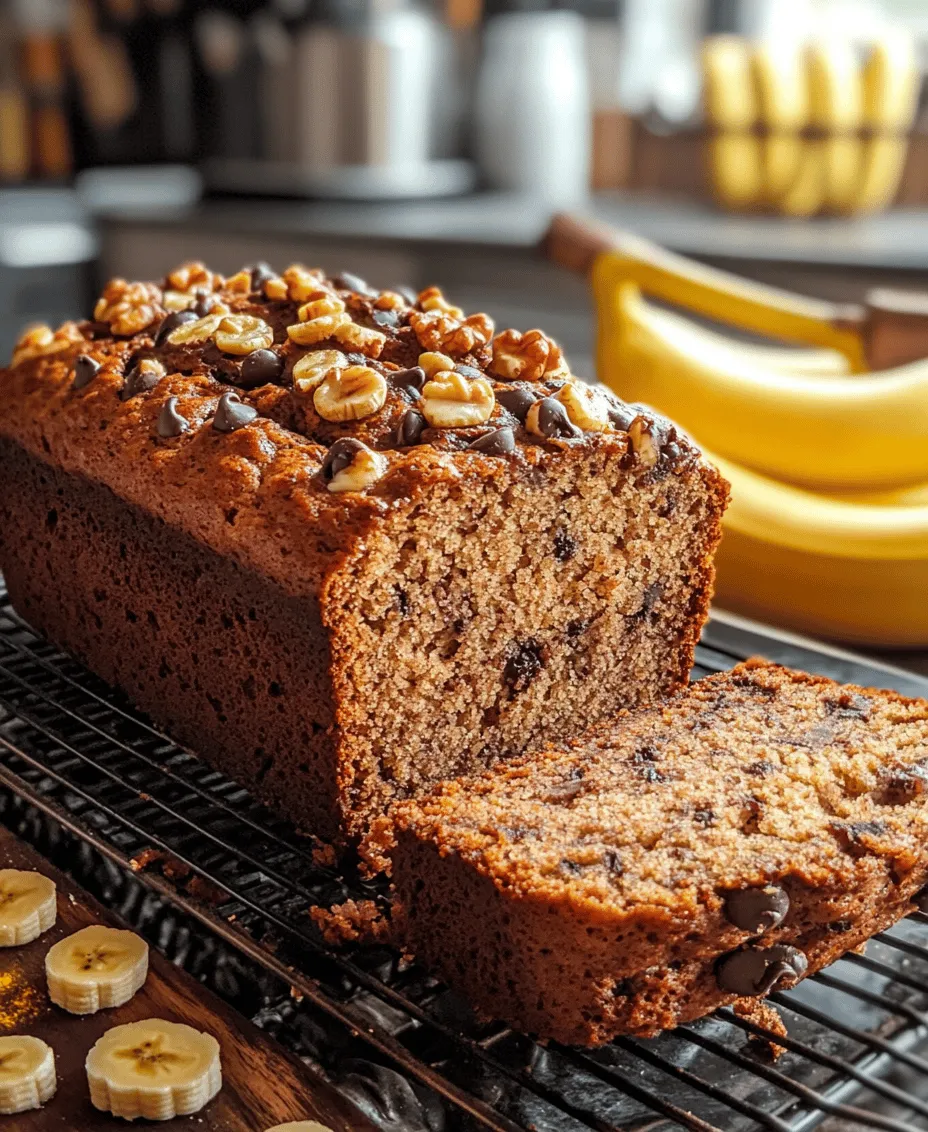
Nuts and Chocolate
To elevate your Banana Bliss even further, consider adding optional ingredients like nuts or dark chocolate chips. Nuts, such as walnuts or pecans, provide a satisfying crunch and healthy fats, while dark chocolate can add a touch of indulgence with its rich flavor. Both options can enhance the overall texture and taste of the banana bread, allowing you to customize it to your liking.
Preparation Steps in Detail
Now that we’ve discussed the ingredients, let’s dive into the preparation steps for making Banana Bliss. A successful baking experience starts with proper preparation, and understanding each step will ensure your banana bread turns out perfectly every time.
Preheating the Oven and Preparing the Pan
The first step in any baking adventure is preheating the oven. For Banana Bliss, preheat your oven to 350°F (175°C). This temperature is ideal for baking bread, allowing it to rise properly and develop a golden crust. While the oven is heating, take a moment to prepare your loaf pan. Greasing and lining the pan is crucial to prevent sticking and ensure easy removal of the bread once baked. You can use coconut oil or non-stick spray to grease the pan, and lining it with parchment paper will provide an extra layer of protection. Simply cut a piece of parchment paper to fit the bottom of the pan, and allow the edges to hang over the sides for easy lifting.
Mashing the Bananas
Once your oven is preheated and your pan is ready, it’s time to prepare the bananas. The key to achieving the perfect banana consistency is to use ripe bananas that are speckled and soft. Place the bananas in a mixing bowl and use a fork or potato masher to mash them until they reach a smooth, creamy texture. The goal is to break down any lumps to ensure even distribution throughout the batter. Remember, the riper the bananas, the sweeter your bread will be, so don’t hesitate to use those overripe bananas that might be sitting on your counter.
Mixing Wet Ingredients
With the bananas mashed, it’s time to mix the wet ingredients. In the same bowl, add the melted coconut oil, honey (or maple syrup), and eggs. It’s essential to combine these ingredients in a specific order to achieve optimal blending. Start by mixing the mashed bananas with the coconut oil, ensuring the oil is not too hot to avoid cooking the eggs. Next, add the honey (or maple syrup) and whisk until well combined. Finally, crack in the eggs and mix until the mixture is smooth and homogeneous. This method ensures that each ingredient is evenly distributed, enhancing the overall flavor of your banana bread.
Combining Dry Ingredients
In a separate bowl, combine the dry ingredients, which typically include whole wheat flour, baking soda, and a pinch of salt. Baking soda acts as a leavening agent, helping the bread rise and achieve a light texture. Whisk the dry ingredients together to ensure they are evenly mixed before incorporating them into the wet mixture. This step is essential for preventing clumps of flour and ensuring that the leavening agent is evenly distributed throughout the batter.
Once your dry ingredients are ready, you will gradually fold them into the wet mixture, being careful not to overmix. A light hand is key here; overmixing can lead to a dense, tough bread. Instead, gently stir until just combined, allowing some small lumps to remain in the batter. This will ensure the banana bread retains a light and airy texture.
As you embark on this healthy baking adventure, keep the focus on the joy of creating something delicious and nutritious. You are now well on your way to baking a loaf of Banana Bliss that’s not only a treat for your taste buds but also a wholesome addition to your diet. Stay tuned for the next steps where we’ll take this banana bread to the oven and explore more tips for achieving the best results.
Importance of Mixing Dry Ingredients Separately
When it comes to baking banana bread, the order in which you mix your ingredients can significantly impact the final product. Mixing dry ingredients separately ensures that the leavening agents, such as baking powder and baking soda, are evenly distributed throughout the flour. This is crucial for achieving a uniform rise and consistent texture. If you were to add these ingredients directly to the wet mixture, you risk clumping, which can lead to uneven baking and unsightly lumps in your finished loaf.
Achieving the Right Consistency When Combining Wet and Dry Ingredients
After mixing your dry ingredients, it’s time to combine them with the wet ingredients, which typically include mashed bananas, eggs, and any oils or sweeteners. The goal during this step is to achieve a smooth batter without overmixing. Overmixing can develop the gluten in the flour too much, resulting in a dense and chewy texture rather than the light, airy loaf we desire.
To achieve the right consistency, pour the dry mixture into the wet mixture gradually, folding it in gently with a spatula. This method allows the flour to hydrate without excessive mixing. Stop when you see a few flour streaks remaining; a few lumps are okay. This will yield a tender banana bread that is moist and flavorful.
Incorporating Optional Add-Ins
One of the joys of baking banana bread is the opportunity to customize it with various add-ins. You can elevate your Banana Bliss recipe by incorporating ingredients like walnuts, pecans, or dark chocolate chips. These additions not only enhance the flavor profile but also contribute textural variety.
Benefits of Adding Nuts and Chocolate Chips
Nuts, such as walnuts or almonds, add a delightful crunch to each bite, while also providing healthy fats, protein, and essential nutrients. Dark chocolate chips can introduce a rich sweetness that complements the natural sugars in the bananas, making each slice an indulgent treat without excessive guilt.
Suggestions for Alternative Mix-Ins for Dietary Needs
If you’re looking for alternative mix-ins due to dietary restrictions, consider using seeds like chia or flaxseeds for added nutrition. Dried fruits such as cranberries or raisins can also be great additions, providing natural sweetness and chewiness. For a gluten-free option, use certified gluten-free oats or almond flour in place of all-purpose flour, ensuring that your banana bread remains both delicious and accommodating to various dietary needs.
Pouring and Baking the Batter
Once your batter is mixed to the right consistency, it’s time to pour it into your prepared loaf pan.
Best Practices for Pouring Batter into the Pan
Grease your loaf pan thoroughly or line it with parchment paper to ensure easy removal after baking. Pour the batter into the center of the pan, and use a spatula to gently spread it evenly. This helps prevent any air pockets and promotes an even rise.
Checking for Doneness
Baking banana bread usually takes around 50-60 minutes, but the exact time can vary depending on your oven and the specific ingredients used. To check for doneness, insert a toothpick or a skewer into the center of the loaf. If it comes out clean or with just a few moist crumbs (not wet batter), your banana bread is ready to be removed from the oven.
Signs That the Banana Bread is Ready
In addition to the toothpick test, look for a golden brown color on top and around the edges of the loaf. The bread should have risen well and may even crack slightly on the surface, which is a good indication of a well-baked loaf.
Cooling Process and Its Importance for Texture
Once out of the oven, let the banana bread cool in the pan for about 10-15 minutes. This resting period allows the bread to set, making it easier to remove from the pan without crumbling. After this initial cooling, transfer the loaf to a wire rack to cool completely. This step is essential, as it prevents the bottom from becoming soggy due to trapped steam.
Serving Suggestions
Banana Bliss is delightful on its own, but there are many ways to enjoy this healthy banana bread. Here are a few serving suggestions:
– Pairing with Spreads: Try spreading nut butter, such as almond or peanut butter, on a warm slice for added protein and flavor. Cream cheese can also be a luxurious option, providing a creamy contrast to the sweet bread.
– Serving Warm or at Room Temperature: Banana bread can be served warm right out of the oven or at room temperature. Both ways highlight its moist texture and rich flavors. Toasting slices can also add a nice twist, bringing out caramelized notes in the bread.
Storage and Shelf Life
To keep your Banana Bliss fresh, proper storage is key. Here are some best practices:
– Room Temperature: Store your banana bread in an airtight container or wrap it in plastic wrap. It can last for about 3-4 days at room temperature.
– Refrigeration: If you want to extend its shelf life, you can refrigerate it, though this may alter its texture slightly. In the fridge, it can last up to a week.
– Freezing: For even longer storage, consider freezing your banana bread. Wrap it tightly in plastic wrap and then in aluminum foil to prevent freezer burn. It can last up to 3 months in the freezer. When you’re ready to enjoy it, simply thaw it in the refrigerator overnight, or pop slices into the toaster for a quick warm-up.
Nutritional Information
Understanding the nutritional profile of your Banana Bliss is important, especially if you’re making a conscious effort to eat healthily. Each slice typically contains:
– Calories: Approximately 150-180 calories per slice, depending on the specific ingredients and add-ins used.
– Nutrients: This bread is rich in potassium from the bananas, healthy fats from any nuts included, and fiber from whole grains if you choose to use whole wheat flour.
In comparison to traditional banana bread recipes, which can often be laden with sugar and unhealthy fats, this healthier version provides a satisfying treat without the excessive calories or refined sugars.
Conclusion
Making Banana Bliss not only satisfies your sweet tooth but also provides a healthier alternative to traditional banana bread recipes. With its delightful flavor, moist texture, and the option to customize with your favorite add-ins, this healthy banana bread is perfect for breakfast, snacks, or dessert.
Encouraging others to try this recipe means sharing the joy of baking and enjoying a nutritious treat that everyone can appreciate. So gather your ingredients, follow the steps, and indulge in this deliciously wholesome adventure of Banana Bliss. Happy baking!