Introduction to Decadent Turtle Bars
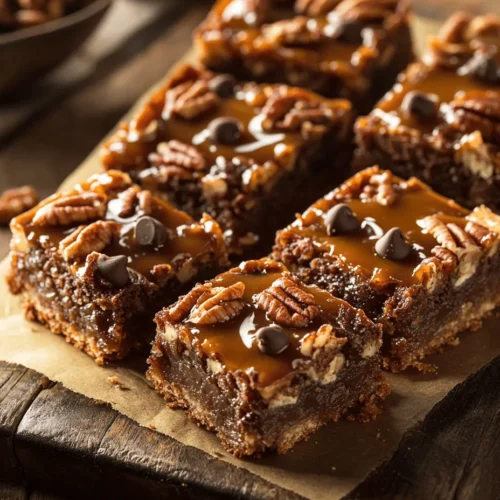
If you have a sweet tooth and a penchant for indulgent treats, the Decadent Turtle Bars are a must-try. These delightful dessert bars beautifully encapsulate the essence of turtles, that classic candy confection adored by many. Named after their resemblance to the shell of a turtle, these bars combine rich chocolate, luscious caramel, and crunchy nuts, creating a dessert that is as visually enticing as it is delicious.
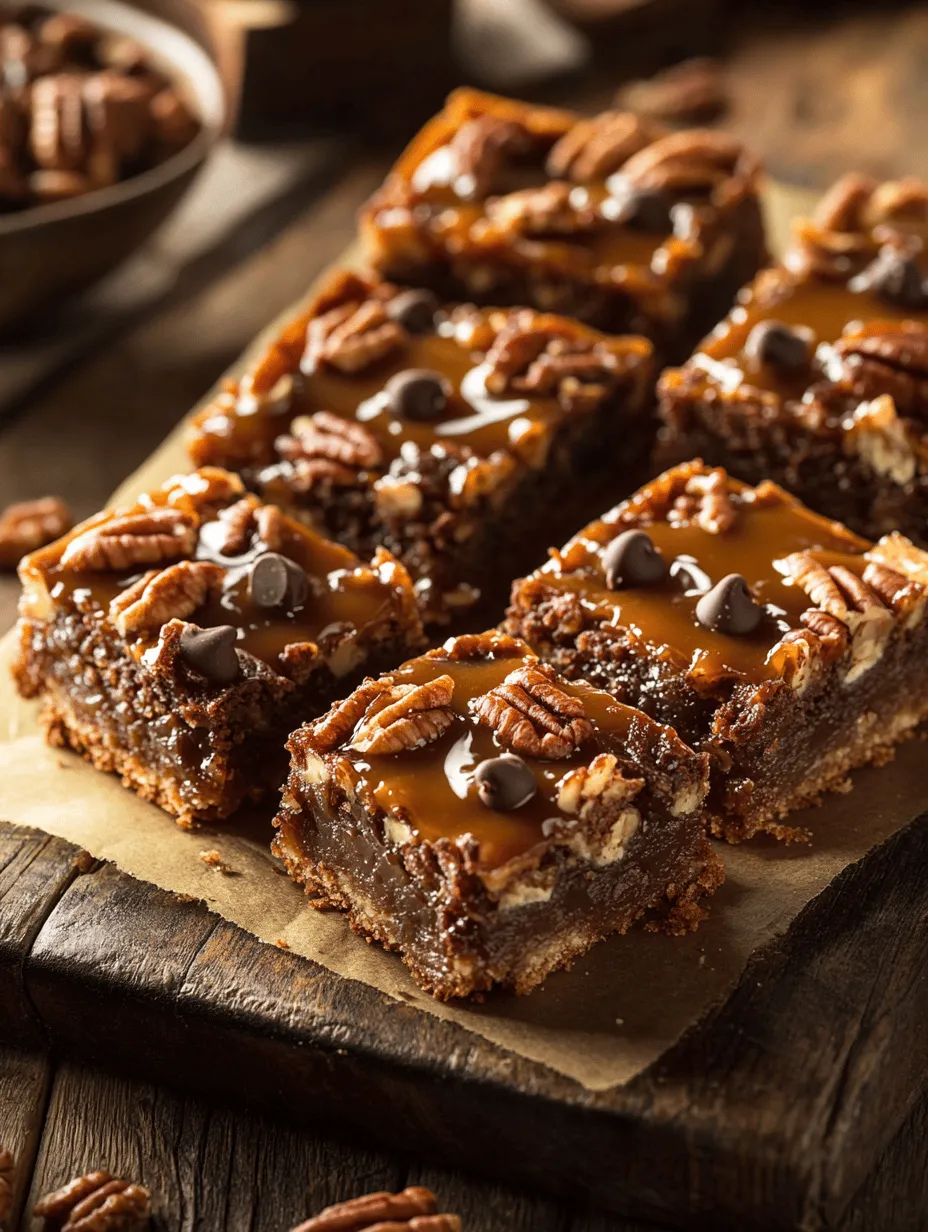
The allure of Turtle Bars lies in their delightful combination of textures and flavors. Each bite presents a symphony of creamy, crunchy, and chewy sensations, making them an irresistible treat for any occasion. The creamy chocolate layer pairs perfectly with the gooey caramel, while the toasted pecans add a satisfying crunch that elevates the overall experience. Whether served at a family gathering, a holiday party, or simply as a weekend treat, these bars are sure to impress and satisfy.
Creating the perfect Turtle Bars is an art that requires attention to detail in both the selection of ingredients and the execution of the recipe. Each component plays a critical role in achieving that signature blend of flavors and textures. From the rich, buttery base to the decadent toppings, let’s embark on the journey to create these scrumptious bars that promise to delight your taste buds.
Exploring the Ingredients
To craft the perfect Decadent Turtle Bars, understanding the significance of each ingredient is essential. The interplay between these components builds the foundation for a dessert that will leave a lasting impression. Let’s delve into each ingredient and explore why it matters.
Unsalted Butter
Unsalted butter is a key player in achieving the rich flavor and tender texture of your Turtle Bars. By using unsalted butter, you have better control over the overall saltiness of the dessert, allowing the natural sweetness of the sugars and the richness of the chocolate to shine through. The butter not only provides moisture but also contributes to the overall structure of the bars, resulting in a delightful melt-in-your-mouth experience.
Brown Sugar vs. Granulated Sugar
A crucial decision in the recipe is the choice between brown sugar and granulated sugar. Brown sugar, with its molasses content, adds a deeper sweetness and a subtle hint of caramel flavor, perfectly complementing the other elements of the dessert. On the other hand, granulated sugar provides a clean sweetness that helps achieve the desired texture. The combination of both sugars is often the secret to that perfectly balanced sweetness, ensuring that your Turtle Bars are neither too sweet nor too bland.
Eggs
Eggs play a vital role in binding the ingredients together and providing richness to the batter. They help create an airy structure, leading to a chewy yet soft texture in the final bars. Be sure to use large eggs for consistency, as their size can impact the moisture level of your batter. When beaten, eggs also contribute to the leavening process, helping the bars rise beautifully in the oven.
Vanilla Extract
Adding a splash of vanilla extract is essential for elevating the overall flavor profile of your Turtle Bars. This simple ingredient imparts a warm, aromatic note that enhances the sweetness of the chocolate and caramel. Opt for pure vanilla extract whenever possible, as it offers a depth of flavor that imitation extracts cannot match.
All-Purpose Flour
All-purpose flour is the backbone of the Turtle Bars, providing the necessary structure and stability. It helps create a sturdy base that can hold the decadent toppings without falling apart. When measuring flour, ensure you use the spoon-and-level method to avoid compacting it, as too much flour can lead to dense bars.
Baking Powder
Baking powder is a leavening agent that ensures your Turtle Bars rise properly during baking. It reacts with the moisture in the batter and the heat of the oven, creating carbon dioxide bubbles that contribute to the lightness of the bars. A balanced amount of baking powder is crucial; too little can result in dense bars, while too much can cause them to rise and then collapse.
Salt
While it may seem counterintuitive to add salt to a dessert, a small amount enhances the overall flavor and helps balance the sweetness. Salt acts as a flavor enhancer, bringing out the richness of the chocolate and the depth of the caramel. It’s the secret ingredient that elevates your Turtle Bars from ordinary to extraordinary.
Chocolate Chips
Chocolate chips are the heart of the Turtle Bars, providing that essential chocolatey goodness that everyone craves. Semi-sweet chocolate chips are a popular choice, but feel free to experiment with dark chocolate or milk chocolate to suit your taste preferences. The melting chocolate creates a gooey layer that pairs perfectly with the caramel and nuts, making each bite a true delight.
Pecans
Pecans are the traditional nut used in Turtle Bars, contributing a delightful crunch and earthy flavor. Toasting the pecans before incorporating them into the recipe can enhance their flavor, adding a toasty aroma that complements the other ingredients beautifully. If you’re not a fan of pecans, feel free to substitute them with walnuts or almonds for a different twist.
Caramel Sauce
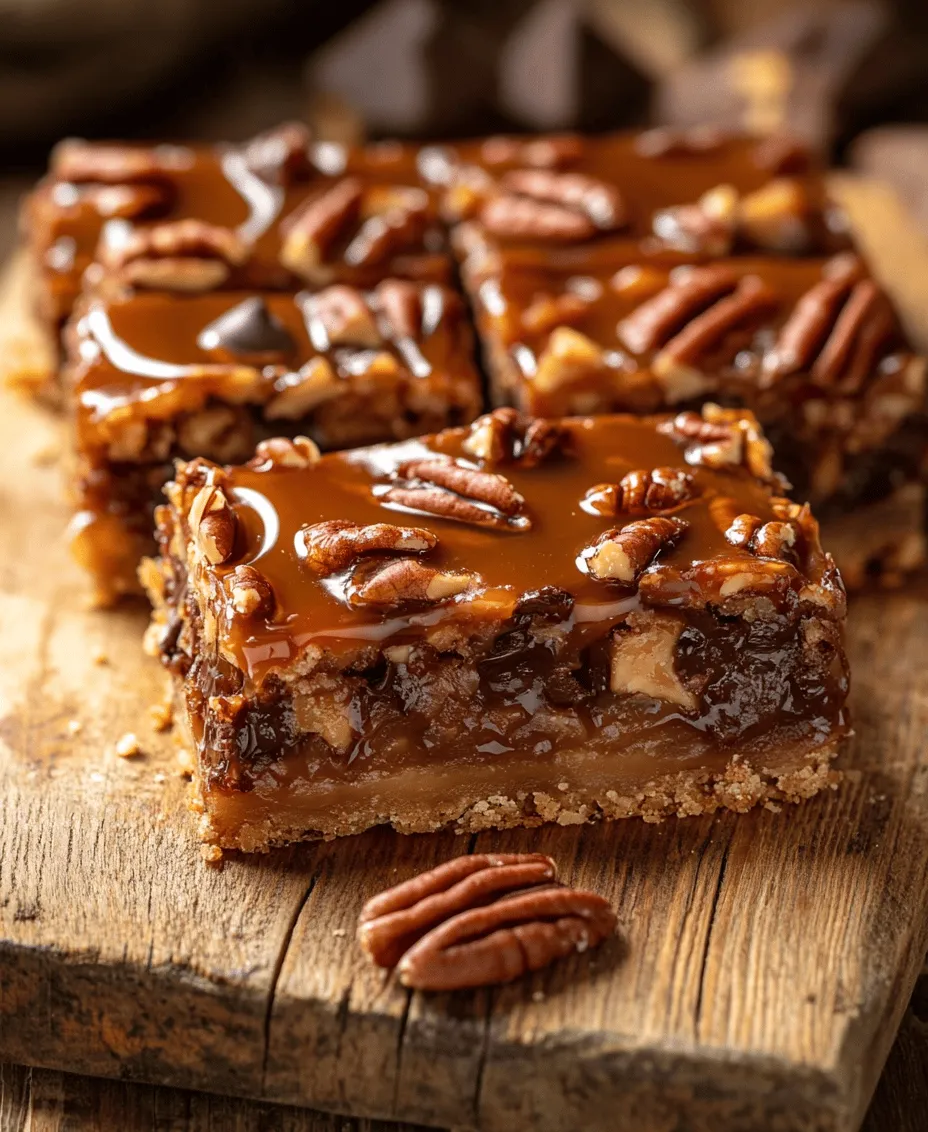
The crowning glory of Turtle Bars is undoubtedly the caramel sauce. This rich, gooey topping ties all the flavors together, creating a luscious layer that complements the chocolate and nuts. You can use store-bought caramel sauce for convenience or make your own for a homemade touch. Regardless of your choice, the caramel adds that signature sweetness that makes Turtle Bars so irresistible.
Step-by-Step Instructions for Perfect Turtle Bars
Now that we’ve familiarized ourselves with the essential ingredients, let’s dive into the step-by-step process of making these Decadent Turtle Bars. Following these instructions will help you create a batch that is sure to please everyone.
Preparing Your Kitchen
Before you start baking, it’s essential to prepare your kitchen for the task ahead. Ensure that your workspace is clean and organized, making it easier to follow the recipe without any distractions.
Importance of Preheating the Oven and Greasing the Baking Dish
One of the first steps in the baking process is preheating your oven to 350°F (175°C). This ensures that your Turtle Bars will bake evenly. While the oven heats up, take a moment to prepare your baking dish. A 9×13-inch baking dish is ideal for this recipe. Grease the dish with butter or line it with parchment paper for easy removal after baking. This step is crucial for preventing the bars from sticking and ensures a smooth serving experience.
Tools Needed for Preparation
Gathering the right tools will streamline your baking process. Here’s a list of essential equipment you’ll need:
– Mixing bowls: Both large and medium-sized bowls for combining ingredients.
– Measuring cups and spoons: For accurate measurement of ingredients.
– Spatula: A rubber spatula is perfect for mixing and folding.
– Whisk: Useful for combining wet ingredients and eggs.
– Baking dish: A 9×13-inch dish, greased or lined with parchment paper.
– Oven mitts: To protect your hands when handling the hot baking dish.
Mixing the Batter
Now that your kitchen is prepared, it’s time to mix the batter. Start by combining the wet ingredients, which include the unsalted butter, brown sugar, granulated sugar, and eggs.
1. Melt the Butter: In a medium saucepan, melt the unsalted butter over low heat. Once melted, remove it from the heat and let it cool slightly before adding it to the mixing bowl.
2. Combine Wet Ingredients: In a large mixing bowl, whisk together the melted butter, brown sugar, and granulated sugar until well combined. The mixture should be smooth and creamy.
3. Add Eggs and Vanilla: Beat in the eggs, one at a time, ensuring each is fully incorporated before adding the next. Then, mix in the vanilla extract, blending until everything is thoroughly combined.
Tips for Achieving a Smooth Batter
Achieving a smooth batter is crucial for the texture of the Turtle Bars. Here are a few tips to help you along the way:
– Room Temperature Ingredients: Ensure your eggs are at room temperature before mixing. This helps them blend more easily into the batter.
– Avoid Overmixing: Once you add the dry ingredients, mix just until combined. Overmixing can lead to dense bars, so stop as soon as you see no more dry flour.
Incorporating Dry Ingredients: Techniques for a Lump-Free Mix
Once your wet ingredients are smooth, it’s time to incorporate the dry ingredients. This includes the all-purpose flour, baking powder, and salt:
1. Sift Together Dry Ingredients: In a separate bowl, sift together the all-purpose flour, baking powder, and salt. This helps to aerate the flour and ensures even distribution of the baking powder.
2. Fold Dry Ingredients into Wet Mixture: Gradually add the dry ingredients to the wet mixture, folding gently with a spatula. Be careful not to overmix; you want just enough to combine the ingredients without leaving lumps.
3. Add Chocolate Chips and Pecans: Once the batter is smooth and lump-free, gently fold in the chocolate chips and chopped pecans. This ensures they are evenly distributed throughout the batter.
Following these steps will set you on the right path to creating delicious Decadent Turtle Bars that are sure to be a hit with family and friends. With a harmonious blend of chocolate, caramel, and nuts, these bars are not just a treat; they are an experience that celebrates the joy of baking.
Adding Texture and Flavor
Achieving the perfect texture and flavor in your Decadent Turtle Bars begins with the careful incorporation of chocolate chips and pecans. These ingredients not only enhance the taste but also add a delightful crunch that complements the soft, chewy base.
Properly Folding in Chocolate Chips and Pecans
When it comes to folding in your chocolate chips and chopped pecans, gentle is the key. Use a spatula to scoop from the bottom of the bowl and fold over the top. This method ensures that you don’t deflate the batter, which is vital for the airy texture of the bars. Aim for an even distribution of chocolate and nuts throughout the batter to guarantee every bite is packed with flavor.
Importance of Even Distribution in the Batter
Even distribution of the chocolate chips and pecans is crucial for a harmonious flavor profile. If certain areas of the batter are overloaded with either ingredient, you risk having uneven sweetness and texture. Therefore, take your time while folding; the goal is to create a uniformly mixed batter that will bake evenly.
Baking Process Explained
The baking process consists of two key phases, each serving a specific purpose in achieving the ideal texture and flavor in your turtle bars.
First Baking Phase: Why It’s Crucial to Bake Half of the Batter
Begin by preheating your oven to 350°F (175°C). The first phase of baking involves spreading half of the batter evenly across the bottom of a prepared baking dish. This initial bake is essential because it creates a solid base for your turtle bars, allowing them to hold their shape and support the toppings. Bake for about 15-20 minutes until the edges are set but the center remains slightly soft. This will ensure that the base is ready to receive the delicious caramel and chocolate toppings without becoming too soggy.
Drizzling Caramel Sauce: Techniques for Even Coverage
Once the first layer is adequately baked, it’s time to drizzle the caramel sauce. For even coverage, use a squeeze bottle or a spoon to drizzle the caramel in a back-and-forth motion across the surface of the baked batter. This technique allows the caramel to spread evenly, ensuring that each bar will have a luscious taste of caramel in every bite. Don’t be shy with the caramel; generous drizzles will enhance the overall flavor.
Final Baking Phase: Signs of Doneness to Look For
After adding the remaining batter on top of the caramel, it’s time for the final bake. Keep an eye on your turtle bars as they bake for another 20-25 minutes. The bars will be done when the edges are golden brown, and a toothpick inserted in the center comes out with a few moist crumbs. Avoid overbaking, as this can lead to dry bars. Let the bars cool in the pan for about 10 minutes before transferring them to a wire rack to cool completely.
Cooling and Serving Suggestions
Cooling your turtle bars properly is a crucial step that shouldn’t be overlooked.
The Importance of Letting the Bars Cool Before Slicing
Allowing the bars to cool completely before slicing is essential for achieving clean cuts. If you cut them while they’re still warm, the gooey caramel might ooze out, leading to messy squares. Cooling for at least an hour will ensure that the bars set properly, allowing the layers to meld beautifully.
Drizzling Remaining Caramel: Presentation Tips for a Beautiful Finish
For an added touch of elegance, consider drizzling any remaining caramel sauce over the top of the cooled bars just before serving. Use a spoon to create a decorative pattern, or drizzle in a zig-zag motion for visual appeal. This not only enhances the presentation but also adds an extra layer of sweetness and richness.
Cutting the Bars: Best Practices for Perfect Squares
To cut the bars into perfect squares, use a sharp knife and a gentle sawing motion. Start by cutting around the edges to create clean lines, then slice the center into desired portions. For the best results, wipe the knife with a damp cloth between cuts to keep the edges clean and prevent sticking.
Nutritional Information
Understanding the nutritional profile of your Decadent Turtle Bars can help you enjoy them mindfully.
Overview of Nutritional Values Per Serving
Each serving of turtle bars typically contains approximately 250-300 calories, depending on the size of the squares and the specific ingredients used. They offer a balance of carbohydrates from the crust, healthy fats from the pecans, and a satisfying dose of sweetness from the chocolate and caramel.
Balance of Ingredients Contributing to Overall Nutrition
The combination of nuts and chocolate provides beneficial nutrients, including protein, fiber, and healthy fats. Pecans, for example, are rich in antioxidants and heart-healthy monounsaturated fats. While these bars are indulgent, they can fit into a balanced diet when consumed in moderation.
Considerations for Dietary Restrictions (e.g., Gluten-Free Options)
For those with dietary restrictions, it is easy to adapt this recipe. Simply use gluten-free flour to make the base, ensuring everyone can enjoy these delicious treats. Additionally, check that your chocolate and caramel sauces are gluten-free, as some brands may contain hidden gluten.
Variations and Customizations
Personalizing your turtle bars can take them to the next level of deliciousness.
Suggestions for Alternative Nuts (e.g., Walnuts, Almonds)
While pecans are traditional for turtle bars, you can experiment with other nuts like walnuts or almonds for a different flavor and texture. Walnuts add a slightly bitter note that complements the sweetness, while almonds provide a crunchy contrast.
Exploring Different Types of Chocolate (Dark Chocolate, Milk Chocolate)
Consider using different types of chocolate to cater to your taste preferences. Dark chocolate lends a rich, deep flavor that balances beautifully with the sweetness of the caramel. Milk chocolate, on the other hand, will amplify the sweetness and create a creamier texture. You can even mix both for a delightful contrast.
Adding a Pinch of Sea Salt for a Gourmet Touch
For a gourmet twist, finish your turtle bars with a sprinkle of flaky sea salt. The salt enhances the sweetness and creates a beautiful flavor contrast, making each bite even more enjoyable. Just a pinch will do—too much can overpower the other flavors.
Storing and Freezing Turtle Bars
To keep your turtle bars fresh and delicious, proper storage is key.
Best Practices for Storing Leftover Bars to Maintain Freshness
Store your cooled turtle bars in an airtight container at room temperature for up to five days. If you want to keep them longer, consider refrigerating them, which can extend their freshness for up to two weeks. To prevent sticking, place parchment paper between layers if stacking them.
Tips on Freezing for Long-Term Storage and Reheating
For long-term storage, turtle bars can be frozen for up to three months. Cut the bars into squares, wrap each piece tightly in plastic wrap, and then place them in a freezer-safe container or zip-lock bag. When you’re ready to enjoy them, allow the bars to thaw at room temperature or reheat them in the microwave for a few seconds to restore their gooeyness.
Conclusion
The Decadent Turtle Bars recipe is a delightful treat that combines rich chocolate, chewy caramel, and crunchy nuts into a harmonious dessert. Each layer contributes to the overall appeal, making them perfect for sharing with friends and family or indulging in solo. The joy of baking and creating these bars not only fills your kitchen with mouthwatering aromas but also brings happiness to those who share in these delicious moments. Whether you’re enjoying them fresh from the oven or saving some for later, these turtle bars are sure to become a favorite in your dessert repertoire. Happy baking!