Introduction
Nothing evokes the warmth of home quite like the comforting aroma of a freshly baked apple pie wafting through the kitchen. A classic dessert that transcends generations, homemade apple pie is more than just a dish; it’s a symbol of love, tradition, and the joys of shared moments. Whether it graces the table during Thanksgiving, a family gathering, or simply as a weekend treat, the heart of any great apple pie lies in its filling. In this guide, we will embark on a whimsical journey to create the perfect apple pie filling from scratch, ensuring that each bite bursts with flavor and nostalgia.
Using fresh, high-quality ingredients is paramount when it comes to crafting a delicious apple pie filling. Not only does this elevate the overall taste of your pie, but it also allows you to control the sweetness and spice levels according to your preferences. This article will invite you to explore the enchanting process of making your own apple pie filling—an endeavor that promises to enhance your baking skills and impress your family and friends on any occasion.
Understanding the Essence of Apple Pie Filling
Apple pie filling is the soul of the pie itself. It serves as the luscious, sweet layer that complements the flaky crust, bringing together the best of both worlds. A well-made filling elevates your pie by offering a delightful balance of flavors and textures, transforming simple ingredients into a culinary masterpiece. When you make your own filling, you have the freedom to customize the taste to suit your personal palate—something that store-bought options often lack.
One of the greatest advantages of homemade apple pie filling is the ability to choose your ingredients thoughtfully. While pre-packaged fillings may seem convenient, they often contain preservatives and artificial flavors that can detract from the authentic taste of fresh apples. By making your own filling, you control the quality and freshness of the ingredients, ensuring every slice of pie is a true reflection of your culinary creativity.
Moreover, the choice of apples is crucial in achieving a memorable apple pie filling. Different apple varieties bring their unique flavors, sweetness, and textures to the table. Understanding these differences can help you select the perfect apples to create a filling that is not only delicious but also visually appealing.
Choosing the Right Apples
When it comes to selecting apples for your pie filling, not all apples are created equal. Two of the most recommended varieties for making apple pie are Granny Smith and Honeycrisp.
Granny Smith Apples: Known for their tart flavor and crisp texture, Granny Smith apples are a classic choice for pie filling. Their tartness balances beautifully with the sweetness of sugar, making for a well-rounded filling. Additionally, their firm texture holds up well during baking, preventing the filling from becoming mushy.
Honeycrisp Apples: Renowned for their sweet, juicy flavor and excellent crunch, Honeycrisp apples add a delightful sweetness to your filling. Their unique flavor profile enhances the overall taste of the pie, making each bite a pleasurable experience. The combination of their sweetness with a hint of tartness creates a harmonious blend that many bakers adore.
Other great options to consider include Fuji, Braeburn, and Jonagold apples, each offering their distinct flavors and textures. When shopping for apples, look for firm, unblemished specimens with vibrant coloring. Avoid apples that have soft spots or signs of browning, as these can indicate overripeness.
Additionally, consider visiting local farmer’s markets where you can often find freshly picked apples that are in season. Not only are these apples likely to be at their peak flavor, but supporting local growers also adds to the charm of your homemade pie.
Essential Ingredients for a Flawless Filling
Creating a flawless apple pie filling requires a few essential ingredients, each playing a vital role in enhancing the flavor and texture of the dish. Here’s a detailed description of what you’ll need for your filling:
1. Apples: The star of your filling, fresh apples are crucial for flavor and texture. As mentioned, select a mix of tart and sweet varieties for the best results.
2. Sugar: Sugar is essential for sweetening the filling. Depending on your preference and the tartness of the apples, you may choose to adjust the amount of sugar. Granulated sugar is the standard choice, but brown sugar can add a rich depth of flavor.
3. Lemon Juice: A splash of lemon juice not only enhances the flavor but also prevents the apples from browning. The acidity brightens the filling and balances the sweetness.
4. Cinnamon: A staple in apple pie recipes, cinnamon introduces warm, spicy notes that complement the sweetness of the apples. It’s a flavor that evokes comfort and nostalgia.
5. Nutmeg: This aromatic spice adds complexity to your filling. A small amount of nutmeg can elevate the overall flavor profile, giving your pie a unique twist.
6. Flour or Cornstarch: These thickeners are necessary to create a cohesive filling. Flour offers a classic approach, while cornstarch can provide a glossy finish and is gluten-free.
7. Butter: Adding a bit of butter to your filling enriches the flavor and helps achieve a delightful texture. It melts during baking, creating a luscious sauce that coats the apples.
8. Salt: A pinch of salt rounds out the flavors of the filling, enhancing the sweetness and spice. It’s a small but crucial ingredient that should not be overlooked.
In addition to these key ingredients, feel free to experiment with optional additions to your filling. For example, you can incorporate vanilla extract for an extra layer of flavor or add raisins for a chewy texture. Each of these optional ingredients can provide a delightful twist to the traditional recipe.
Step-by-Step Guide to Making Apple Pie Filling
Preparation of Apples
The first step in creating your apple pie filling is preparing the apples. This process involves peeling, coring, and slicing the apples to ensure they cook evenly during baking. Here’s how to do it effectively:
1. Peeling: Start by using a sharp peeler to remove the skin from each apple. Fresh, ripe apples will peel easily. If you prefer a rustic look, you can leave some skin on, but keep in mind that this may alter the texture of the filling slightly.
2. Coring: Next, use an apple corer or a paring knife to remove the core from each apple. Take care to eliminate any seeds, as they can impart a bitter flavor to the filling.
3. Slicing: Once cored, slice the apples into uniform pieces. Aim for slices about ¼ inch thick; this size allows for even cooking and prevents the filling from becoming mushy. If the slices are too thick, they may not soften adequately during baking, while overly thin slices may break down too much.
4. Prevent Browning: As you slice the apples, place them in a large bowl and toss them with a splash of lemon juice. This step is essential to prevent the apples from browning and losing their vibrant appearance.
Mixing the Ingredients
After preparing the apples, it’s time to mix them with the other ingredients. This step is crucial to ensure that the flavors meld together beautifully.
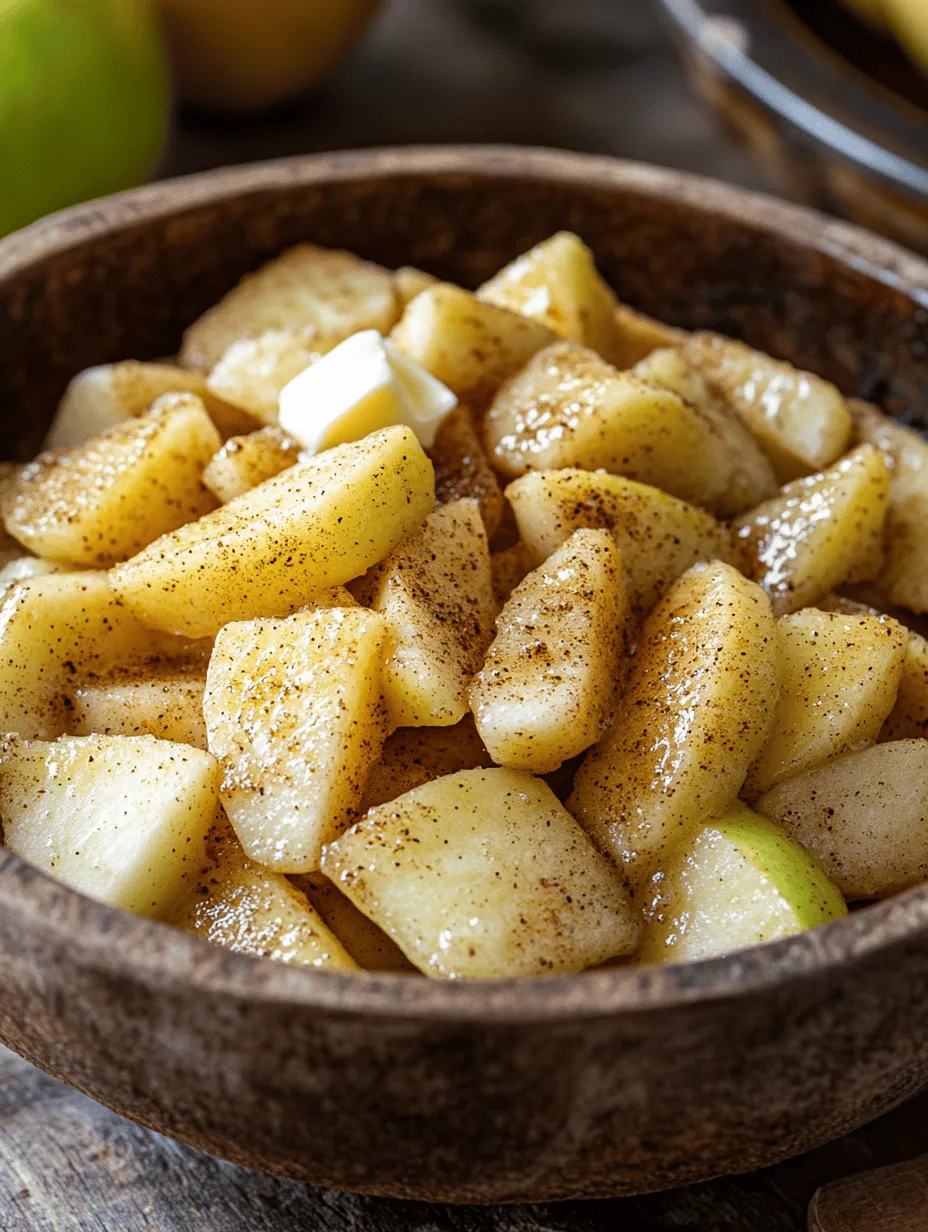
1. Combine Apples and Sugar: In a large mixing bowl, add the sliced apples to the sugar. Gently toss the apples to coat them evenly with sugar. This process will help draw out the natural juices of the apples, creating a delicious syrup during baking.
2. Add Lemon Juice and Spices: Next, drizzle in the lemon juice, and sprinkle the cinnamon and nutmeg over the apple mixture. Stir gently to ensure that the spices are evenly distributed throughout the apples.
3. Thickener: Finally, sprinkle in your choice of flour or cornstarch. This ingredient will help thicken the filling as it bakes, preventing it from becoming soupy. Use a gentle folding motion to combine, being careful not to break the apple slices.
4. Taste and Adjust: At this point, it’s a good idea to taste your filling and adjust the sweetness or spice level to your liking. If you prefer a sweeter filling, you can add more sugar; if you enjoy a spicier profile, feel free to increase the cinnamon or nutmeg.
By following these initial steps, you will have a beautifully prepared apple pie filling that is ready to transform into a delightful pie. The journey of creating this filling is not just about following a recipe; it’s about embracing the joy of cooking and the magic of flavors that come together to create a dish that delights the senses.
Stay tuned for the next part of this guide, where we will explore how to turn this luscious filling into a stunning apple pie that will surely impress all who partake!
Crafting the dry mixture is a crucial step in creating the perfect apple pie filling. The right blend of sugar, flour or cornstarch, spices, and salt not only enhances the flavor of the apples but also contributes to the overall texture of the filling.
Crafting the Dry Mixture
To begin, gather your dry ingredients: ¾ cup of granulated sugar, ¼ cup of all-purpose flour or cornstarch, 2 teaspoons of ground cinnamon, a pinch of nutmeg, and a pinch of salt. Each component has a vital role:
– Sugar: Balances the tartness of the apples and adds sweetness.
– Flour or Cornstarch: Acts as a thickening agent, helping to bind the juices released by the apples during baking. Cornstarch is preferable if you want a glossy finish, while flour gives a more rustic texture.
– Spices: Cinnamon and nutmeg provide warmth and depth, making the filling aromatic and inviting.
– Salt: A touch of salt enhances all the flavors in your filling.
In a medium mixing bowl, combine the sugar, flour (or cornstarch), spices, and salt. Whisk them together until evenly distributed. This dry mixture is the backbone of your filling, ensuring that each bite of pie is bursting with flavor.
Bringing It All Together
Now it’s time to mix this dry mixture with the prepared apples. In a large bowl, combine your sliced apples with the dry ingredients. Use a spatula or your hands to gently toss the apples, ensuring that each slice is coated with the sugar and spice mixture. This step is essential for flavor distribution and will help the apples release their natural juices.
Allowing the Mixture to Sit for Juices to Develop: Why This Step Matters
After mixing the apples with the dry ingredients, allow the mixture to sit for about 15 to 30 minutes. This resting period is crucial because it gives the apples time to release their juices. As they sit, the sugar dissolves, and the flavors meld together. The result is a more flavorful filling that has a beautiful, syrupy consistency when baked. If you skip this step, the filling may not achieve the desired level of juiciness, making for a less satisfying pie.
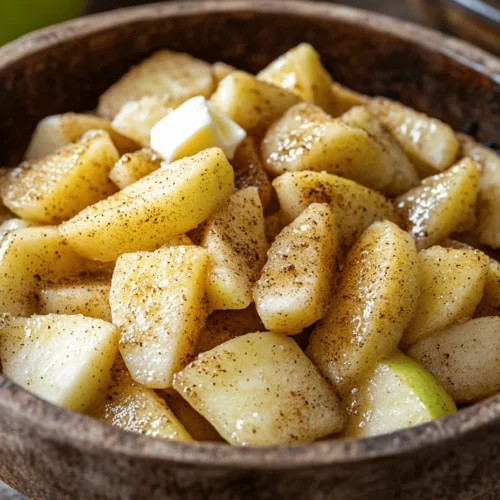
The Whimsical Touch: Adding Butter
For those looking to elevate their apple pie filling, consider adding butter. This is an optional step, but it can truly enhance the richness and flavor of your filling.
Discussion on the Optional Addition of Butter and Its Benefits
Using about 2 tablespoons of unsalted butter, cut into small cubes, can add a luxurious creaminess to your filling. As the pie bakes, the butter melts and combines with the juices from the apples, creating a sumptuous sauce that envelops the fruit. This not only enhances the overall flavor but also adds a delightful mouthfeel that makes each bite indulgent.
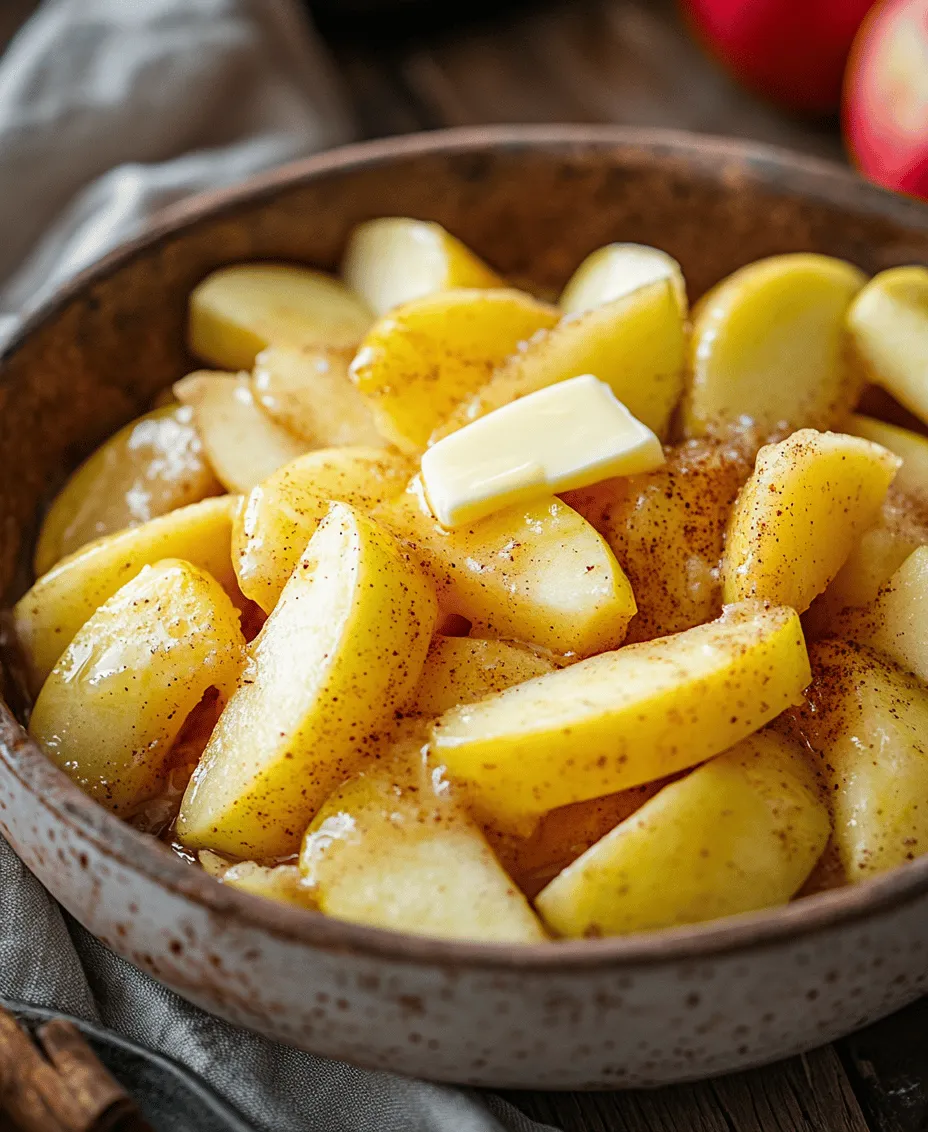
Creative Presentation Ideas with Butter for a Whimsical Touch
If you want to add a whimsical flair to your pie, consider arranging the butter cubes in a decorative pattern on top of the filling before sealing the pie crust. This not only looks beautiful but also ensures that the butter is evenly distributed as it bakes, enhancing the flavor throughout the pie.
Preparing the Pie Crust for Your Filling
With the filling prepared, it’s time to focus on the pie crust. You have two main options: homemade or store-bought. Each has its pros and cons, and the choice depends on your time and preference.
Overview of Pie Crust Options: Homemade vs. Store-Bought
– Homemade Pie Crust: Making your own crust allows you to control the ingredients and achieve a fresh, flaky texture. Plus, there’s something satisfying about rolling out your dough.
– Store-Bought Pie Crust: If you’re short on time, quality pre-made crusts can save the day. Look for brands that use natural ingredients without preservatives for the best flavor.
Tips on Preparing and Rolling Out Your Pie Crust
If you decide to make your own crust, a few tips will help you achieve success:
– Chill the Ingredients: Use cold butter and ice water. This helps create a flaky texture.
– Don’t Overwork the Dough: Mix until just combined. Over-kneading can result in a tough crust.
– Roll it Out with Care: On a lightly floured surface, roll your dough into a circle about 1/8-inch thick, ensuring it’s large enough to fit your pie dish with some overhang for crimping.
Once your pie crust is ready, transfer it to a pie dish, allowing it to hang over the edges. This will make it easier to seal once the filling is added.
Importance of Proper Pie Crust Preparation for a Successful Apple Pie
Proper preparation of your pie crust is critical for achieving a successful apple pie. A well-prepared crust will support the weight of the filling without becoming soggy. For an added layer of protection, you can brush the bottom of the crust with a bit of melted butter or sprinkle it lightly with flour before adding the filling. This helps to create a barrier that keeps the crust crisp even under the juicy apple filling.
Baking the Perfect Apple Pie
Now that you have your filling and crust prepared, it’s time to bake! Preheat your oven to 425°F (220°C).
General Baking Instructions for Apple Pie Once the Filling Is Prepared
1. Fill the Crust: Pour your apple filling into the prepared pie crust, making sure to distribute it evenly. If you added butter, ensure the cubes are evenly spaced throughout.
2. Top the Pie: Cover with a second crust or create a lattice top for a beautiful presentation. If using a full crust, make slits to allow steam to escape.
3. Seal the Edges: Crimp the edges of the crust to secure the filling inside. This not only helps keep everything together but also adds a decorative touch.
4. Bake: Place the pie on a baking sheet (to catch any drips) and bake in the preheated oven for 15 minutes. Then reduce the temperature to 350°F (175°C) and bake for an additional 35-45 minutes, or until the crust is golden brown and the filling is bubbling.
Tips on Achieving a Golden Crust and Bubbly Filling
To achieve that perfect golden crust, consider these tips:
– Egg Wash: Brush the top crust with a mixture of beaten egg and milk before baking for a glossy finish.
– Shield the Edges: If the edges of the crust begin to brown too quickly, use strips of aluminum foil to cover them while the center continues to bake.
How to Check for Doneness and Avoid Common Baking Pitfalls
To check for doneness, look for a golden-brown crust and bubbling filling. You can also insert a knife into the filling to ensure the apples are tender. Avoid common pitfalls like a soggy bottom crust by ensuring the pie crust has been properly prepared and baked long enough.
Serving Suggestions and Pairings
Once your apple pie is perfectly baked, it’s time to serve! Here are some delightful ideas for presenting your homemade apple pie:
Ideas on How to Serve Homemade Apple Pie
– Classic Slice: Serve warm slices of apple pie on their own or with a scoop of vanilla ice cream for a timeless dessert.
– Whipped Cream: A dollop of freshly whipped cream adds a light, airy touch that complements the richness of the pie.
– Caramel Sauce: Drizzling a bit of caramel sauce over the top can enhance the flavors and add a touch of decadence.
Suggested Accompaniments such as Ice Cream, Whipped Cream, or Caramel Sauce
– Ice Cream Flavors: Vanilla, caramel, or even cinnamon ice cream are fantastic options that pair beautifully with apple pie.
– Cheese: A slice of sharp cheddar cheese is a classic pairing that offers a savory contrast to the sweet filling.
Creative Ways to Present Apple Pie for Special Occasions
For special occasions, consider presenting your apple pie in unique ways:
– Mini Pies: Make individual mini apple pies in muffin tins for a fun, portable version.
– Garnishes: Top each slice with a sprinkle of cinnamon, a mint leaf, or edible flowers for an elegant touch.
Conclusion
Making homemade apple pie filling is a rewarding experience that brings comfort and nostalgia to the table. Each step, from crafting the dry mixture to baking the pie, allows you to create a dessert that is not only delicious but also filled with love and tradition.
As you experiment with flavors and ingredients, don’t hesitate to put your own whimsical spin on this classic recipe. Whether it’s adding a hint of ginger, swapping in different spices, or trying new presentation ideas, the possibilities are endless.
Ultimately, the joy of sharing apple pie with loved ones—whether during a holiday gathering or a quiet afternoon—is what makes this dessert truly special. So gather your ingredients, roll up your sleeves, and embark on your own whimsical adventure in the kitchen. Your homemade apple pie will not only warm your heart but also create lasting memories for years to come.