Introduction
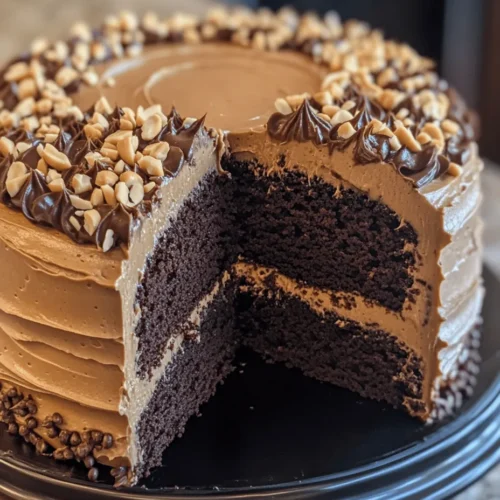
There’s something undeniably magical about the combination of chocolate and peanut butter. This duo has captured the hearts and taste buds of dessert lovers for generations, blending the rich, decadent essence of chocolate with the creamy, nutty flavor of peanut butter. Whether enjoyed in a simple snack or in a more elaborate dessert, chocolate and peanut butter provide a delightful sensory experience that appeals to both children and adults alike. If you’re on the hunt for a show-stopping dessert that balances indulgence with ease of preparation, look no further than this Chocolate Peanut Butter Cake recipe.
This cake is not just another dessert; it’s a celebration of flavors that come together to create a moist, rich, and utterly irresistible treat. With straightforward preparation steps and a flavor profile that will leave your taste buds dancing, this cake is perfect for birthdays, anniversaries, or simply as a sweet pick-me-up after a long day.
What makes this cake even more special is its accessibility. With common pantry ingredients and a manageable list of steps, you can whip up this delight in no time. So, let’s dive into the allure of chocolate peanut butter cake and discover why it deserves a spot on your dessert table.
The Allure of Chocolate Peanut Butter Cake
The marriage of chocolate and peanut butter is not just a random pairing; it’s a harmonious blend that seems to have been crafted for each other. Each ingredient complements the other perfectly, creating a taste experience that is both familiar and unique. The sweetness of chocolate contrasts beautifully with the salty, nutty undertones of peanut butter, creating a balance that tantalizes the palate. This balance of flavors and textures explains why this combination has become a staple in many dessert recipes across cultures.
In popular culture, chocolate and peanut butter are often celebrated together in various forms. From classic desserts like peanut butter cups to more elaborate cakes and brownies, this pairing has inspired countless variations, making it a beloved choice for many. The nostalgia associated with childhood treats like peanut butter cookies or chocolate-covered peanut butter bars further enhances its appeal, allowing both young and old to appreciate this timeless combination.
As we delve into the specifics of our Chocolate Peanut Butter Cake recipe, you’ll find that it captures all that is wonderful about this duo. Each bite promises a satisfying blend of rich chocolate and creamy peanut butter, ensuring that it will be a hit at any gathering.
Understanding the Ingredients
To create the perfect Chocolate Peanut Butter Cake, understanding each ingredient’s role is crucial. Here’s a breakdown of what you’ll need:
– All-Purpose Flour: This is the backbone of the cake, providing the necessary structure. The gluten in the flour helps the cake rise and maintain its shape, giving it that classic fluffy texture we all love.
– Granulated Sugar: Sugar does more than just sweeten. It adds moisture to the cake, helping to create a tender crumb. The sugar also caramelizes during baking, contributing to the cake’s overall flavor profile.
– Cocoa Powder: The star of the show when it comes to chocolate flavor, cocoa powder is essential for imparting that rich, deep chocolate taste. It also adds a slight bitterness that balances the sweetness of the sugar and the creaminess of the peanut butter.
– Leavening Agents (Baking Powder): These ingredients are crucial for the cake’s rise. Baking powder releases carbon dioxide when mixed with wet ingredients, creating air pockets that make the cake light and fluffy.
– Salt: A pinch of salt may seem minor, but it plays a significant role in enhancing the overall flavor of the cake. It helps to balance the sweetness and brings out the rich flavors of the chocolate and peanut butter.
– Unsalted Butter: Using unsalted butter gives you better control over the cake’s saltiness. Butter adds moisture and richness while contributing to the cake’s overall texture.
– Eggs: Eggs are essential in baking as they bind the ingredients together and add moisture. They also help with the leavening process, giving the cake its rise and fluffy texture.
– Peanut Butter: This is the ingredient that takes the cake to the next level. Peanut butter adds a creamy texture and nutty flavor that pairs beautifully with chocolate. Depending on your preference, you can use creamy or crunchy peanut butter for added texture.
– Milk: Milk contributes to the cake’s tenderness. It hydrates the dry ingredients and helps create a smooth batter. The fat content in the milk also enhances the flavor.
– Vanilla Extract: A splash of vanilla extract enhances the flavor complexity of the cake, adding warmth and depth that complements the chocolate and peanut butter.
Step-by-Step Instructions
Now that we’ve covered the ingredients, let’s dive into the step-by-step process to prepare this delicious Chocolate Peanut Butter Cake. Each step is designed to ensure that your cake turns out perfectly, so let’s get started.
Preheating and Preparing the Pan
The first step in making your Chocolate Peanut Butter Cake is to preheat your oven to 350°F (175°C). Preheating is an essential step in baking, as it ensures that your cake cooks evenly from the moment it goes into the oven. An oven that isn’t preheated can lead to uneven baking and affect the cake’s texture and rise.
While the oven is preheating, prepare your cake pans. For this recipe, you will need two 9-inch round cake pans. Start by greasing each pan with a bit of unsalted butter, making sure to cover the sides and bottoms. This will help prevent the cake from sticking to the pans. For added security, you can also line the bottom of each pan with parchment paper. This step is particularly important for chocolate cakes, as they tend to stick more than vanilla cakes.
Once your pans are greased and lined, set them aside and focus on preparing your batter.
Mixing the Dry Ingredients
In a large mixing bowl, combine the all-purpose flour, cocoa powder, baking powder, and salt. Whisk the dry ingredients together until they are well combined. This step is crucial for ensuring that the leavening agents are evenly distributed throughout the flour, which will help the cake rise uniformly.
Creaming the Butter and Sugar
In another bowl, beat the unsalted butter and granulated sugar together until the mixture is light and fluffy. This process typically takes about 3-5 minutes using an electric mixer. The goal is to incorporate air into the butter, which will help to create a light texture in the finished cake.
Adding the Eggs and Peanut Butter
Once your butter and sugar mixture is fluffy, add the eggs one at a time, mixing well after each addition. This ensures that the eggs are fully incorporated into the mixture. After all the eggs are added, it’s time to fold in the peanut butter. Be sure to choose a high-quality peanut butter for the best flavor. Mix until the peanut butter is fully incorporated, and everything is smooth and creamy.
Combining Wet and Dry Ingredients
Now that your wet ingredients are ready, it’s time to combine them with the dry ingredients. Begin by alternating adding the dry mixture and the milk to the wet mixture, starting and ending with the dry ingredients. This method helps to prevent overmixing, which can lead to a dense cake. Mix until just combined; it’s okay if there are a few small lumps.
Baking the Cake
Once your batter is ready, divide it evenly between the prepared cake pans. Smooth the tops with a spatula to ensure even baking. Place the pans in the preheated oven and bake for 25-30 minutes, or until a toothpick inserted into the center of the cakes comes out clean.
Cooling the Cakes
After baking, remove the cake pans from the oven and allow them to cool in the pans for about 10 minutes. Then, carefully run a knife around the edges of the pans to loosen the cakes and invert them onto a wire rack to cool completely. Allowing the cakes to cool completely is essential before frosting, as this prevents the frosting from melting.
By following these initial steps, you’ll be well on your way to creating an unforgettable Chocolate Peanut Butter Cake that is sure to impress anyone lucky enough to enjoy a slice. Stay tuned for the next part, where we will dive into frosting and decorating this delightful dessert!
Mixing Dry Ingredients
To ensure your chocolate peanut butter cake has a uniform texture, it is essential to mix the dry ingredients properly. Start by measuring out all the dry components, which typically include all-purpose flour, cocoa powder, baking powder, baking soda, and salt. Sift these ingredients together into a large mixing bowl; sifting helps to aerate the flour and cocoa, which can prevent clumping and ensure a light and fluffy cake.
Once sifted, use a whisk to combine the dry ingredients thoroughly. This step is crucial as it distributes the leavening agents evenly throughout the flour, which contributes to a consistent rise and texture in your cake. Mixing the dry ingredients well also avoids the risk of having pockets of baking soda or powder that can lead to uneven flavor or texture. Set this bowl aside while you prepare the wet ingredients, keeping the dry ingredients ready for incorporation.
Incorporating Wet Ingredients
Now that your dry ingredients are mixed, it’s time to focus on the wet ingredients. In a separate bowl, combine your eggs, granulated sugar, brown sugar, vanilla extract, buttermilk, and melted butter. Using a whisk or electric mixer, blend these ingredients until they are smooth and fully incorporated. It’s important to mix until there are no lumps, as this will help achieve a silky batter that bakes evenly.
Once your wet ingredients are well-combined, make a well in the center of your dry ingredient mixture. Pour the wet mixture into this well and gently fold the two mixtures together using a spatula or wooden spoon. Be careful not to overmix; you want to combine them just until there are no dry streaks left. Overmixing can develop the gluten in the flour, resulting in a dense cake rather than the light texture we desire.
Baking
With your batter now ready, preheat your oven to 350°F (175°C). Grease and flour two 9-inch round cake pans or line them with parchment paper for easier release. Divide the batter evenly between the pans and smooth the tops with a spatula.
Baking time is critical to achieving the perfect chocolate peanut butter cake. Place the pans in the preheated oven and bake for 25 to 30 minutes. To check for doneness, use the toothpick test: insert a toothpick into the center of the cake, and if it comes out clean or with a few moist crumbs attached, your cake is ready. If the toothpick comes out with wet batter, continue baking, checking every couple of minutes until done.
Cooling Process
Once baked, remove the cakes from the oven and allow them to cool in the pans for about 10 to 15 minutes. This resting time is crucial as it allows the cakes to firm up slightly, making them easier to remove from the pans without falling apart. After this initial cooling period, carefully run a knife around the edges of the pans and invert them onto a wire rack to cool completely.
Letting the cakes cool fully before frosting is essential. If you frost a warm cake, the frosting can melt and slide off, leading to a messy presentation. A completely cooled cake also allows the flavors to meld together, creating a more delicious final product.
Frosting Options
When it comes to frosting your chocolate peanut butter cake, numerous delicious options can enhance its flavor and appearance.
– Chocolate Frosting: A rich chocolate frosting pairs beautifully with the chocolate cake. To make it, whip together softened butter, powdered sugar, cocoa powder, and heavy cream until smooth and fluffy. This frosting adds an extra layer of chocolatey goodness and complements the cake’s flavor profile perfectly.
– Peanut Butter Frosting: For those who can’t get enough peanut butter, a creamy peanut butter frosting is an excellent choice. Combine equal parts of peanut butter and softened butter, add powdered sugar and a splash of milk to achieve the desired consistency. This frosting not only enhances the peanut butter flavor but also adds a delightful creaminess that contrasts well with the chocolate layers.
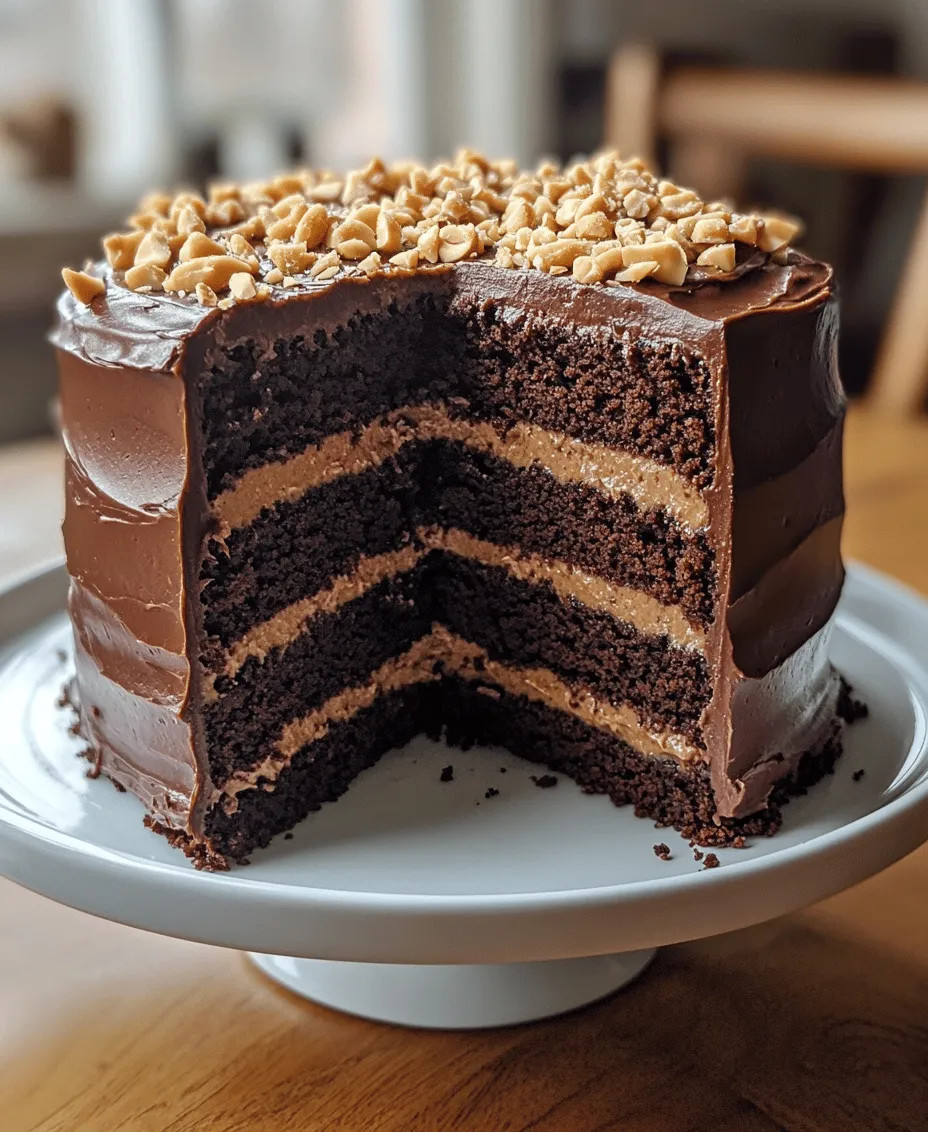
– Combination Frosting: For an impressive visual and flavor contrast, consider a combination frosting approach. This could mean layering chocolate frosting between the cake layers and using peanut butter frosting on the outside (or vice versa). You can also create swirls or half-and-half designs for a stunning presentation.
Serving Suggestions
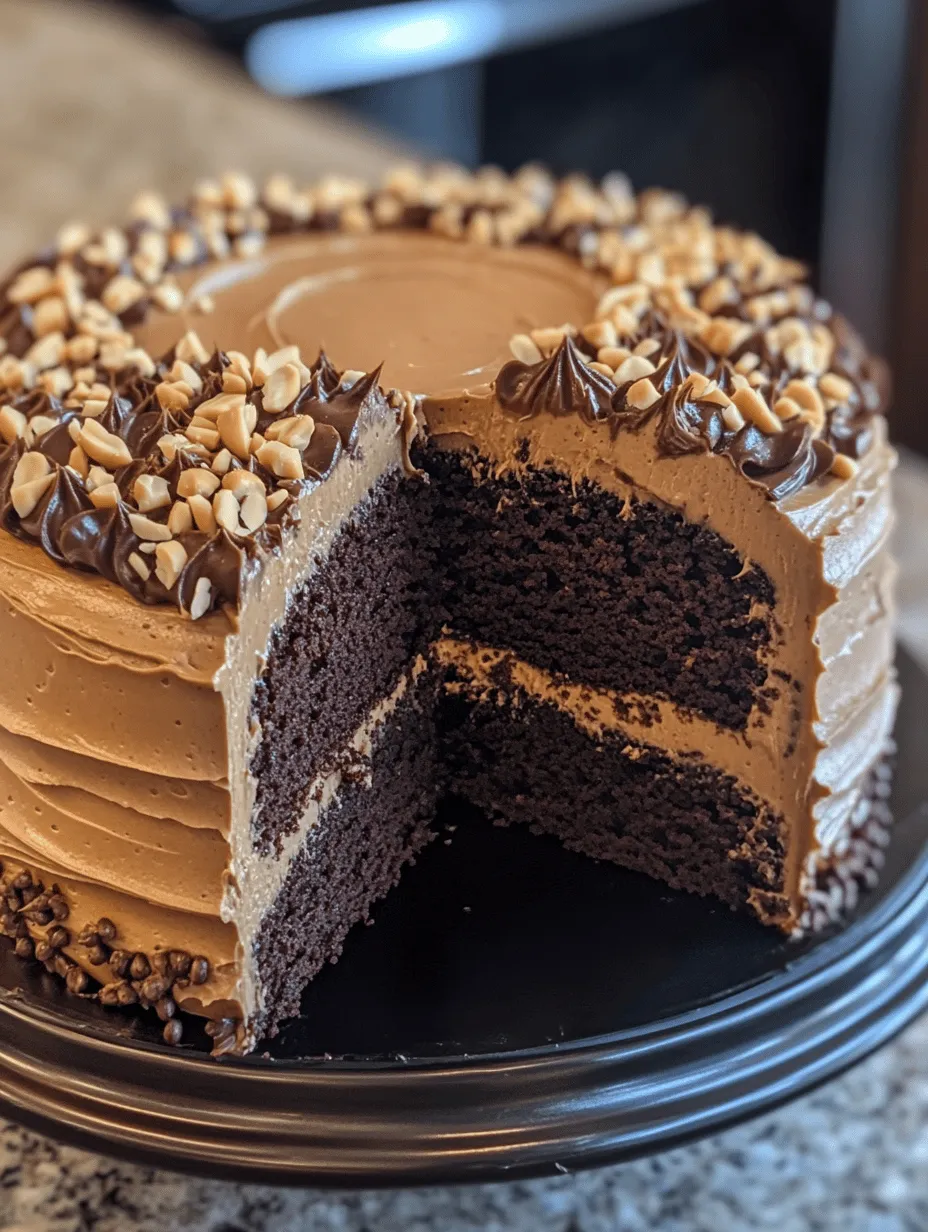
Presenting your chocolate peanut butter cake elegantly can elevate its appeal at any gathering.
– Plating Ideas: When plating, consider using a cake stand to showcase your masterpiece. A simple garnish of crushed peanuts, chocolate shavings, or fresh berries can add a vibrant touch. Dusting the top with powdered sugar or cocoa powder can also create a beautiful finish. For more festive occasions, consider adding edible flowers or a drizzle of chocolate sauce.
– Pairing with Beverages: The right beverage can enhance the dessert experience significantly. A cup of freshly brewed coffee pairs excellently with the rich flavors of the cake, providing a balanced taste profile. Alternatively, a cold glass of milk or even a creamy hot chocolate can complement the dessert beautifully. For adults, consider serving the cake with a sweet dessert wine or a rich stout beer, which can enhance the chocolate and peanut butter flavors.
Storing Your Cake
To ensure your chocolate peanut butter cake remains fresh for days to come, proper storage is key.
– Short-Term Storage: If you plan to consume the cake within a few days, keep it at room temperature. Place the cake on a cake stand and cover it loosely with a cake dome or plastic wrap to protect it from drying out. Avoid refrigerating the cake unless necessary, as this can lead to a dry texture.
– Long-Term Storage: For long-term storage, freezing is an excellent option. Wrap the cooled cake layers tightly in plastic wrap, followed by aluminum foil to prevent freezer burn. Label with the date and type of cake, and freeze for up to three months. When you’re ready to enjoy it, remove the cake from the freezer and let it thaw in the refrigerator overnight. Allow it to come to room temperature before frosting or serving to restore its best flavor and texture.
Conclusion
Creating a chocolate peanut butter cake is not just about following a recipe; it’s about the joy of baking and sharing a delightful dessert with loved ones. This cake is incredibly easy to make, yet it yields a stunning and scrumptious result that will impress anyone who takes a bite. With a variety of frosting options, serving suggestions that can elevate its presentation, and storage tips that ensure you can enjoy it for days, this cake checks all the boxes for a fantastic dessert.
So roll up your sleeves, embrace your baking skills, and take the plunge into this indulgent experience. Whether it’s for a special occasion, a casual gathering, or simply a treat for yourself, this chocolate peanut butter cake promises to bring happiness and satisfaction to your kitchen and beyond. Happy baking!