Introduction
In the fast-paced world of modern cooking, no-bake desserts have emerged as a beloved trend among home bakers and professional chefs alike. These delightful treats are not only easy to prepare but also allow for a creative expression of flavors and presentations without the need for an oven. As the popularity of no-bake desserts continues to rise, they have become a staple for those looking to enjoy sweet indulgences without the time-consuming processes often associated with traditional baking.
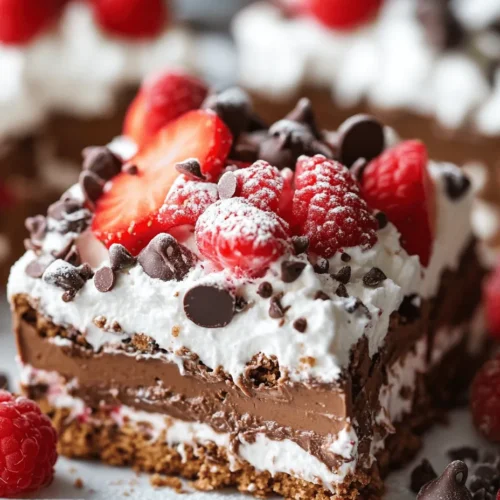
Today, we are excited to introduce our featured recipe, “Sweet Simplicity: No Bake Desserts.” This recipe encapsulates everything that makes no-bake desserts so appealing: effortless preparation, mouthwatering flavors, and an eye-catching presentation. Imagine a dessert that can effortlessly impress your guests while requiring minimal effort on your part—this is what this recipe promises. Whether you’re hosting a summer barbecue or simply craving a sweet treat, this no-bake dessert is sure to be a hit.
An added advantage of this recipe is its versatility. It can be easily customized to suit different tastes and dietary preferences. Plus, with the option to top it off with fresh fruits, you’ll not only enhance the flavor but also reap the health benefits that come with them. Fresh fruits not only add a pop of color but also introduce a range of vitamins and antioxidants, making your dessert not just delicious but also nutritious.
The Appeal of No-Bake Desserts
The convenience and time-saving benefits of no-bake desserts are perhaps their most significant appeal. When the weather is warm or when you’re short on time, the thought of turning on the oven can seem daunting. No-bake desserts offer a refreshing solution that allows you to create delicious treats without heating up your kitchen. They are perfect for those hot summer days when you want to satisfy your sweet tooth without the extra heat.
No-bake desserts are also incredibly versatile, making them suitable for a variety of occasions. Whether it’s a summer gathering with friends, a holiday party, or a quick treat for the family, no-bake desserts can fit seamlessly into any scenario. They are perfect for potlucks, where you want to bring something impressive yet easy to prepare. The simplicity of these desserts allows you to whip them up in no time and still leave a lasting impression on your guests.
Furthermore, no-bake desserts cater to a wide range of dietary considerations. With the growing awareness of dietary restrictions and preferences, many no-bake recipes can be adapted to be gluten-free, vegan, or low-sugar. This adaptability makes them a fantastic option for anyone looking to enjoy a sweet treat without compromising their health or dietary choices. You can easily swap out ingredients to create a version that works for everyone, ensuring that no one misses out on dessert.
Ingredients Breakdown
To create the “Sweet Simplicity: No Bake Desserts,” you will need a carefully selected list of ingredients, each contributing to the overall flavor, texture, and appeal of the dessert. Here’s a detailed description of each ingredient and its role in the recipe:
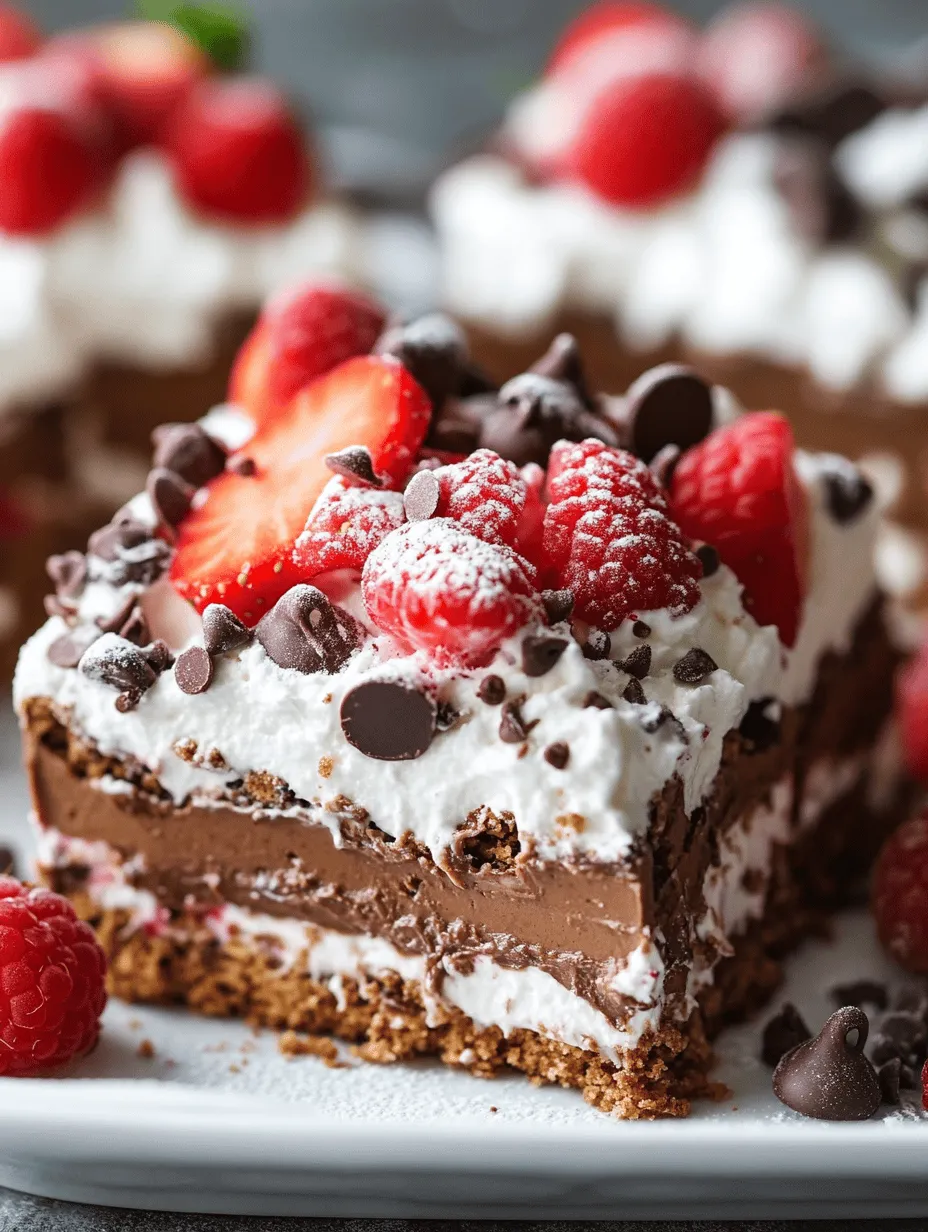
1. Graham Cracker Crumbs: The foundation of this no-bake dessert starts with graham cracker crumbs. These provide a delightful texture and a hint of sweetness that complements the other flavors. The crumbs serve as the crust, adding a satisfying crunch that contrasts beautifully with the creamy filling.
2. Unsweetened Cocoa Powder: To add depth and richness to the dessert, unsweetened cocoa powder is essential. It infuses the mixture with a robust chocolate flavor without the extra sugar, making it a perfect choice for those who enjoy a more balanced sweetness in their desserts.
3. Powdered Sugar: The sweetness and smoothness of the mixture are achieved through powdered sugar. Its fine texture allows for easy incorporation into the other ingredients, ensuring a creamy and sweet final product that satisfies your sweet cravings.
4. Unsalted Butter: Acting as a binding agent, unsalted butter enhances the overall flavor profile of the dessert. The rich, buttery taste complements the sweetness and helps to hold the crust and filling together, creating a cohesive dessert that is both delicious and easy to serve.
5. Vanilla Extract: The aroma and taste profile of the dessert are enriched with vanilla extract. This ingredient adds a warm, inviting flavor that balances the richness of the cocoa and the sweetness of the sugar, elevating the overall dessert experience.
6. Whipped Cream: For that light and creamy texture, whipped cream is a must. It adds a fluffy element to the dessert, making each bite feel indulgent and luxurious. The airy nature of whipped cream helps to lighten the overall richness, creating a perfect harmony of flavors.
7. Chocolate Chips: For chocolate lovers, adding chocolate chips can be an optional indulgence. They provide bursts of chocolatey goodness that enhance the dessert’s flavor and texture, making it even more irresistible.
8. Fresh Fruits: Topping the dessert with fresh fruits not only elevates its aesthetics but also offers numerous health benefits. Fruits such as berries, bananas, or mangoes add brightness and freshness, making the dessert visually appealing while introducing vitamins, minerals, and antioxidants into the mix. This natural sweetness can help cut through the richness of the chocolate, making each bite a delightful balance of flavors.
Armed with this list of ingredients and a clear understanding of their roles, you’re ready to embark on your journey to create “Sweet Simplicity: No Bake Desserts.” The next steps will guide you through the preparation process, ensuring that you achieve a dessert that is as delicious as it is visually stunning.
Step-by-Step Instructions
Creating a delightful no-bake dessert is not only simple but also an enjoyable experience that allows you to showcase your culinary skills without the hassle of baking. Follow these detailed steps to ensure your no-bake dessert turns out perfectly every time.
Mixing Dry Ingredients
The first step in preparing your no-bake dessert is to mix the dry ingredients. This typically includes graham cracker crumbs, cocoa powder, and sugar. Start by measuring each ingredient accurately to achieve the right consistency.
1. Graham Cracker Crumbs: Ensure that your crumbs are finely crushed. This can be done using a food processor, which will create a uniform texture ideal for the base of your dessert.
2. Cocoa Powder: If your recipe includes cocoa powder, sift it through a fine mesh sieve to eliminate any lumps. This will help to achieve a smoother mixture.
3. Sugar: Choose the right type of sugar for your recipe; granulated sugar is commonly used, but brown sugar can add a richer flavor.
Combine these dry ingredients in a large mixing bowl and whisk them together until well incorporated. This step is crucial as it lays the foundation for the flavor and texture of your dessert.
Importance of Folding in Whipped Cream
Once the dry ingredients are mixed, it’s time to incorporate whipped cream. This step is essential for achieving a light, airy texture in your dessert.
1. Whip the Cream: Use cold heavy whipping cream and beat it until soft peaks form. Soft peaks mean that when you lift the whisk, the cream holds its shape but still has a velvety texture.
2. Folding Technique: To fold in the whipped cream, add a small portion of it to the dry mixture first. This helps to lighten the heavier mixture. Use a spatula to gently scoop the mixture from the bottom and fold it over the top. Repeat this process until the whipped cream is fully incorporated, taking care not to deflate the cream. The goal is to maintain as much air as possible for a light and fluffy dessert.
Pouring and Spreading the Mixture
Now that your mixture is ready, it’s time to pour it into the baking dish.
1. Choose the Right Dish: A square or rectangular baking dish works best for no-bake desserts, as it allows for even slicing.
2. Pouring Technique: Spoon the mixture into the dish, starting from the center and working your way to the edges. This helps to distribute the mixture evenly without creating air pockets.
3. Spreading: Use an offset spatula to spread the mixture smoothly across the surface. Ensure that it is level and evenly distributed to allow for consistent setting.
Chilling Process
The chilling process is critical to setting your dessert properly.
1. Refrigeration Time: Cover the dish with plastic wrap or aluminum foil and place it in the refrigerator. Allow it to chill for at least 4 hours, or preferably overnight. This time allows the flavors to meld and the texture to solidify.
2. Testing for Set: After the chilling period, gently press the center of the dessert with your finger. If it holds its shape and does not feel overly soft, it’s ready to be served.
Serving Suggestions
Presentation can elevate a simple dessert into something special. Here are some creative ways to serve your no-bake dessert:
Presentation Ideas
1. Cutting Techniques: For perfect squares or bars, use a sharp knife dipped in warm water. Wipe the knife between cuts to maintain clean edges. This will ensure that each piece looks neat and appetizing.
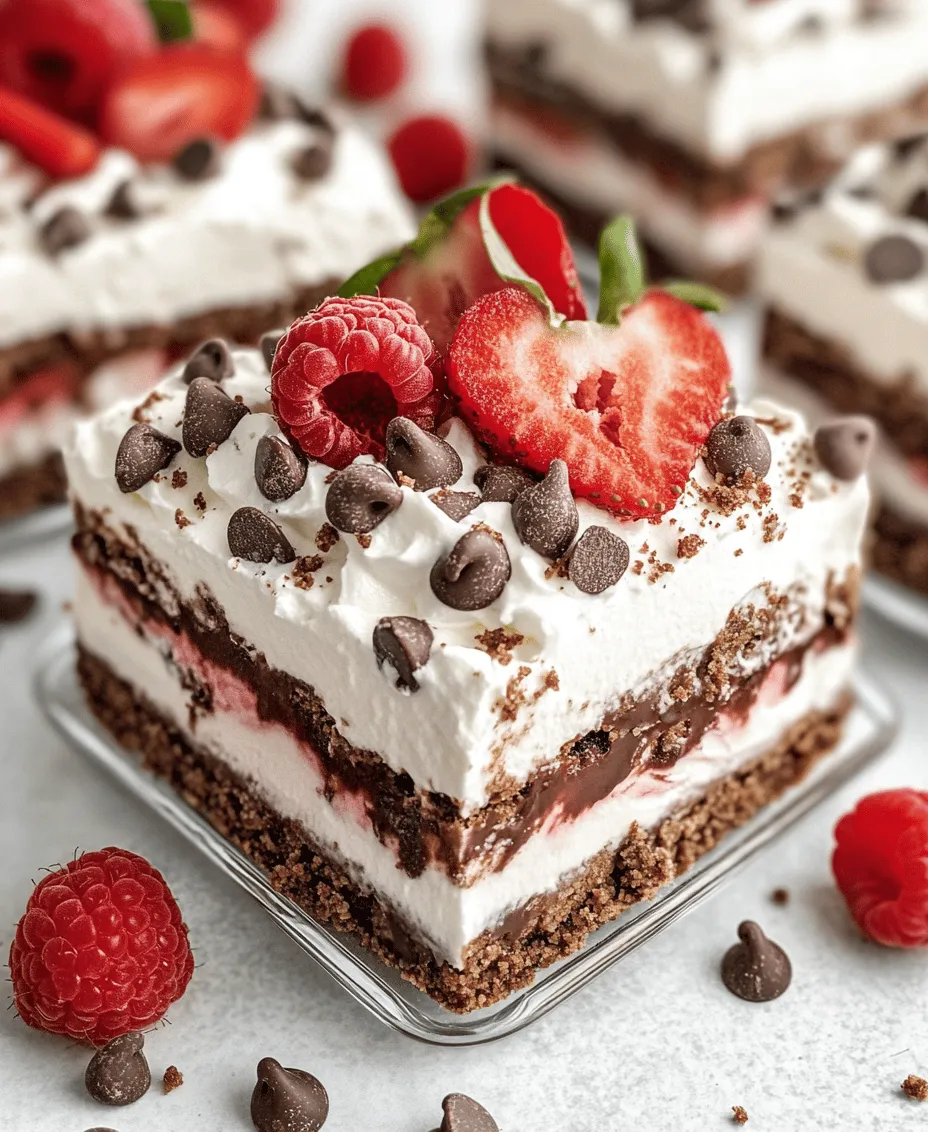
2. Layering: If your dessert has layers, consider using a clear glass dish for serving. This allows the beautiful layers to be visible, enhancing the overall presentation.
Garnishing Options
1. Chocolate Chips: Sprinkle mini chocolate chips on top before serving for an added texture and flavor boost.
2. Fresh Fruits: Add fresh berries such as strawberries, raspberries, or blueberries. Not only do they add color, but they also provide a refreshing contrast to the rich flavors of the dessert.
3. Drizzles: A drizzle of chocolate or caramel sauce can add a touch of elegance and extra sweetness.
Pairing Ideas
To complement your no-bake dessert, consider pairing it with:
1. Beverages: A cup of coffee or a glass of cold milk works beautifully. For a fun twist, try pairing with a homemade iced coffee or a fruity mocktail.
2. Additional Desserts: Serve alongside a light fruit salad or a scoop of sorbet for a refreshing balance to the richness of the no-bake treat.
Nutritional Information
Understanding the nutritional value of your dessert can help you enjoy it guilt-free.
Overview of Nutritional Value
A typical serving of no-bake dessert can provide a satisfying mix of carbohydrates, fats, and a moderate amount of protein, depending on the ingredients used.
1. Caloric Content: Generally, a serving may range from 200 to 300 calories, largely depending on the amount of sugar and cream used.
2. Macronutrient Breakdown: Look for options with a good balance of sugars and fats, and consider how these fit into your daily nutritional goals.
Portion Sizes
When enjoying your no-bake dessert, consider a reasonable portion size. A square or two is often sufficient to satisfy your sweet tooth without overindulging.
Healthier Alternatives
If you’re looking to make your dessert a bit healthier, consider these modifications:
1. Low-Fat Alternatives: Use low-fat whipped cream or Greek yogurt instead of regular whipped cream for a lighter option.
2. Sugar Substitutes: Try using natural sweeteners like honey or maple syrup, or opt for sugar substitutes like stevia or erythritol to reduce calorie content.
Conclusion
The “Sweet Simplicity: No Bake Desserts” offers a perfect blend of convenience and indulgence, making it an ideal choice for any occasion. With minimal effort, you can create a delightful treat that brings joy to your gatherings and satisfies your craving for something sweet.
Encouraging friends and family to try this recipe not only allows them to enjoy a delicious dessert but also showcases how easy it can be to create homemade delights. Embrace the joy of cooking with minimal fuss, and indulge in the delightful flavors of no-bake desserts, perfect for any celebration or simple family dinner. Enjoy sharing these treats and the smiles they bring!