
Introduction
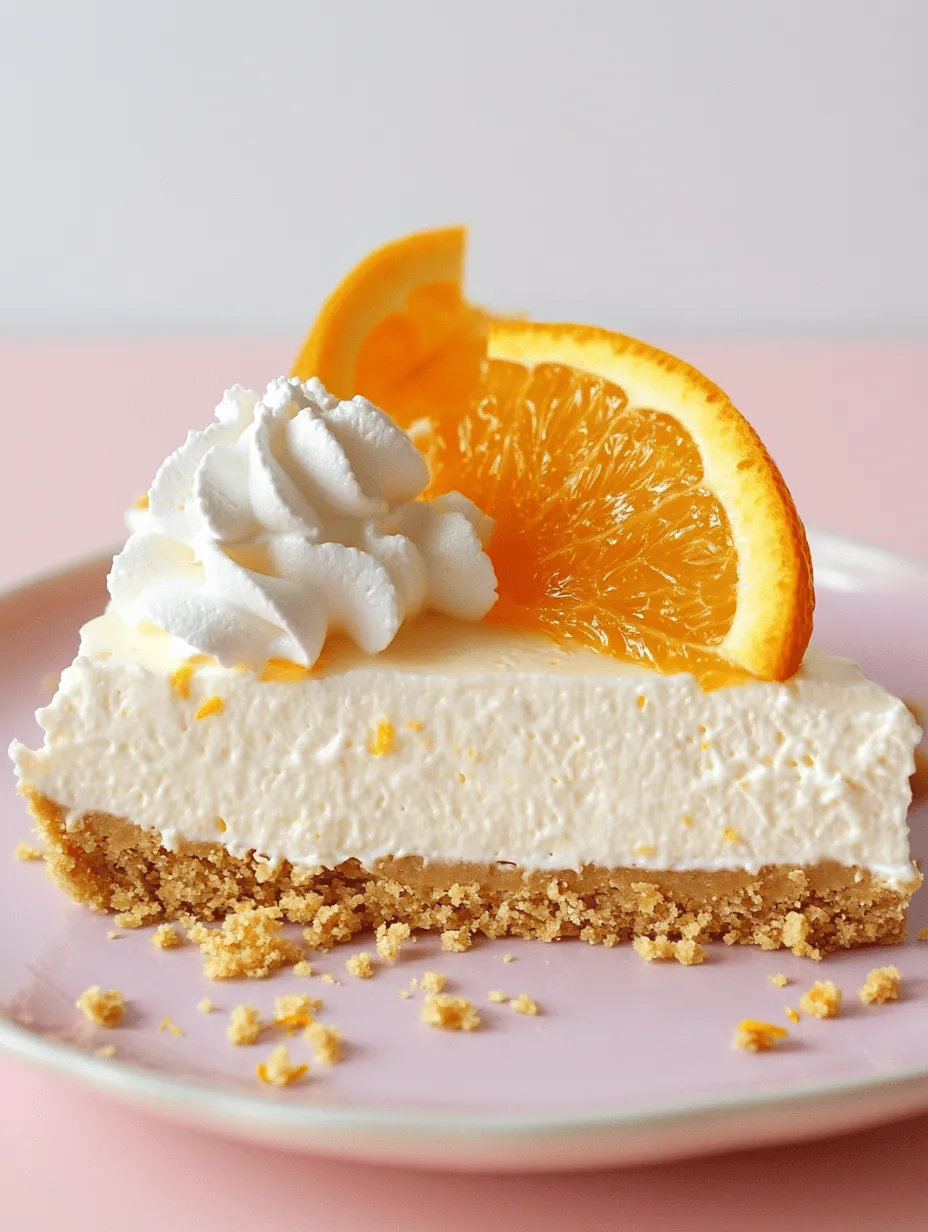
If you’re searching for a dessert that combines the nostalgic flavors of summer with the ease of no-bake preparation, look no further than the No-Bake Orange Creamsicle Cheesecake. This delightful treat captures the essence of those classic orange creamsicle popsicles we all enjoyed as children, blending the tangy citrus notes with the rich creaminess of cheesecake. With its refreshing flavor profile, this cheesecake is perfect for warm-weather gatherings, family barbecues, or simply as a sweet indulgence that requires minimal effort.
The creamsicle flavor has a timeless appeal, evoking memories of lazy summer days, ice cream trucks, and childhood innocence. As we grow older, these flavors often find their way back into our culinary experiences, reminding us of simpler times while also offering a modern twist. The No-Bake Orange Creamsicle Cheesecake is not only a nod to those cherished memories but also a sophisticated dessert that is sure to impress your guests.
In this article, you can expect a comprehensive guide to creating this delightful cheesecake, complete with a detailed recipe, insights into the ingredients, and step-by-step instructions that will make the process straightforward and enjoyable. Let’s dive into the world of this creamy, zesty creation that will undoubtedly become a favorite in your dessert repertoire.
Understanding the Ingredients
To make a No-Bake Orange Creamsicle Cheesecake, it is essential to understand the roles of each ingredient in the recipe. Here’s a closer look at the primary components that come together to create this refreshing dessert:
Crushed Graham Crackers
The foundation of our cheesecake lies in the crust, which is made from crushed graham crackers. These sweet, slightly nutty crackers provide a flavorful base that complements the creamy filling beautifully. The texture of the graham cracker crust adds a pleasant crunch, enhancing the overall dessert experience.
For those with dietary preferences or restrictions, there are several alternatives available. Gluten-free graham crackers can replace traditional ones for a gluten-free version, or you can use crushed nuts or oats combined with a bit of sweetener and melted butter for a different flavor profile.
Unsalted Butter
Unsalted butter plays a crucial role in binding the crust together and adding richness. By using unsalted butter, you have better control over the overall saltiness of the dessert, allowing the sweet flavors of the cheesecake to shine through. The butter also contributes to the crust’s texture, ensuring it holds together once chilled.
Cream Cheese
The star of the show is undoubtedly cream cheese, which is essential for achieving that luscious, creamy texture that is characteristic of cheesecakes. Cream cheese provides a rich flavor and a smooth mouthfeel, making it the ideal base for our filling. For those seeking a lighter version, reduced-fat cream cheese can be used without significantly altering the flavor or texture of the cheesecake.
Heavy Whipping Cream
Heavy whipping cream is key to achieving a light and airy filling. When whipped, it incorporates air, giving the cheesecake a fluffy texture that balances the density of the cream cheese. Additionally, the richness of the heavy cream enhances the overall flavor of the cheesecake. For a lighter alternative, you could consider using a lighter cream or a non-dairy whipping cream, keeping in mind that this may affect the final texture.
Orange Juice and Zest
Fresh orange juice and zest are what truly elevate this cheesecake, imparting bright, citrusy flavors that evoke the essence of a creamsicle. The juice adds sweetness and acidity, while the zest introduces aromatic oils that enhance the overall flavor profile. It’s best to use freshly squeezed orange juice for optimal taste, as bottled varieties can lack the vibrant flavor required for this dessert.
Vanilla Extract
Vanilla extract is a classic ingredient in many desserts, and for good reason. In this cheesecake, it acts as a flavor enhancer, bringing depth to the overall taste. A high-quality vanilla extract will add a warm sweetness that complements the orange flavors perfectly, creating a well-rounded dessert.
Optional Gelatin
For those looking to achieve a firmer texture in their cheesecake, optional gelatin can be added to the filling. Gelatin helps stabilize the mixture, ensuring that the cheesecake holds its shape when sliced. If you prefer not to use gelatin, you can still enjoy a delicious cheesecake, but be aware that it may be a bit softer in texture. Alternatively, agar-agar can be used as a vegetarian substitute for gelatin.
Step-by-Step Instructions for Making No-Bake Orange Creamsicle Cheesecake
Preparing the Crust
To begin, gather all your ingredients and start with the crust. The crust is essential for providing a sturdy base that will hold the cheesecake together, so it’s important to get this step right. Here’s how to prepare it:
1. Crush the Graham Crackers: Place the graham crackers in a food processor and pulse until they reach a fine crumb consistency. If you don’t have a food processor, you can also place the crackers in a resealable plastic bag and crush them with a rolling pin.
2. Combine with Butter: In a mixing bowl, combine the crushed graham crackers with melted unsalted butter. Use a spatula or your hands to mix until the crumbs are evenly coated and the mixture resembles wet sand. The butter should be fully incorporated to ensure the crust holds together.
3. Press into a Springform Pan: Transfer the crumb mixture into a 9-inch springform pan. Using the back of a measuring cup or your fingers, press the mixture firmly into the bottom and slightly up the sides of the pan. Ensure it’s evenly distributed to create a solid crust.
4. Chill to Set: Once the crust is pressed down, place the pan in the refrigerator for at least 30 minutes to allow it to firm up. Chilling the crust is a crucial step that will ensure it maintains its shape once the cheesecake filling is added.
Making the Filling
While the crust is chilling, you can prepare the creamy filling that will make this cheesecake a standout dessert. Follow these steps for a smooth and luscious filling:
1. Beat the Cream Cheese: In a large mixing bowl, beat the softened cream cheese with an electric mixer on medium speed until it’s smooth and creamy, about 2-3 minutes. Scraping down the sides of the bowl halfway through will ensure an even consistency.
2. Add Sugar and Vanilla: Gradually add granulated sugar and vanilla extract to the cream cheese, mixing until well combined. The sugar will help balance the tartness of the orange juice, while the vanilla enhances the overall flavor.
3. Incorporate Orange Juice and Zest: Slowly add the fresh orange juice and zest to the cream cheese mixture, continuing to beat until everything is well incorporated. The mixture should now be light and fluffy, with a bright citrus aroma.
4. Whip the Heavy Cream: In a separate bowl, whip the heavy cream on high speed until stiff peaks form. This step is key for achieving a light and airy cheesecake filling.
5. Fold in the Whipped Cream: Gently fold the whipped cream into the orange cream cheese mixture in thirds. Use a spatula to carefully combine the mixtures, being cautious to maintain the airiness of the whipped cream. This will ensure a light and fluffy filling.
6. Optional: Add Gelatin: If you’re using gelatin for a firmer texture, dissolve the gelatin in warm water according to the package instructions, then fold it into the filling mixture at this point. Ensure it’s well combined without over-mixing.
Once the filling is prepared, you’ll be ready to assemble the cheesecake, creating a dessert that embodies the refreshing essence of an orange creamsicle. Stay tuned for the final steps to complete this delicious No-Bake Orange Creamsicle Cheesecake!
Step-by-Step Guide on Mixing Cream Cheese and Sugar
To create the luscious filling for your No-Bake Orange Creamsicle Cheesecake, start by preparing your cream cheese mixture. It’s crucial to use softened cream cheese, as this helps achieve a smooth and creamy texture. Begin by placing 16 ounces of softened cream cheese into a large mixing bowl. Using an electric mixer on medium speed, beat the cream cheese until it is completely smooth and free of lumps—this usually takes about 2-3 minutes.
Next, gradually add 3/4 cup of granulated sugar to the cream cheese while mixing. This step is essential because adding sugar too quickly can cause clumping. By incorporating it gradually, you ensure that the sugar fully dissolves and integrates into the cream cheese, resulting in a silky mixture. Once fully combined, scrape down the sides of the bowl to ensure all the cream cheese is mixed well with the sugar.
Importance of Gradually Adding Orange Juice, Zest, and Vanilla
Once the cream cheese and sugar are perfectly blended, it’s time to infuse your cheesecake with the vibrant flavors that define the Orange Creamsicle experience. Begin by adding 1/4 cup of freshly squeezed orange juice, 1 tablespoon of orange zest, and 1 teaspoon of vanilla extract to the mixture. Each of these ingredients contributes to the overall flavor profile of the cheesecake.
The orange juice provides a refreshing citrusy tang, while the zest enhances the orange flavor with its aromatic oils. The vanilla extract adds depth and sweetness, balancing the tartness of the orange. Mix these ingredients together on low speed until they are just combined—overmixing can incorporate too much air, leading to a less stable filling.
Whipping the Cream
Now, let’s move on to the heavy cream, which is essential for achieving that light and fluffy texture in your cheesecake. Pour 1 cup of heavy whipping cream into a separate mixing bowl. Using a clean electric mixer, beat the heavy cream on medium to high speed until soft peaks form—this usually takes about 3-5 minutes. Soft peaks mean that when you lift the beaters out of the cream, the peaks will gently fold over instead of standing straight up.
For the best results, ensure your mixing bowl and beaters are cold; this helps the cream whip faster and achieve better volume. This step is critical because the whipped cream adds airiness to the cheesecake, making it light and decadent.
Combining Ingredients
With the cream cheese mixture and whipped cream ready, it’s time to combine the two. This step requires careful attention to maintain the airy texture of the whipped cream. Begin by taking a small portion of the whipped cream and adding it to the cream cheese mixture. Gently fold it in using a spatula. The goal is to lighten the cream cheese mixture without deflating the whipped cream.
Once the small portion is fully incorporated, gradually add the remaining whipped cream in two batches, continuing to fold gently until the mixture is uniformly combined. If you prefer a firmer cheesecake, you may choose to incorporate gelatin, which can help stabilize the filling. To do this, dissolve 1 tablespoon of unflavored gelatin in 1/4 cup of warm water, allowing it to sit for about 5 minutes until it blooms. Once bloomed, gently fold it into the cream cheese mixture before adding the whipped cream. This will ensure that your cheesecake holds its shape well after chilling.
Assembling the Cheesecake
Now it’s time to assemble the cheesecake. Start by pouring the creamy filling into the prepared graham cracker crust. Use a spatula to gently spread the mixture evenly across the crust. Take your time with this step to ensure an even surface, which will enhance the presentation of your cheesecake once it’s set.
To achieve a smooth top, you can lightly tap the pan on the counter to settle the filling and eliminate any air bubbles. Once the filling is evenly distributed, you can use the spatula to create a decorative swirl or leave it flat, depending on your preference.
Chilling the Cheesecake
Refrigeration is a vital step in ensuring that your No-Bake Orange Creamsicle Cheesecake sets properly. Cover the cheesecake with plastic wrap and place it in the refrigerator for at least 4-6 hours, or overnight for best results. During this time, the flavors will meld together beautifully, and the filling will firm up to the perfect creamy texture.
To check if your cheesecake is ready, gently press the center with your finger; it should feel firm to the touch but still have a slight give. If it’s too soft, allow it to chill for additional time. Patience is key here, as this step dramatically affects the quality of your final product.
Serving Suggestions
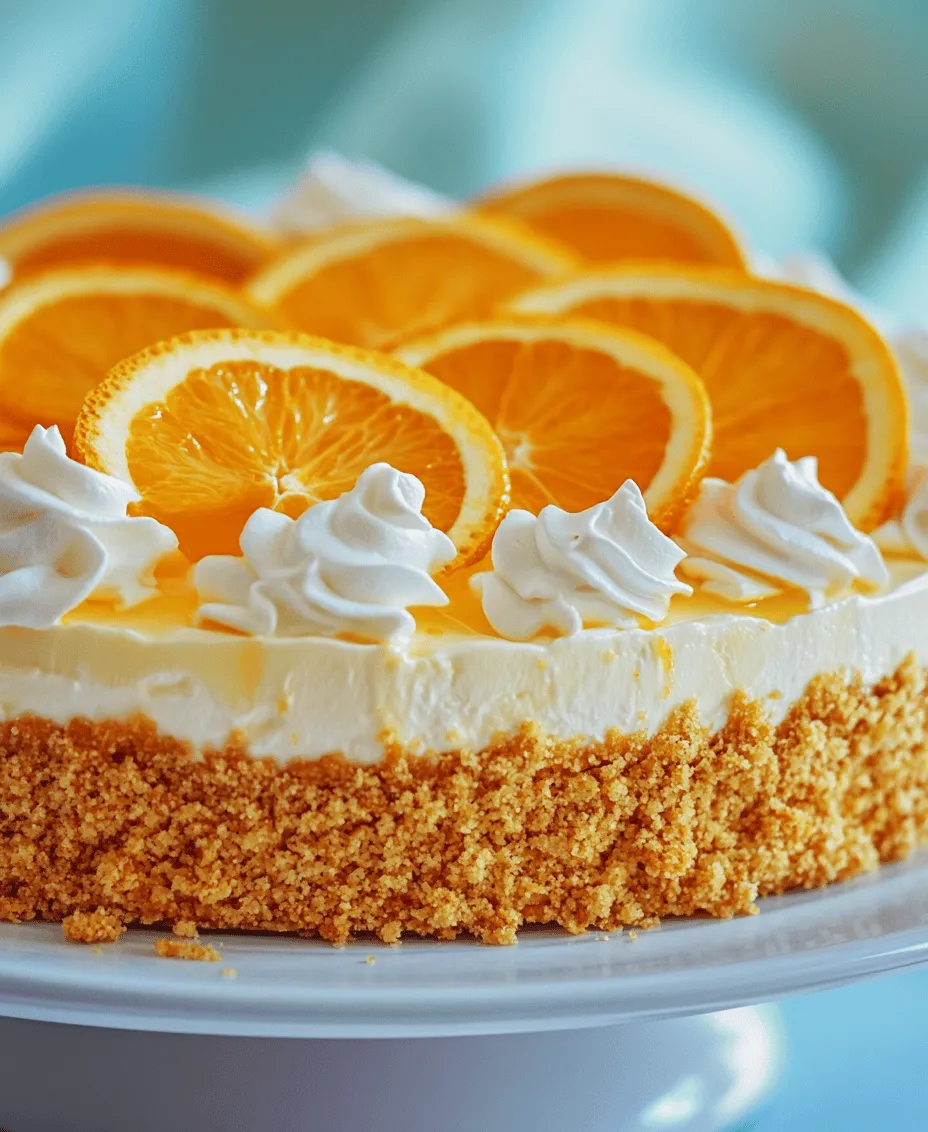
When it comes to serving your No-Bake Orange Creamsicle Cheesecake, presentation is everything. Start by removing the cheesecake from the springform pan and placing it on a serving platter. You can garnish it with a dollop of whipped cream on top and a few slices of fresh orange for a pop of color and added flavor.
For an extra touch, consider drizzling some orange glaze or a light dusting of powdered sugar over the top. This not only enhances the visual appeal but also adds a sweet contrast to the citrus flavors.
Pair your cheesecake with a refreshing beverage, such as iced tea, lemonade, or even a sparkling wine, to complement the bright flavors. For a more indulgent dessert experience, serve it alongside a scoop of vanilla ice cream or a fruit sorbet, creating a delightful contrast in textures and flavors.
Nutritional Information
Understanding the nutritional profile of your dessert can help you make informed decisions about serving sizes. Here’s a breakdown of the nutritional values per slice (assuming 12 slices total):
– Calories: 320
– Total Fat: 22g
– Saturated Fat: 12g
– Cholesterol: 70mg
– Sodium: 150mg
– Total Carbohydrates: 28g
– Dietary Fiber: 1g
– Sugars: 18g
– Protein: 4g
These values can vary based on ingredient brands and specific measurements, so consider adjusting based on your preferences and dietary needs.
Conclusion
Creating a No-Bake Orange Creamsicle Cheesecake is a delightful experience that results in a refreshing dessert perfect for various occasions. Whether you’re hosting a casual gathering, celebrating a special event, or simply treating yourself, this cheesecake is sure to impress with its vibrant flavors and creamy texture.
Encourage your creativity by experimenting with different toppings or variations, such as adding a layer of chocolate ganache or incorporating other citrus fruits like lime or lemon. The versatility of this recipe allows for exciting adaptations, making it a go-to dessert for all seasons.
So gather your ingredients, follow this guide, and enjoy the blissful experience of making and savoring your homemade No-Bake Orange Creamsicle Cheesecake. It’s a treat that celebrates the spirit of summer all year long!
