
Introduction
Fudge is a cherished confection that has enchanted sweet-toothed enthusiasts for generations. With its creamy texture and rich flavor, fudge has become a staple in the world of desserts. It is a versatile treat, perfect for holidays, celebrations, or simply as an indulgent snack. Throughout its history, fudge has evolved into various forms, allowing each recipe to showcase unique flavors and textures. Among these delectable creations lies the “Fantasy Fudge Adventure,” a whimsical take on traditional fudge that promises to delight both children and adults alike.
Imagine gathering your loved ones in the kitchen, laughter filling the air as you embark on a magical journey to create this mouthwatering treat. The “Fantasy Fudge Adventure” recipe not only invites you to indulge your sweet cravings but also brings a sense of joy and togetherness as you mix and pour your way to fudge perfection. Sharing homemade fudge has long been a cherished tradition, and there’s something truly special about presenting a beautifully packaged box of fudge as a gift to friends and family.
In this article, we will explore the enchanting world of fudge, delve into its sweet history, and guide you through the process of making your very own “Fantasy Fudge.” Prepare to embark on a culinary adventure that will spark your creativity and fill your home with delightful aromas.
Understanding Fudge: A Sweet History
The origins of fudge are somewhat shrouded in mystery, but it is widely believed that this delectable treat emerged in the United States in the late 19th century. Some claim it was born in the kitchens of North American candy makers who sought to create a softer, creamier alternative to hard candies. The very first recorded recipe for fudge dates back to 1886, when a group of female students at Vassar College made their first batch of this sweet confection.
Fudge quickly gained popularity, spreading beyond the college and becoming a beloved dessert across the nation. As time went on, the art of making fudge evolved, leading to the development of numerous variations that showcased different flavors and textures. Today, fudge recipes can be found in an array of styles, from the classic chocolate fudge to more adventurous flavors like peanut butter, maple, or even lavender-infused fudge.
Culturally, fudge has carved its niche in various celebrations, particularly in North America. It has become a staple at holiday gatherings, birthday parties, and even as a homemade gift during festive seasons. The act of making fudge is often associated with nostalgia, bringing back fond memories of time spent in the kitchen with family and friends. The appeal of fudge lies not only in its taste but also in the joy it brings to the act of sharing and creating.
Ingredients Overview: The Magic Behind the Recipe
To embark on your “Fantasy Fudge Adventure,” you’ll need to gather a selection of magical ingredients. Each component plays a vital role in crafting the perfect fudge, ensuring a delightful balance of flavor and texture.
Granulated Sugar
Granulated sugar is the foundation of our fudge, providing the necessary sweetness and structure. When heated, sugar melts and caramelizes, allowing it to create that coveted smooth texture we all love. It’s essential to measure it accurately for the best results, as too little sugar can lead to a grainy fudge, while too much can result in a hardened treat.
Unsweetened Cocoa Powder
Cocoa powder is the heart of our chocolate fudge. It contributes deep chocolate flavor and rich color, elevating the fudge from ordinary to extraordinary. Using unsweetened cocoa powder allows you to control the sweetness of the fudge while still delivering that intense chocolatey goodness that makes fudge so irresistible.
Milk
Milk adds creaminess and richness to the fudge, creating a luscious texture that melts in your mouth. Whole milk is typically recommended, but you can also use evaporated milk for a richer flavor, or even substitute with non-dairy alternatives for a vegan version. The milk also helps to dissolve the sugar, ensuring a smooth consistency.
Unsalted Butter
Butter is a key player in any fudge recipe. It contributes flavor and helps create a silky-smooth texture. Unsalted butter is preferred, as it allows you to control the saltiness of the final product. The creamy richness of butter enhances the overall taste profile, making each bite of fudge an indulgent experience.
Vanilla Extract
Vanilla extract is a magical ingredient that elevates the flavor of the fudge, adding depth and complexity. Just a splash of vanilla can transform the taste, enhancing the sweetness and bringing out the rich chocolate notes. For an extra touch of whimsy, consider using flavored extracts like almond or hazelnut for a unique twist.
Semisweet Chocolate Chips
Semisweet chocolate chips are the stars of our fudge recipe. They provide that quintessential chocolate flavor and texture that fudge lovers crave. Melting chocolate chips into the mixture creates a creamy consistency, while the bits of chocolate throughout add delightful pockets of chocolate goodness. Feel free to use dark chocolate chips or even milk chocolate chips, depending on your taste preference.
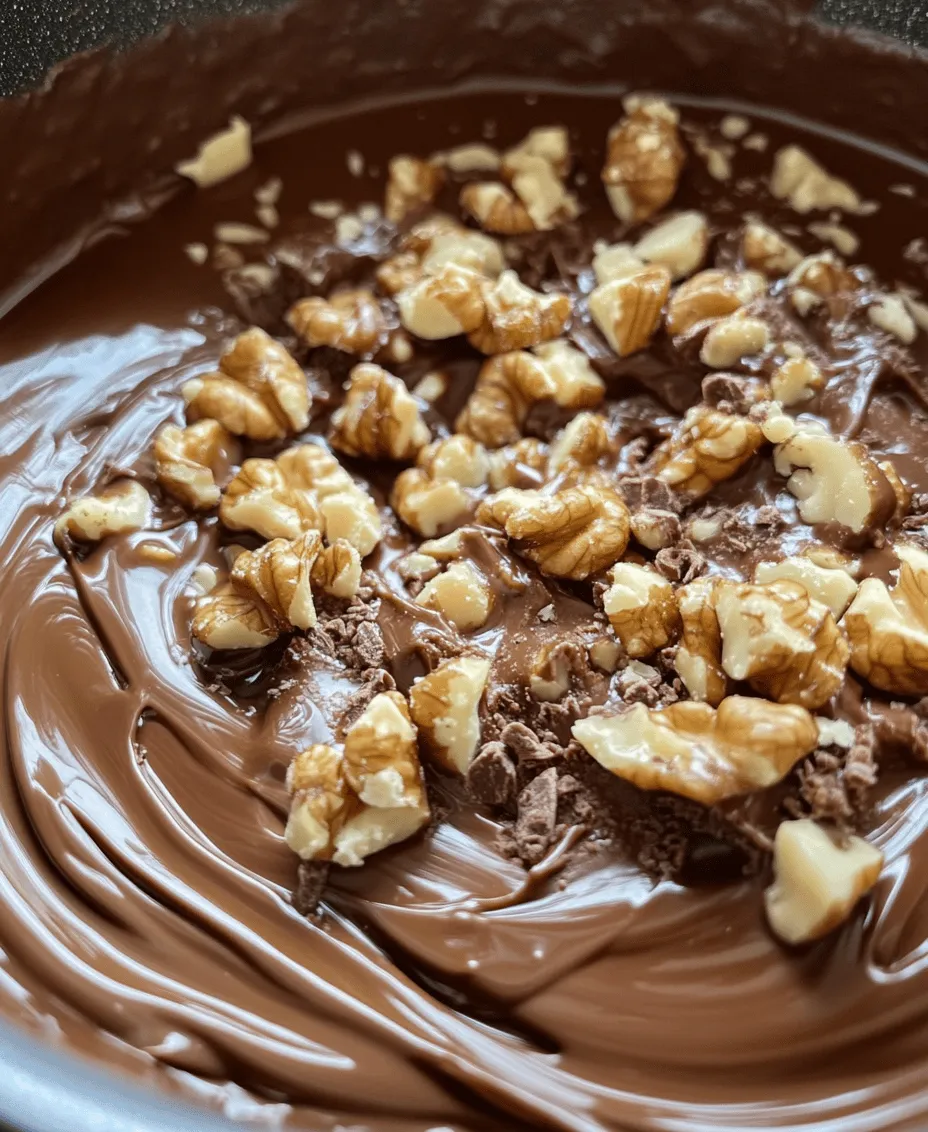
Chopped Walnuts (Optional)
For those who enjoy a bit of crunch, chopped walnuts can be added to the fudge mixture. They provide a delightful contrast to the smoothness of the fudge and enhance its flavor profile with a nutty richness. If you or your guests have nut allergies, feel free to omit them or substitute with other crunchy elements like crushed pretzels or toffee bits.
Dash of Salt
A small pinch of salt is essential in balancing the sweetness of the fudge. It enhances the flavors and brings out the richness of the chocolate. Don’t skip this step, as it can make a significant difference in the overall taste of the finished product.
Step-by-Step Guide to Making Fantasy Fudge
Now that you have a grasp of the magical ingredients that will bring your “Fantasy Fudge Adventure” to life, it’s time to roll up your sleeves and start cooking! Before we dive into the instructions, it’s important to prepare your workspace and gather all your ingredients. This process, known as mise en place, ensures that you have everything you need at your fingertips, making the cooking process smoother and more enjoyable.
Preparation and Mise en Place
1. Gather Your Ingredients: Before starting, ensure you have all the ingredients listed above within reach. This includes granulated sugar, unsweetened cocoa powder, milk, unsalted butter, vanilla extract, semisweet chocolate chips, chopped walnuts (if using), and a pinch of salt.
2. Prepare Your Equipment: You will need a medium-sized saucepan, a heat-resistant spatula for stirring, a candy thermometer (optional but recommended for precision), and an 8-inch square baking pan lined with parchment paper for easy removal of the fudge once set.
3. Measure Ingredients Accurately: Take the time to measure out your ingredients carefully. Precision is key in candy-making, and even slight variations can affect the final texture and flavor.
Detailed Instructions for Cooking
1. Combine the Ingredients: In a medium-sized saucepan, combine granulated sugar, unsweetened cocoa powder, and a pinch of salt. Stir these dry ingredients together to ensure an even distribution.
2. Add Milk and Butter: Pour in the milk and add the unsalted butter to the dry mixture. Place the saucepan over medium heat, stirring continuously to combine the ingredients until the sugar has dissolved and the mixture is smooth.
3. Bring to a Boil: Once the mixture is well combined, increase the heat to medium-high and allow it to come to a boil. This is where the magic happens! Avoid stirring the mixture once it starts boiling, as this can cause the sugar to crystallize, ruining the smooth texture of your fudge.
4. Monitor the Temperature: If you’re using a candy thermometer, keep an eye on the temperature. You’re aiming for the soft-ball stage, which is around 234°F to 240°F (112°C to 115°C). If you don’t have a thermometer, you can test the fudge by dropping a small spoonful into a glass of cold water. If it forms a soft ball that can be flattened, it’s ready for the next step.
5. Remove from Heat: Once the fudge mixture reaches the desired temperature, remove it from the heat immediately. This is crucial to prevent overcooking, which can lead to a dry and crumbly fudge.
6. Add Chocolate Chips and Vanilla: Stir in the semisweet chocolate chips and vanilla extract while the mixture is still hot. The heat will melt the chocolate chips, creating a rich and creamy texture. Stir until fully melted and smooth.
7. Incorporate Walnuts (If Using): If you’re adding chopped walnuts, fold them into the fudge mixture at this stage. This will give your fudge added texture and a delightful crunch.
Now that you have completed the initial steps of your “Fantasy Fudge Adventure,” you are well on your way to creating this delightful treat. The next part of the recipe will involve pouring, setting, and cutting the fudge into bite-sized pieces, ensuring you have the perfect indulgence to share with family and friends. Stay tuned for the continuation of this enchanting journey into the world of fudge!
Adding Flavorings and Mix-Ins After Cooking
Once you have cooked your Fantasy Fudge mixture to the perfect consistency, it’s time to elevate its flavor profile by adding various flavorings and mix-ins. This step allows you to customize your fudge to your taste preferences and create unique variations that will delight your friends and family.
After removing the fudge from the heat and allowing it to cool slightly—about 5 minutes—carefully stir in your chosen flavorings. Common flavor extracts such as vanilla, almond, or peppermint can be added to enhance the taste. Typically, about 1 teaspoon of extract is sufficient, but feel free to adjust according to your liking.
For texture and added flavor, consider mixing in nuts, dried fruits, or even other types of chocolate. If you’re using nuts, ensure they are roughly chopped to ensure even distribution. Pecans and almonds are great alternatives to the traditional walnuts and can add a delightful crunch. If you want to give your fudge a fruity twist, dried cranberries, cherries, or even orange zest can infuse a refreshing flavor.
Once all the mix-ins are incorporated, it’s crucial to work quickly, as the fudge will begin to set. You want every bite to be a delightful surprise!
Tips for Pouring and Setting the Fudge
When it comes to pouring and setting your Fantasy Fudge, even distribution is key to achieving that perfect texture and flavor in every piece. Here are some tips to ensure your fudge sets beautifully:
1. Use a Prepared Pan: Line a square or rectangular baking dish (typically 8×8 or 9×9 inches) with parchment paper, leaving some overhang on the sides. This will make it easier to lift the fudge out once it’s set.
2. Pouring Technique: When pouring the fudge mixture into the prepared pan, use a spatula to gently spread the mixture to the corners. Take care not to stir or disturb the fudge too much, as this can lead to uneven texture.
3. Tap to Settle: After spreading the fudge, gently tap the pan on the countertop. This helps release any air bubbles and ensures the fudge settles evenly.
4. Cooling Time: Allow the fudge to cool at room temperature for about 2 hours or until it’s fully set. For quicker setting, you can place it in the refrigerator for about 30 minutes.
5. Cutting the Fudge: Once set, use a sharp knife to cut the fudge into squares. For clean edges, wipe the knife between cuts.
The Science of Fudge Making
Understanding the science behind fudge making can enhance your candy-making skills and help you troubleshoot any potential issues. The key to achieving that smooth, creamy texture lies in sugar crystallization and temperature control.
Sugar Crystallization: The process of making fudge involves dissolving sugar in a mixture of milk and butter, then cooking it to a specific temperature. As the mixture cools, sugar molecules begin to crystallize. The goal is to create a fine, smooth texture by controlling the crystallization process. If the sugar crystallizes too quickly, it can lead to grainy fudge. Conversely, if it doesn’t crystallize at all, you may end up with a syrupy consistency.
Temperature Control: The ideal temperature for fudge is typically around 234°F to 240°F (112°C to 115°C). This range ensures that the sugar dissolves properly and allows for the right amount of moisture to evaporate. A candy thermometer is an invaluable tool for achieving this precision. Too high a temperature can lead to dry fudge, while too low can prevent proper setting.
Ingredient Combinations: Each ingredient plays a vital role in the final texture of the fudge. For instance, butter contributes richness and smoothness, while the milk provides moisture. The balance of these ingredients affects how the fudge sets and its overall mouthfeel. Experimenting with different ratios can yield exciting results.
Variations on the Fantasy Fudge Recipe
One of the joys of making Fantasy Fudge is the endless possibilities for customization. Here are some variations to inspire your creativity:
– Nuts: While walnuts are a classic choice, consider using pecans for a buttery flavor or almonds for a hint of sweetness. You can even toast the nuts beforehand to enhance their flavor.
– Flavor Extracts: Beyond vanilla, explore the world of flavor extracts. Peppermint extract can give your fudge a festive twist, perfect for the holiday season. Almond extract adds a lovely depth, while coconut extract can transport you to a tropical paradise.
– Dried Fruits: Adding dried fruits like raisins, apricots, or figs can introduce a chewy texture that complements the creamy fudge. Experiment with combinations for unique flavor profiles.
– Chocolates: Mixing in different types of chocolate can enhance both flavor and visual appeal. White chocolate chips, dark chocolate chunks, or even swirls of caramel can create a luxurious fudge experience.
– Dietary Considerations: If you’re looking to adapt the recipe for vegan or dairy-free diets, substitute regular butter with coconut oil or vegan margarine, and use plant-based milk alternatives. There are also dairy-free chocolate options available that can replace traditional chocolate.
Serving Suggestions for Fantasy Fudge
Once your Fantasy Fudge has set and been cut into squares, it’s time to think about how to present and serve it. Here are some creative ideas:
1. Gift Packaging: Wrapped in decorative cellophane or boxed in a pretty container, homemade fudge makes a delightful gift. Consider adding a personal touch with a handwritten recipe card.
2. Party Favors: Cut the fudge into bite-sized pieces and serve them on a decorative platter at your next gathering. They make excellent party favors, especially during holidays or special occasions.
3. Beverage Pairings: The rich, creamy texture of fudge pairs beautifully with various beverages. Serve it alongside a cup of coffee, a steaming mug of hot chocolate, or a refreshing cup of herbal tea.
4. Special Occasions: For birthdays or celebrations, consider creating a fudge platter with a variety of flavors and mix-ins. This dessert bar concept allows guests to choose their favorites and can be a fun interactive element of your event.
Storing and Preserving Your Fudge
To maintain the freshness and quality of your Fantasy Fudge, proper storage is essential:
– Room Temperature Storage: If you plan to eat the fudge within a week, store it in an airtight container at room temperature. Make sure it’s placed in a cool, dry area away from sunlight to prevent melting or drying out.
– Refrigeration: For longer storage, place the fudge in the refrigerator. This can extend its shelf life to about two weeks. Just be sure to keep it in an airtight container to prevent it from absorbing any odors.
– Freezing Options: If you want to preserve your fudge for an extended period, consider freezing it. Wrap individual pieces in foil or plastic wrap, then store them in a freezer-safe bag or container. Frozen fudge can last for up to three months. When you’re ready to enjoy it, simply let it thaw at room temperature.
– Reheating or Repurposing: If your fudge becomes too firm, you can gently reheat it in the microwave for a few seconds to soften it. Alternatively, leftovers can be chopped and incorporated into other desserts, like brownies or ice cream.
Conclusion
Making Fantasy Fudge is not just about creating a delicious treat; it’s about crafting memories and sharing joy with those around you. The simplicity of the process combined with the endless possibilities for customization makes it a fulfilling culinary adventure. Whether you choose to follow the traditional recipe or explore exciting variations, the creativity involved in fudge-making is sure to spark joy.
As you experiment with flavors and share your creations, remember that the true magic of fudge lies in the connections you create with your loved ones. So gather your ingredients, unleash your imagination, and enjoy the process of making this delightful confection. Embrace the fun in experimenting with flavors and textures, and allow your Fantasy Fudge to become a cherished staple in your home.