Sizzling Ribs & Relaxing Colors: A Baby Back Rib Adventure

Introduction to Sizzling Ribs & Relaxing Colors: A Baby Back Rib Adventure

Welcome to a culinary journey that brings together the art of cooking and the joy of creativity! This article will guide you through the delightful experience of preparing Baby Back Ribs, a dish that is not only a feast for the palate but also an engaging adventure for the senses. Imagine the aroma of tender, juicy ribs wafting through your kitchen, paired with an opportunity to express your artistic flair through a fun coloring activity. This unique combination makes for an ideal activity for families and individuals looking to enjoy a memorable evening in the kitchen.

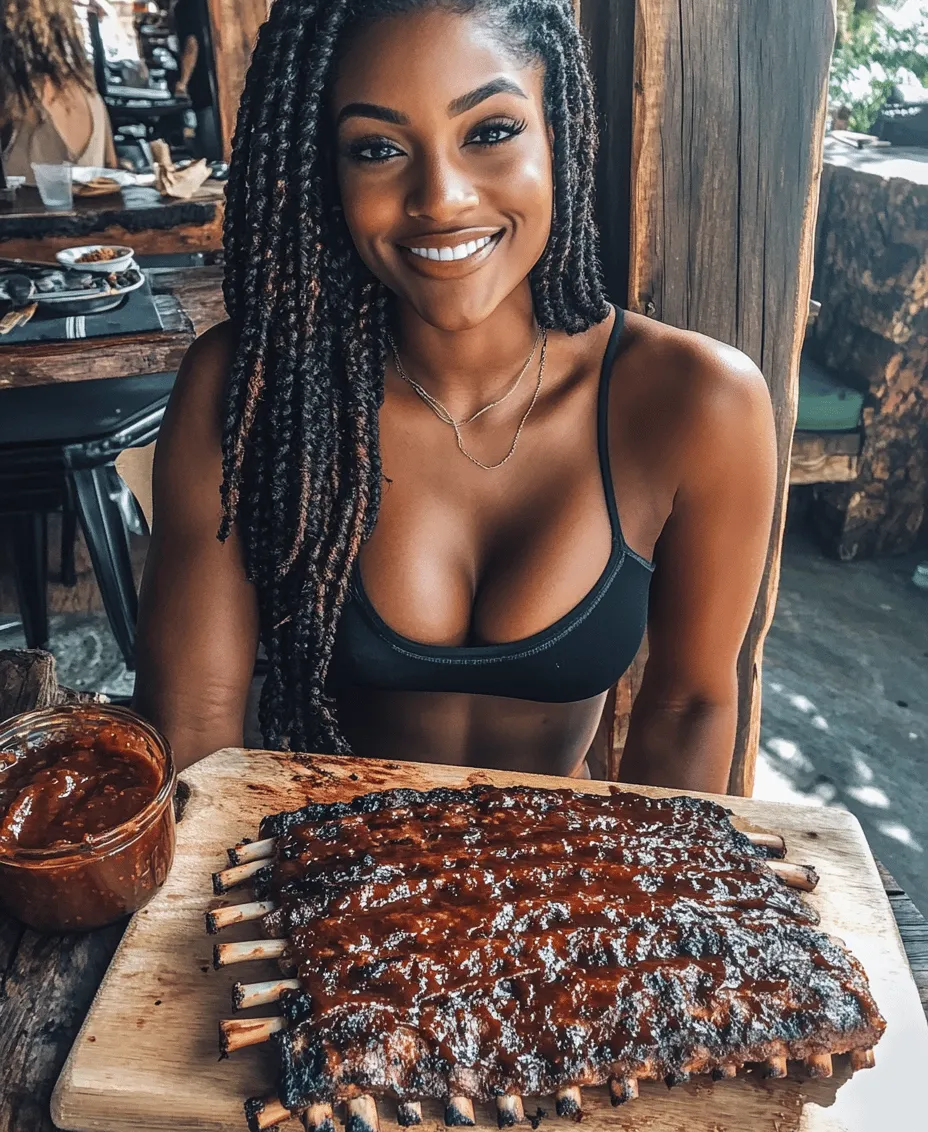
Baby back ribs are a beloved staple in barbecue culture, known for their tender meat and rich flavor. They lend themselves well to various cooking methods, whether you’re grilling, smoking, or baking. As we delve into this recipe, you’ll discover the satisfaction that comes from cooking and the excitement of bringing to life a delicious dish that everyone can appreciate. Moreover, we will incorporate a creative twist: a coloring book adventure that allows you to unleash your inner artist while waiting for your ribs to cook to perfection.

Cooking is not just about the food; it’s about the experience. The act of preparing a meal can be therapeutic, and when mixed with creative expression, it becomes a wonderful bonding experience, be it with family or friends. Whether you’re a seasoned cook or a novice in the kitchen, this Baby Back Rib adventure will provide you with all the necessary tools to create a mouthwatering dish while adding a splash of color to your evening.

Understanding Baby Back Ribs

Before we dive into the recipe, let’s explore what makes baby back ribs a preferred choice among barbecue enthusiasts. Baby back ribs, often referred to as “loin ribs,” are cut from the back of the pig, below the loin muscle. This cut is renowned for its tenderness and subtle flavor, making it a favorite for grilling and slow-cooking methods.

One of the primary reasons for their popularity is the meat-to-bone ratio; baby back ribs are typically shorter and contain more meat than spare ribs, creating a delectable balance that enhances the overall eating experience. The meat is leaner, which means it cooks faster while still retaining its juiciness, especially when prepared correctly.

When comparing baby back ribs to spare ribs, it’s essential to note that spare ribs come from the belly side of the pig and are larger, meatier, and often fattier. While spare ribs can be delicious in their own right, many find the tenderness and flavor of baby back ribs more appealing, particularly for a family-friendly barbecue or a special occasion.

To achieve the best results, choosing high-quality baby back ribs is crucial. Look for ribs that have a good amount of meat on them, with a slight pinkish hue and a layer of fat that will enhance flavor during cooking. Additionally, consider sourcing your ribs from local farms or reputable butchers who prioritize quality over quantity, ensuring that you get the freshest meat possible for your culinary endeavor.

Essential Ingredients for Flavorful Ribs

Creating the perfect baby back ribs requires not only high-quality meat but also a selection of standout ingredients that contribute to their mouthwatering flavor. Below, we break down each ingredient you’ll need, explaining their roles and benefits:

Baby Back Ribs

The star of the show! When selecting baby back ribs, look for those that are well-trimmed, with a nice layer of fat on one side. This fat will render down during cooking, keeping the meat juicy and flavorful. The quality of the ribs you choose can significantly impact the overall taste of your dish, so it’s worth taking the time to choose the best option available.

Olive Oil

Olive oil serves multiple purposes in this recipe. First, it helps the spice rub adhere to the meat, ensuring that every bite is seasoned perfectly. Additionally, olive oil adds moisture, preventing the ribs from drying out during cooking. When selecting olive oil, opt for extra virgin for the best flavor profile.

Smoked Paprika and Other Spices

The spice rub is where the magic happens! Smoked paprika is a key ingredient in this rub, imparting a deep, smoky flavor that enhances the ribs’ natural taste. Along with smoked paprika, you’ll typically find ingredients like garlic powder, onion powder, black pepper, and brown sugar. Each of these brings its unique contribution:

Garlic Powder: Adds a savory depth of flavor.

Onion Powder: Enhances sweetness and complexity.

Black Pepper: Provides a touch of heat.

Brown Sugar: Balances the heat with sweetness, creating a caramelized crust during cooking.

Feel free to customize the spice rub according to your taste preferences, adding cayenne for heat or cumin for an earthy undertone.
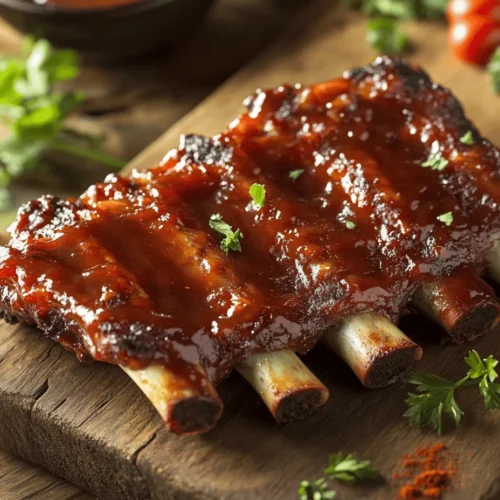
Barbecue Sauce

The barbecue sauce is the finishing touch for the ribs, and the choice here is crucial. With countless variations available, consider whether you prefer a tangy vinegar-based sauce, a sweet tomato-based one, or a mustard-based sauce. Each region in the United States has its signature barbecue sauce style, so choose one that resonates with your palate.

For the best flavor experience, you can either buy a high-quality barbecue sauce or make your own. Homemade sauces allow you to control the ingredients and customize the flavors to your liking. Whether you opt for store-bought or homemade, ensure the sauce complements the smoky, savory flavors of your ribs.

Step-by-Step Instructions for Perfectly Cooked Ribs

Now that we’ve covered the essential ingredients, it’s time to dive into the step-by-step instructions for preparing your baby back ribs. Follow these detailed guidelines to ensure perfectly cooked, tender, and flavorful ribs that will wow your family and friends.

Step 1: Preparation

Begin by preheating your oven or smoker. If you’re using an oven, set it to 275°F (135°C). If using a smoker, aim for a temperature between 225°F to 250°F (107°C to 121°C). While the cooking appliance heats up, prepare your ribs.

Step 2: Clean the Ribs

Remove the membrane from the back of the ribs if it hasn’t been done already. This thin layer can prevent seasonings from penetrating the meat and can create a chewy texture. Use a paper towel for a better grip, and gently peel it away, starting from one end and working your way to the other.

Step 3: Apply Olive Oil

Drizzle a light coat of olive oil over the ribs, ensuring both sides are covered. This step helps the rub stick and adds flavor.

Step 4: Season with Spice Rub

Generously apply the spice rub to both sides of the ribs, ensuring an even coating. Massage the rub into the meat to enhance absorption. Allow the ribs to sit at room temperature for about 30 minutes to let the flavors meld.

Step 5: Cooking the Ribs

For oven-cooked ribs, place them on a baking sheet lined with aluminum foil. Cover the ribs with another layer of foil to trap moisture. Bake for approximately 2.5 to 3 hours, or until the meat is tender and begins to pull away from the bone.

If using a smoker, place the ribs directly on the grill grates, bone side down, and smoke for 4 to 5 hours, basting with barbecue sauce during the last hour of cooking.

This concludes the first part of our exploration into preparing delicious baby back ribs. Stay tuned as we continue with more in-depth instructions and tips to elevate your rib adventure!

Welcome to a culinary journey that brings together the art of cooking and the joy of creativity! This article will guide you through the delightful experience of preparing <strong>Baby Back Ribs</strong>, a dish that is not only a feast for the palate but also an engaging adventure for the senses. Imagine the aroma of tender, juicy ribs wafting through your kitchen, paired with an opportunity to express your artistic flair through a fun coloring activity. This unique combination makes for an ideal activity for families and individuals looking to enjoy a memorable evening in the kitchen.” /></p>
</p>
<h2>Preparing the Ribs</h2>
</p>
<p>Before diving into cooking, it’s crucial to prepare the baby back ribs properly. One of the most important steps is removing the membrane from the back of the ribs. This thin, silver skin can hinder flavor penetration and result in a chewy texture. To remove it, simply slide a dull knife under the membrane at one end and carefully peel it away. You can use a paper towel to grip it better, as it can be slippery.</p>
</p>
<p>Once the membrane is off, you’ll notice how much easier it is for flavors to seep into the meat. This step not only enhances the taste but also ensures the ribs are tender and enjoyable to eat. Visual cues for this step can include images showing how the ribs look before and after membrane removal, emphasizing the difference.</p>
</p>
<h2>Crafting the Dry Rub</h2>
</p>
<p>The dry rub is where the magic begins in developing flavors for your ribs. A well-balanced dry rub consists of a combination of sweet, spicy, and savory elements. The base usually includes brown sugar, paprika, garlic powder, onion powder, salt, and black pepper. However, feel free to get creative!</p>
</p>
<p>For a bit of heat, consider adding cayenne pepper or chili powder. If you prefer a sweeter rub, increase the amount of brown sugar or add a touch of cinnamon. The key is to taste as you go; this ensures you create a rub that suits your palate. Once you have your blend perfected, apply it generously to the ribs.</p>
</p>
<h2>Applying Oil and Rub</h2>
</p>
<p>Before applying the dry rub, coat the ribs lightly with oil. This step helps the rub adhere better and promotes a nice crust during cooking. Use a neutral oil like canola or vegetable oil, and apply it with your hands to ensure even coverage.</p>
</p>
<p>Once the ribs are oiled, sprinkle the dry rub generously over the surface, massaging it into the meat. Don’t be shy! This rub not only adds flavor but also creates a delicious bark during the cooking process. Let the ribs sit for at least 30 minutes to allow the flavors to meld, or refrigerate them overnight for a deeper flavor infusion.</p>
</p>
<h2>Wrapping and Baking</h2>
</p>
<p>Now it’s time for the low and slow cooking method that transforms your ribs into tender, juicy perfection. Preheat your oven to 275°F (135°C), a temperature that allows for gradual cooking without drying out the meat.</p>
</p>
<p>Wrap the seasoned ribs tightly in aluminum foil, creating a sealed packet. This method traps moisture and helps the ribs steam as they cook, contributing to their tenderness. Place the wrapped ribs on a baking sheet and bake them in the preheated oven for about 2.5 to 3 hours.</p>
</p>
<p>During this time, it’s important to maintain a consistent temperature. If your oven has hot spots, consider rotating the baking sheet halfway through. The low heat breaks down the collagen in the meat, resulting in fork-tender ribs that will fall off the bone.</p>
</p>
<h2>Glazing and Broiling</h2>
</p>
<p>After the ribs have baked, it’s time to add a beautiful glaze that enhances both flavor and presentation. Unwrap the ribs carefully to avoid steam burns, and transfer them to a baking sheet lined with parchment paper.</p>
</p>
<p>For the glaze, you can use a store-bought barbecue sauce or make your own by mixing ketchup, brown sugar, apple cider vinegar, and your favorite spices. Brush the sauce generously over the ribs, ensuring even coverage.</p>
</p>
<p>Set your oven to broil, and place the ribs back inside for about 5 to 10 minutes. This step caramelizes the sugars in the glaze and creates a sticky, sweet coating that adds depth to the flavor. Keep a close eye during this process to prevent burning—the goal is a lovely, charred finish.</p>
</p>
<h2>Serving Suggestions and Pairing Ideas</h2>
</p>
<p>Once your ribs are beautifully glazed and broiled, it’s time to serve! Presentation is key to making your dish appealing. Slice the ribs between the bones and arrange them on a large platter. Garnish with fresh herbs like parsley or cilantro for a pop of color and freshness.</p>
</p>
<p>When it comes to side dishes, classic accompaniments include coleslaw, baked beans, and cornbread. The crunch of coleslaw complements the tender meat, while the sweetness of baked beans balances the smoky flavors of the ribs. Cornbread, with its slightly sweet and buttery flavor, rounds out the meal beautifully.</p>
</p>
<p>For drink pairings, consider serving local craft beers that complement the richness of the ribs. A hoppy IPA or a smooth amber ale can enhance the flavors. If you prefer cocktails, a refreshing mojito or a tangy whiskey sour can be delightful choices that play well with the smoky, savory notes of the ribs.</p>
</p>
<h2>The Joy of Coloring While Cooking</h2>
</p>
<p>Cooking can often become a chore, especially on busy days. However, combining cooking with creative activities like coloring can transform the experience into a fun and relaxing event. Engaging in coloring while waiting for the ribs to cook can serve as a wonderful way to bond with family members, especially children.</p>
</p>
<p>Coloring encourages mindfulness, allowing you to unwind and express creativity. This dual activity can lead to memorable kitchen moments, where the aroma of delicious ribs fills the air while laughter and creativity flourish. It’s a perfect opportunity for families to engage, share stories, and enjoy each other’s company.</p>
</p>
<h2>Conclusion: A Flavorful Adventure Awaits</h2>
</p>
<p>Preparing and enjoying baby back ribs is more than just a meal; it’s an adventure that combines the joy of cooking with the creativity of coloring. As you follow the steps outlined, you’ll discover the satisfaction that comes from crafting tender, flavorful ribs that everyone will love.</p>
</p>
<p>Embrace the fusion of flavor and artistry in your kitchen, making the cooking process a delightful experience. Whether you’re hosting a gathering or enjoying a quiet dinner at home, these ribs will surely impress. So gather your family, don your aprons, and embark on this flavorful adventure that promises delicious moments and cherished memories. Enjoy the process, savor the results, and celebrate the artistry that comes with both cooking and coloring.</p>
<div id=

Welcome to a culinary journey that brings together the art of cooking and the joy of creativity! This article will guide you through the delightful experience of preparing Baby Back Ribs, a dish that is not only a feast for the palate but also an engaging adventure for the senses. Imagine the aroma of tender, juicy ribs wafting through your kitchen, paired with an opportunity to express your artistic flair through a fun coloring activity. This unique combination makes for an ideal activity for families and individuals looking to enjoy a memorable evening in the kitchen.

Oven-Baked Fall-Off-the-Bone Baby Back Ribs Recipe

Join us on a flavorful journey as we explore the art of preparing delicious baby back ribs! This culinary adventure combines cooking with creativity, featuring a fun coloring activity to enjoy while your ribs cook to perfection. Discover the secrets to achieving tender, juicy ribs with our step-by-step guide and flavorful dry rub. Perfect for family bonding and making memories in the kitchen. Let’s get cooking and coloring! #BabyBackRibs #CookingAdventure #FamilyFun #ColoringActivity #BBQDelights #FoodieExploration #CulinaryCreativity

Ingredients
  

2 racks of baby back ribs

1 tablespoon olive oil

2 tablespoons smoked paprika

2 tablespoons brown sugar

1 tablespoon garlic powder

1 tablespoon onion powder

1 teaspoon ground cumin

1 teaspoon salt

1 teaspoon black pepper

1 cup barbecue sauce (your favorite kind)

--

Instructions
 

Prepare the Ribs: Start by removing the membrane from the back of the ribs for better flavor and tenderness.

    Make the Rub: In a bowl, combine smoked paprika, brown sugar, garlic powder, onion powder, cumin, salt, and black pepper. Mix well.

      Apply Oil & Rub: Rub olive oil over the ribs, then generously apply the spice mixture on both sides.

        Wrap the Ribs: Preheat your oven to 300°F (150°C). Wrap the ribs tightly in aluminum foil and place them on a baking sheet.

          Bake: Bake in the preheated oven for 2.5 to 3 hours until the meat is tender and pulling away from the bones.

            Glaze and Finish: Remove the ribs from the oven and carefully unwrap the foil. Brush your favorite barbecue sauce on both sides of the ribs.

              Broil: Place the ribs under the broiler for 5-10 minutes until the sauce is bubbly and caramelized.

                Serve: Let the ribs rest for a few minutes before cutting into individual portions. Enjoy with additional barbecue sauce on the side!

                  ---

                    Prep Time: 15 min | Total Time: 3 hrs | Servings: 4-6 |

                      ---

                        Color your way through this delicious recipe, adding flavor and fun to the experience! Be inspired by the mouthwatering images of ribs and all the vibrant colors that come to life with each stroke!

                          Leave a Comment

                          Recipe Rating