Introduction
Valentine’s Day, celebrated annually on February 14th, is a day dedicated to expressing love and affection. From heartwarming gestures to romantic dinners, it’s a time when people go the extra mile to show their feelings for one another. One of the most delightful ways to celebrate this day is through homemade treats that evoke the spirit of love. Crafting something special in your kitchen not only adds a personal touch but also creates lasting memories that you and your loved ones will cherish.
Homemade treats have the unique ability to convey heartfelt sentiments. The effort and love put into baking can transform an ordinary celebration into an extraordinary one. Whether you’re planning a cozy evening with your partner or a fun gathering with friends, these sweet creations will surely bring smiles and warmth to any occasion.
In this article, we will explore four delightful recipes that are perfect for Valentine’s Day. Designed to cater to both novice and experienced bakers, these treats are easy to make and even more enjoyable to share. From classic heart-shaped cookies to elegant chocolate-covered strawberries, each recipe is crafted to help you sweeten your celebration.
Heart-Shaped Cookies
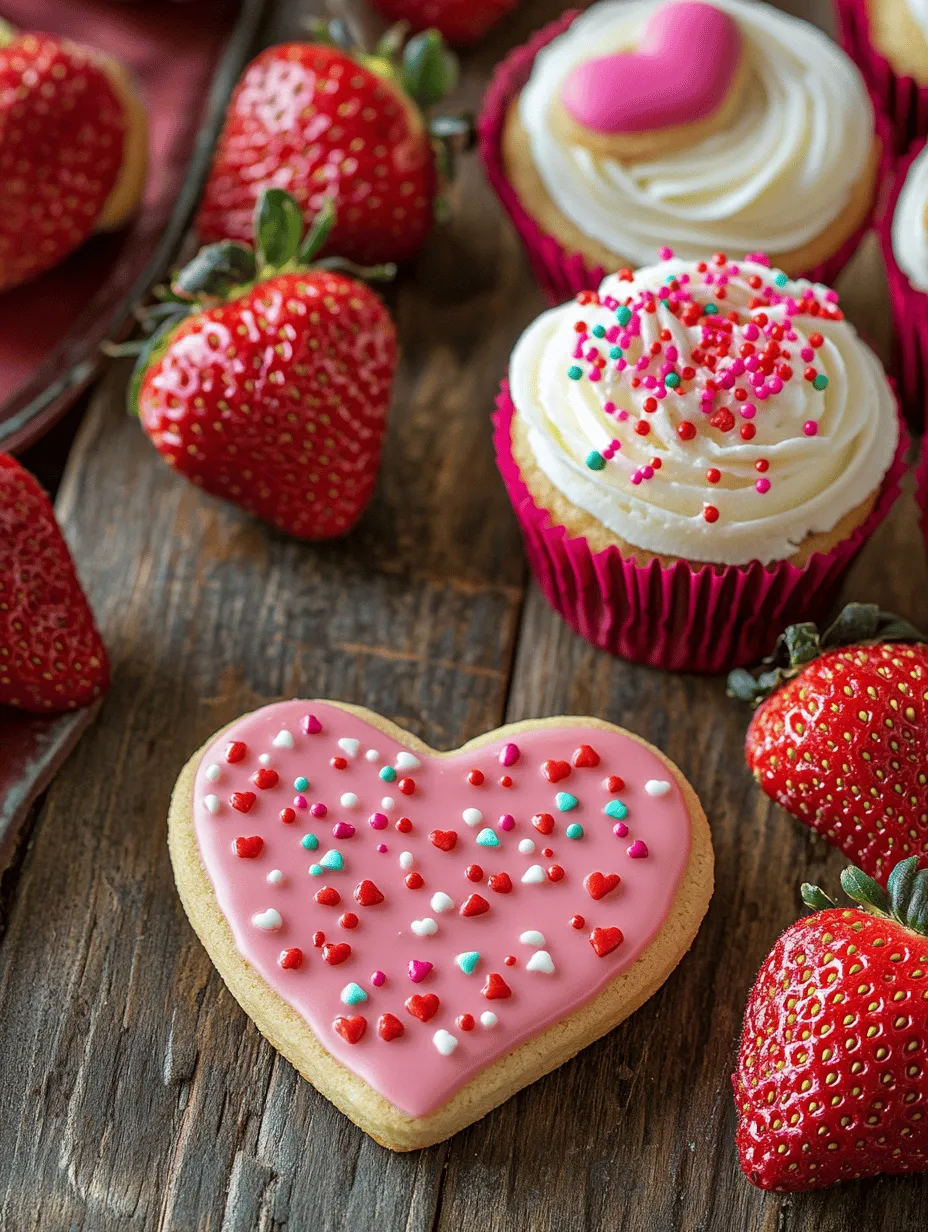
Among the classic Valentine’s Day treats, heart-shaped cookies hold a special place. These delightful cookies not only symbolize love but also provide a canvas for creativity and personalization. Whether you decide to decorate them with colorful icing or keep them simple, heart-shaped cookies are sure to bring joy to anyone who receives them.
Ingredients
Before we dive into the baking process, let’s gather our ingredients. The following list includes everything you need to create these lovely cookies, along with a brief explanation of the role each ingredient plays in achieving the perfect texture and flavor:
– 2 ¾ cups all-purpose flour: The foundation of your cookies, flour provides structure and stability.
– 1 teaspoon baking powder: This leavening agent helps the cookies rise and achieve a light texture.
– ½ teaspoon salt: Enhances flavor and balances the sweetness of the cookies.
– 1 cup unsalted butter, softened: Butter gives the cookies a rich flavor and tender texture. It’s essential to let it soften at room temperature for optimal creaming.
– 1 cup granulated sugar: The primary sweetener, sugar adds sweetness and contributes to the cookies’ crisp edges.
– 1 large egg: Acts as a binding agent, helping to hold the ingredients together.
– 2 teaspoons pure vanilla extract: Adds a warm, aromatic flavor that complements the sweetness.
– Red and pink icing, and sprinkles (optional): For decoration, these add visual appeal and a festive touch.
Step-by-Step Instructions
Now that we have our ingredients ready, let’s walk through the steps to create these charming heart-shaped cookies.
1. Prepping the Oven and Mixing Dry Ingredients
Start by preheating your oven to 350°F (175°C). While the oven is heating, prepare your baking sheets by lining them with parchment paper. This will prevent the cookies from sticking and make cleanup easier.
In a medium bowl, whisk together the flour, baking powder, and salt. This step ensures that the leavening agent is evenly distributed throughout the flour, promoting uniform rising during baking.
2. Creaming Butter and Sugar for Texture
In a large mixing bowl, use an electric mixer to cream together the softened butter and granulated sugar. Beat on medium speed for about 2-3 minutes until the mixture is light and fluffy. This process incorporates air into the butter, which is crucial for achieving a soft and tender cookie texture.
3. Incorporating Wet Ingredients and Shaping the Cookies
Once your butter and sugar are creamed, add the egg and vanilla extract to the mixture. Beat until well combined. Gradually add the dry ingredients to the wet mixture, mixing on low speed until just combined. Be careful not to overmix, as this can lead to tough cookies.
After the dough is formed, it’s time to shape your cookies. On a lightly floured surface, roll out the dough to about ¼ inch thick. Use a heart-shaped cookie cutter to cut out the cookies, placing them on the prepared baking sheets. Leave some space between each cookie, as they will spread slightly while baking.
4. Baking Tips for Achieving the Perfect Golden Finish
Bake the cookies in the preheated oven for 8-10 minutes or until the edges are lightly golden. Keep an eye on them, as baking times can vary depending on your oven. Once done, remove the cookies from the oven and let them cool on the baking sheets for a few minutes before transferring them to a wire rack to cool completely.
5. Decoration Ideas
Once your heart-shaped cookies have cooled, it’s time to decorate! Use red and pink icing to create beautiful designs, such as hearts, swirls, or even messages of love. Sprinkles can add an extra festive touch, making your cookies visually appealing and perfect for sharing.
Serving Suggestions
Heart-shaped cookies are not just for Valentine’s Day; they can be enjoyed at various occasions like anniversaries, birthdays, or even as a sweet surprise for loved ones any day of the year. Package them in a lovely box or wrap them in cellophane tied with a ribbon for a thoughtful gift.
These cookies are sure to bring smiles and warmth to any gathering, making them a beloved choice for celebrating love in all its forms. As we move on to the next delightful recipe, keep the spirit of baking alive and let your creativity shine through!

Sweeten Your Celebration: Delicious Valentine’s Treat Ideas
Treat Idea 1: Heart-Shaped Cookies
After crafting delightful heart-shaped cookies, consider adding an optional white chocolate drizzle for an extra touch of elegance. This drizzle not only enhances the visual appeal of your cookies but also introduces a creamy contrast that pairs beautifully with the sweetness of the cookies. Simply melt some white chocolate in a microwave-safe bowl, stirring until smooth, and use a fork or piping bag to drizzle it over the cooled cookies. Allow the drizzle to set before serving.
Additionally, the combination of strawberries and chocolate is steeped in romantic symbolism. Strawberries, often associated with love and passion, complement the rich, indulgent flavor of chocolate, making them a perfect pairing for Valentine’s Day. Whether included in your heart-shaped cookies or served alongside, they enhance the overall romantic theme of your celebration.
—
Red Velvet Cupcakes
Red velvet cupcakes are not only a feast for the taste buds but also a visual delight, making them an iconic choice for any romantic occasion, especially Valentine’s Day. Their signature deep red hue, contrasted with creamy white frosting, captures the essence of love in a dessert form.
Key Ingredients
The secret to the rich flavor and vibrant color of red velvet cupcakes lies in a few key ingredients:
– All-Purpose Flour: Provides the structure for the cupcakes.
– Cocoa Powder: Adds depth of flavor while keeping the cupcakes light.
– Buttermilk: Ensures the cupcakes are moist and tender.
– Baking Soda and Vinegar: The reaction between these ingredients contributes to the classic red hue and light texture.
– Vegetable Oil: Keeps the cupcakes moist and fluffy.
– Red Food Coloring: The star of the show, this ingredient gives the cupcakes their iconic color.
Instructions for Baking
1. Preheat the Oven: Begin by preheating your oven to 350°F (175°C) and lining a cupcake tin with paper liners.
2. Mix Dry Ingredients: In a medium bowl, whisk together 1 ½ cups of all-purpose flour, 1 tablespoon of unsweetened cocoa powder, and 1 teaspoon of baking soda. Set aside.
3. Combine Wet Ingredients: In a large mixing bowl, combine 1 cup of vegetable oil, 1 cup of granulated sugar, 1 cup of buttermilk, and 2 large eggs. Mix thoroughly, then add 1 teaspoon of vanilla extract and 1 tablespoon of white vinegar.
4. Add Food Coloring: Carefully add 2 tablespoons of red food coloring to the wet mixture, stirring until well combined.
5. Combine Mixtures: Gradually add the dry ingredients to the wet mixture, folding gently until just combined. Be careful not to over-mix; this will help maintain the cupcakes’ light texture.
6. Fill Cupcake Liners: Divide the batter evenly among the cupcake liners, filling each about two-thirds full.
7. Bake: Place the tin in the preheated oven and bake for 18-20 minutes or until a toothpick inserted into the center comes out clean.
8. Cool: Once baked, remove the cupcakes from the oven and allow them to cool in the tin for 5 minutes before transferring them to a wire rack to cool completely.
Frosting Techniques
For the perfect finish, top your cooled cupcakes with cream cheese frosting, which complements the flavors of the red velvet beautifully.
1. Make the Frosting: In a large bowl, beat together 8 ounces of cream cheese and ½ cup of unsalted butter until smooth. Gradually add 4 cups of powdered sugar and 1 teaspoon of vanilla extract, mixing until fluffy.
2. Frosting the Cupcakes: Use a piping bag fitted with a star tip for a decorative finish or simply spread it on with a knife for a more rustic look.
3. Decorate: Personalize your cupcakes by adding sprinkles, edible glitter, or even mini chocolate hearts for a festive touch.
—
Raspberry & White Chocolate Mousse
For those looking to impress with sophistication, raspberry and white chocolate mousse makes for an elegant dessert choice. This light and airy mousse balances the tartness of fresh raspberries with the richness of white chocolate, creating a decadent treat that’s perfect for a romantic evening.
Ingredient List
– Fresh Raspberries: About 1 cup for the raspberry mixture and additional for garnish.
– White Chocolate: 8 ounces, chopped, to create a rich base.
– Heavy Cream: 1 cup, divided for whipping.
– Powdered Sugar: 2 tablespoons to sweeten the cream.
– Gelatin: 1 teaspoon, to help stabilize the mousse.
Comprehensive Instructions
1. Prepare the Raspberry Mixture: In a blender, puree 1 cup of fresh raspberries until smooth. Strain the puree through a fine mesh sieve to remove the seeds. Set aside.
2. Melt the White Chocolate: In a microwave-safe bowl, melt the 8 ounces of chopped white chocolate in 30-second intervals, stirring after each, until smooth. Allow it to cool slightly.
3. Whip the Cream: In a separate bowl, whip 1 cup of heavy cream until soft peaks form. Gradually add 2 tablespoons of powdered sugar and continue whipping until stiff peaks form.
4. Combine Ingredients: Gently fold the cooled white chocolate into the whipped cream, being careful not to deflate the mixture.
5. Add the Raspberry Puree: Fold the raspberry puree into the white chocolate mixture. This step is crucial for achieving a harmonious flavor throughout the mousse.
6. Stabilize with Gelatin: If a firmer consistency is desired, dissolve 1 teaspoon of gelatin in 2 tablespoons of warm water and fold it into the mousse mixture.
7. Chill: Spoon the mousse into serving glasses or bowls and refrigerate for at least 2 hours to set.
Serving Suggestions
For an exquisite presentation, serve the mousse with a garnish of fresh raspberries on top. You can also add chocolate shavings or a drizzle of raspberry coulis for an extra touch of sophistication. This dessert not only looks enticing but also offers a delightful contrast of flavors and textures.
—
Conclusion
This Valentine’s Day, indulge in these delightful treat ideas that are sure to impress your loved ones. From heart-shaped cookies adorned with a white chocolate drizzle to visually stunning red velvet cupcakes and the elegant raspberry and white chocolate mousse, each recipe offers a unique way to celebrate love and affection.
Encourage your creativity in the kitchen by experimenting with these recipes. Personalizing each dessert allows you to create memorable experiences, whether sharing them with a partner, friends, or family. The joy of baking and sharing homemade treats fosters connection and creates cherished memories that last a lifetime. Celebrate this special day with these sweet creations, and let the love flow through every bite. Happy baking!